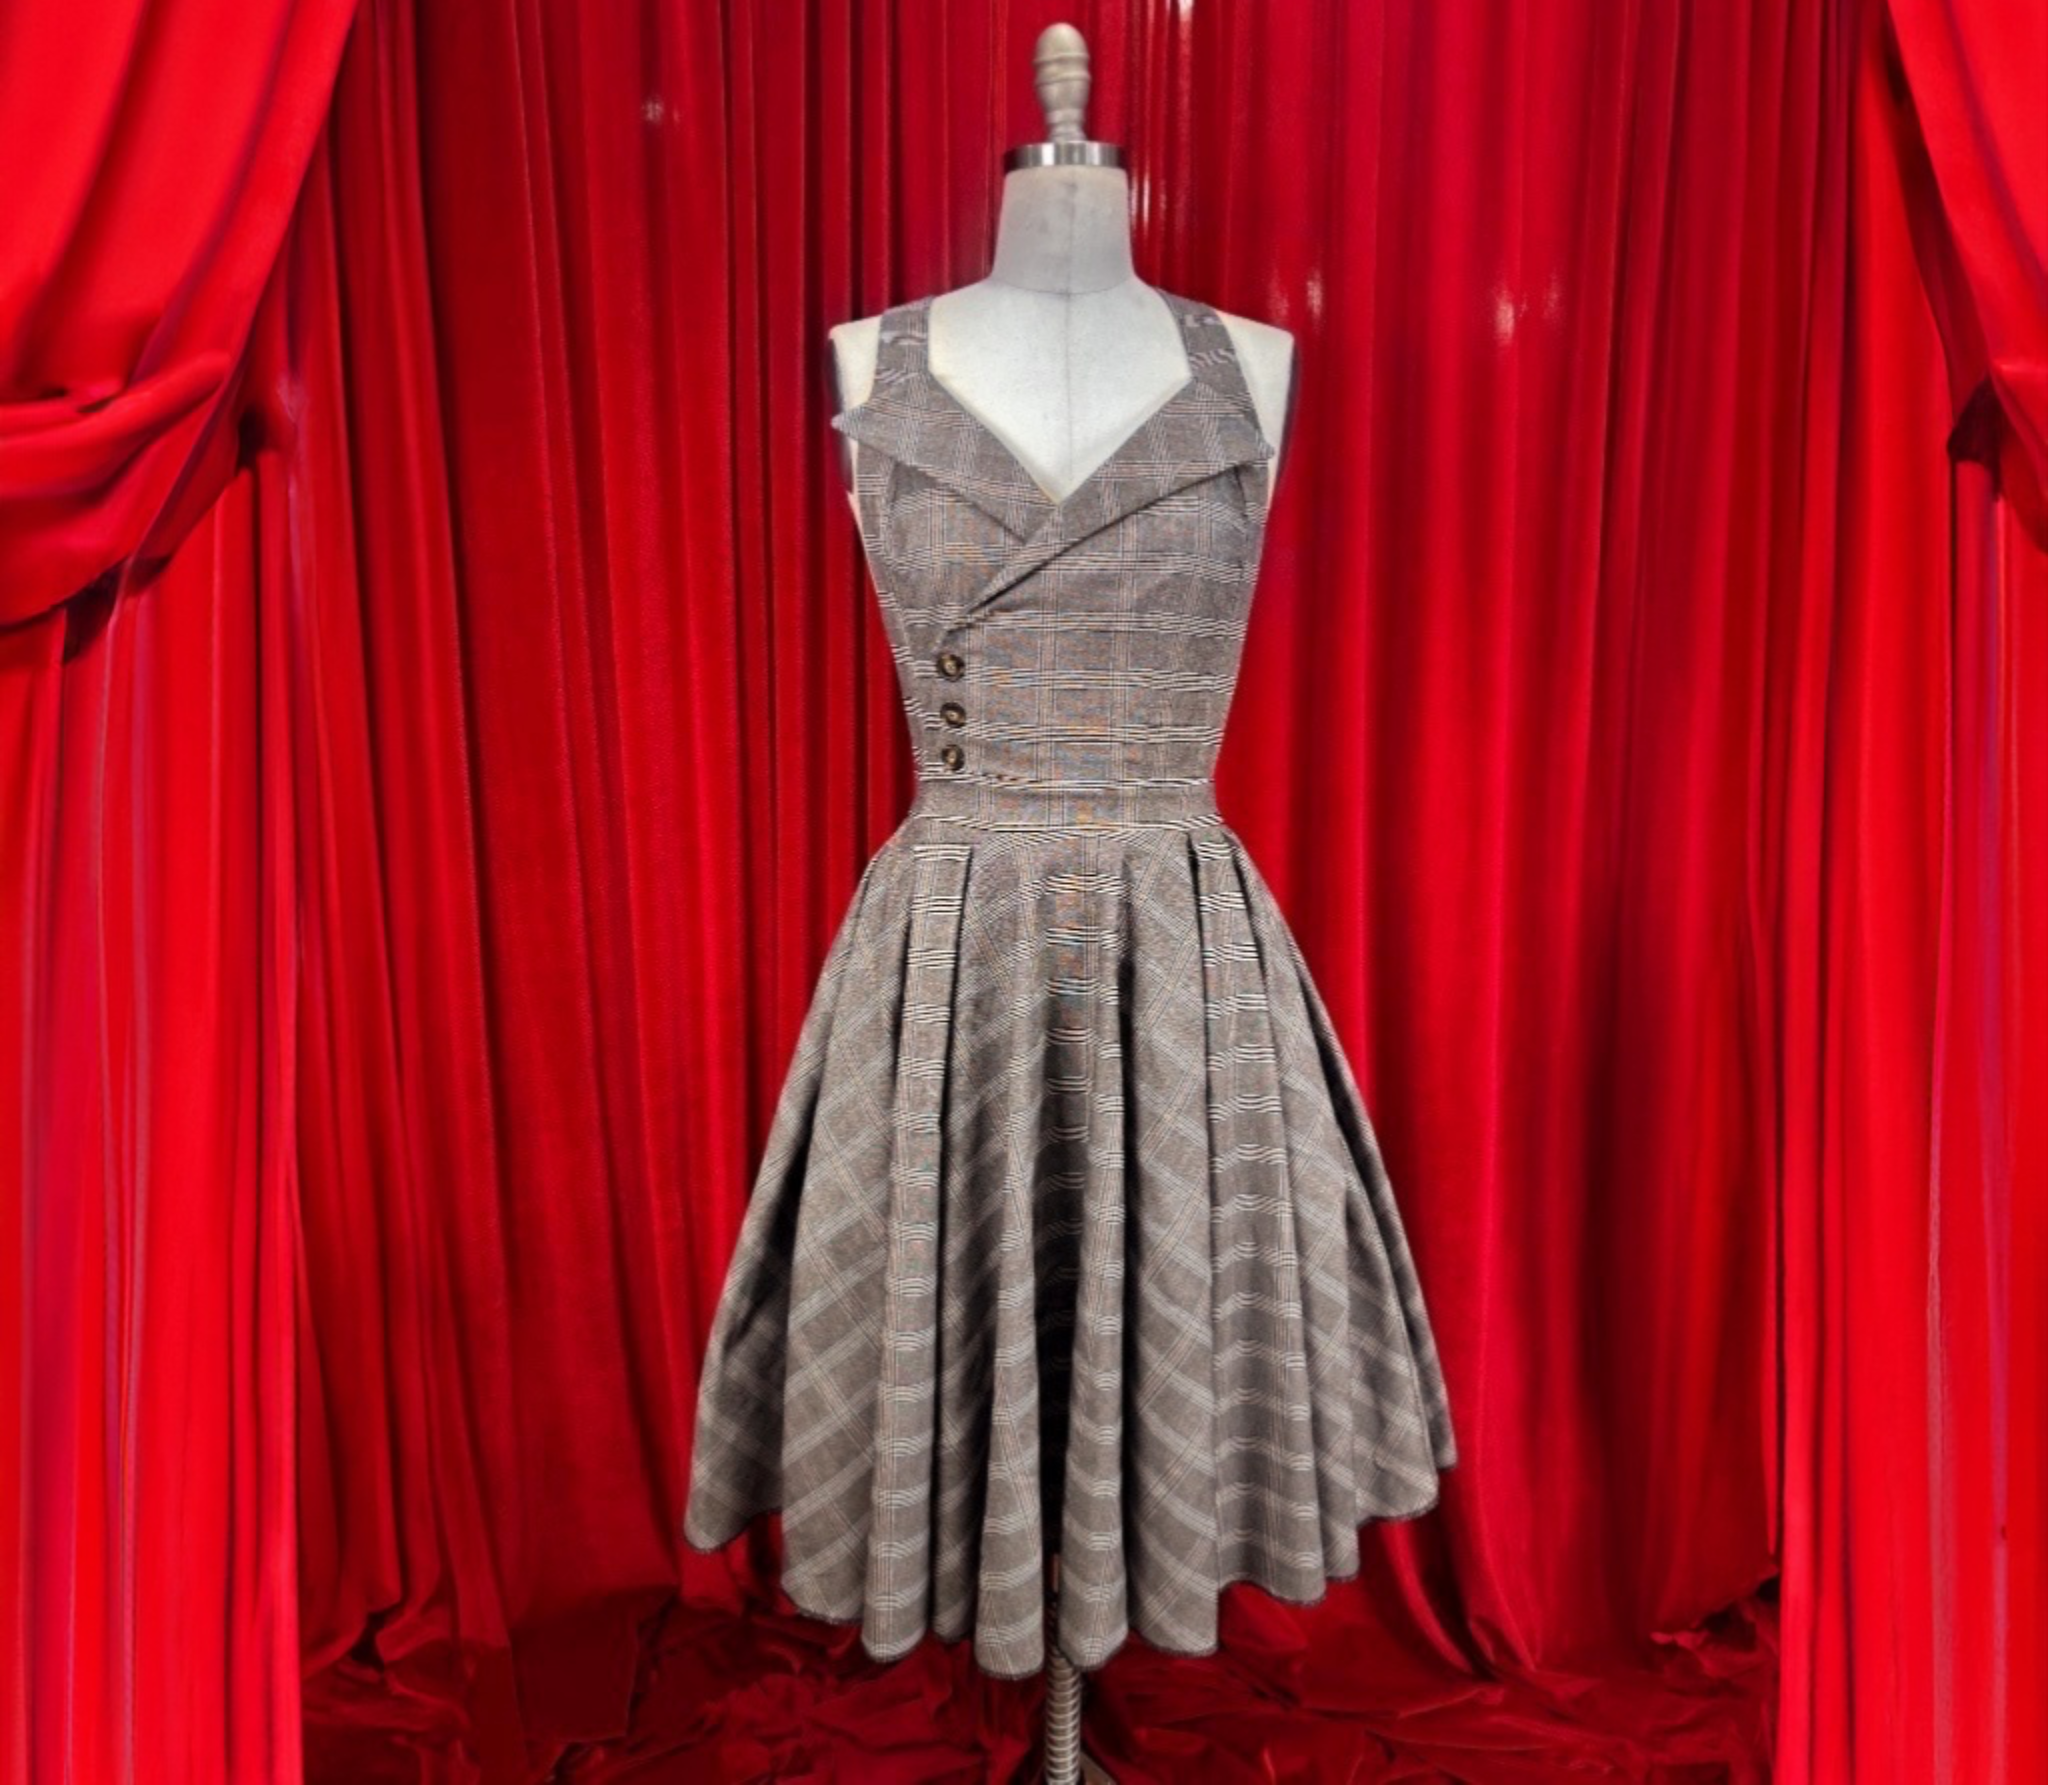
The Academia Dress Sewing Pattern Guide

Hello and welcome to The Academia Dress Sewing Guide!
Before You Get Started
Please take note that the seam allowances on this pattern is 1/2” unless otherwise stated.
The Pattern will have all notions and cutting layout you will need.
Difficulty:
Fabrics: Woven suiting fabrics, gabardine,heavier satin
Sharing: If you created something with a Gunnar Deatherage pattern, PLEASE give us a review, and post a photo! Gunnar loves to see your creations, and your reviews really help our little shop grow!
Glossary
RSF = Right Side Facing
RSO = Right Side Out
WSO = Wrong Side Out
Finish Seam = overlock, trim away, zigzag, pinking shear them, or however you finish out seams.
Pleating = To fold fabric doubling material over itself. Here’s a tutorial if you need help. https://www.patreon.com/posts/50184974
Flatline = To secure two pieces of fabric together into one single section.
Gathering = process of bunching fabric into a pre-measured length creating fullness. Here’s a tutorial if you need help. https://www.patreon.com/posts/50168324
Zipper Tutorial = https://www.patreon.com/posts/50029964
Rolled Hem Tutorial = https://www.patreon.com/posts/new-tutorial-hem-78784340
This pattern tutorial already assumes you’ve cut out all the pattern pieces.
Gunnar Tip: Make sure to press your seams flat and beautiful. Find the correct setting on your iron and use a little steam if you need to.
Some things to note:
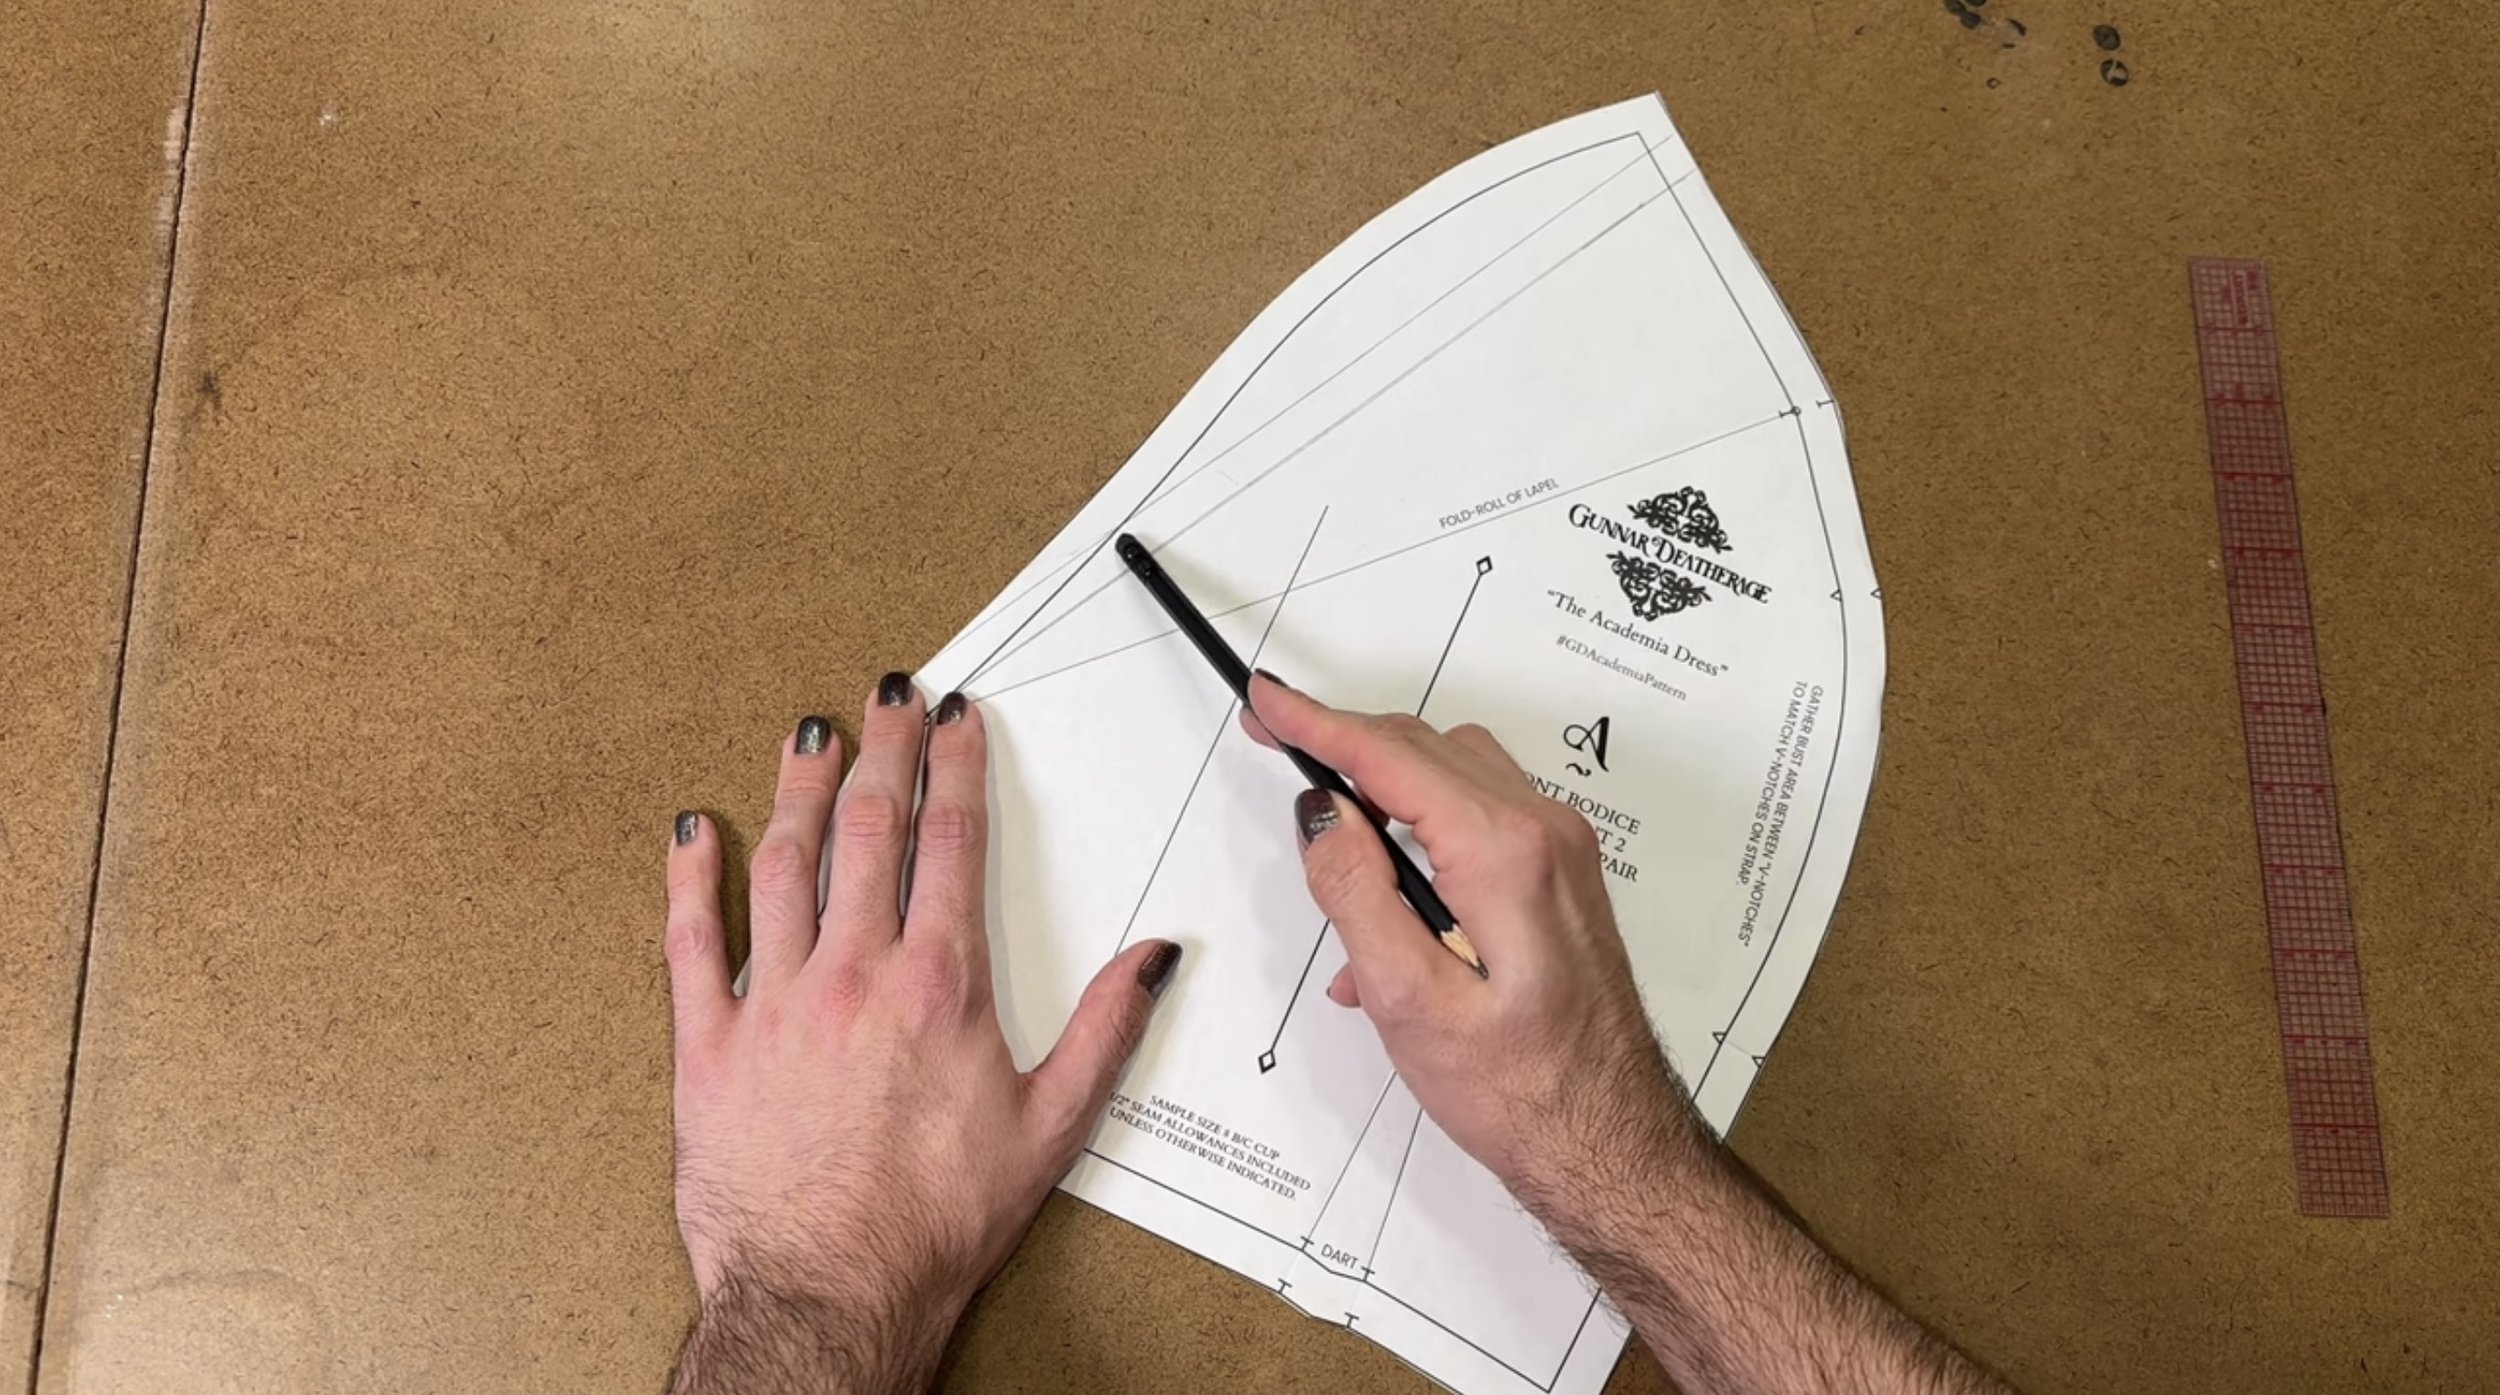
-If you want to alter the shape of the lapel you can do so before you begin sewing. All you will do is choose the same point on the Front Bodice (A) and use a ruler to draw out another line. Then you will include the ½” seam allowance. Whatever you do to the Front Bodice you’ll have to do the exact same alteration to the Front Bodice Facing (B) because they are the same measurements.
-On the Front Bodice (A) has “Gather the bust area between the V Notches to match the V Notches on the strap.”
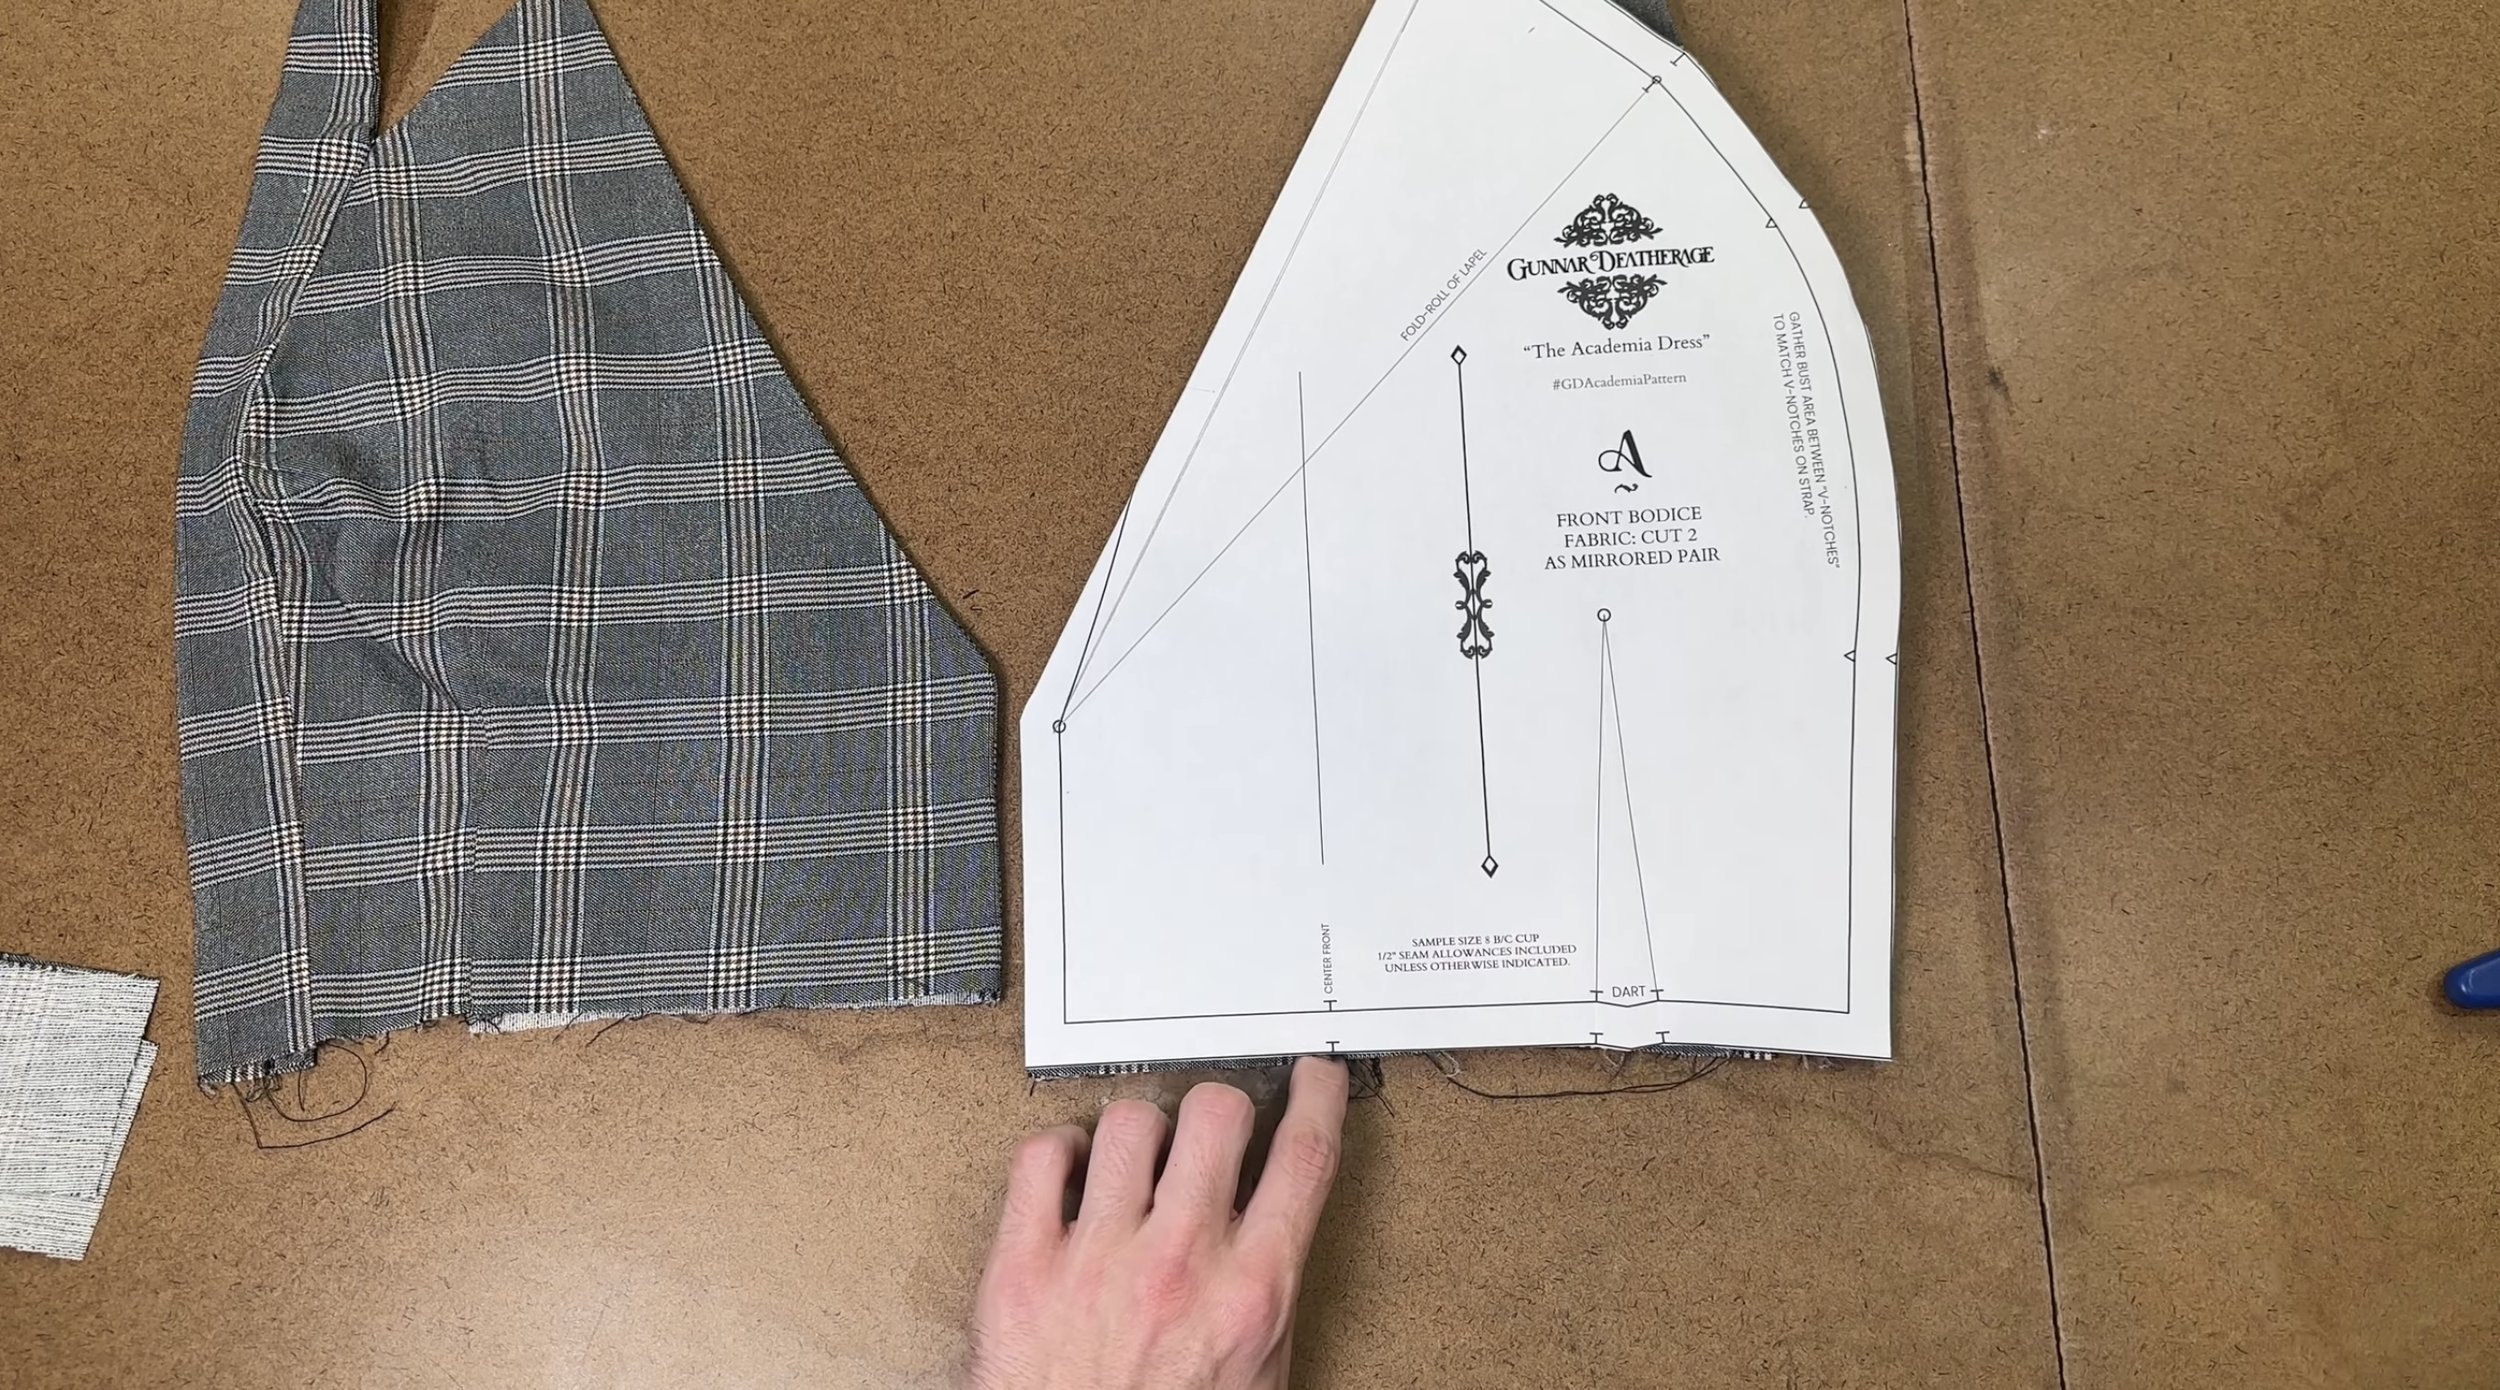
Grab your tracing paper and mark the dart and notches on Front Bodice (A). Stitch your dart. Then place a gather stitch between the V Notches.
Place facing on the back of Front Bodice Facing (B). Then place RSF, pin up to the stopping point on the lapel, and stitch.
Turn RSO and press
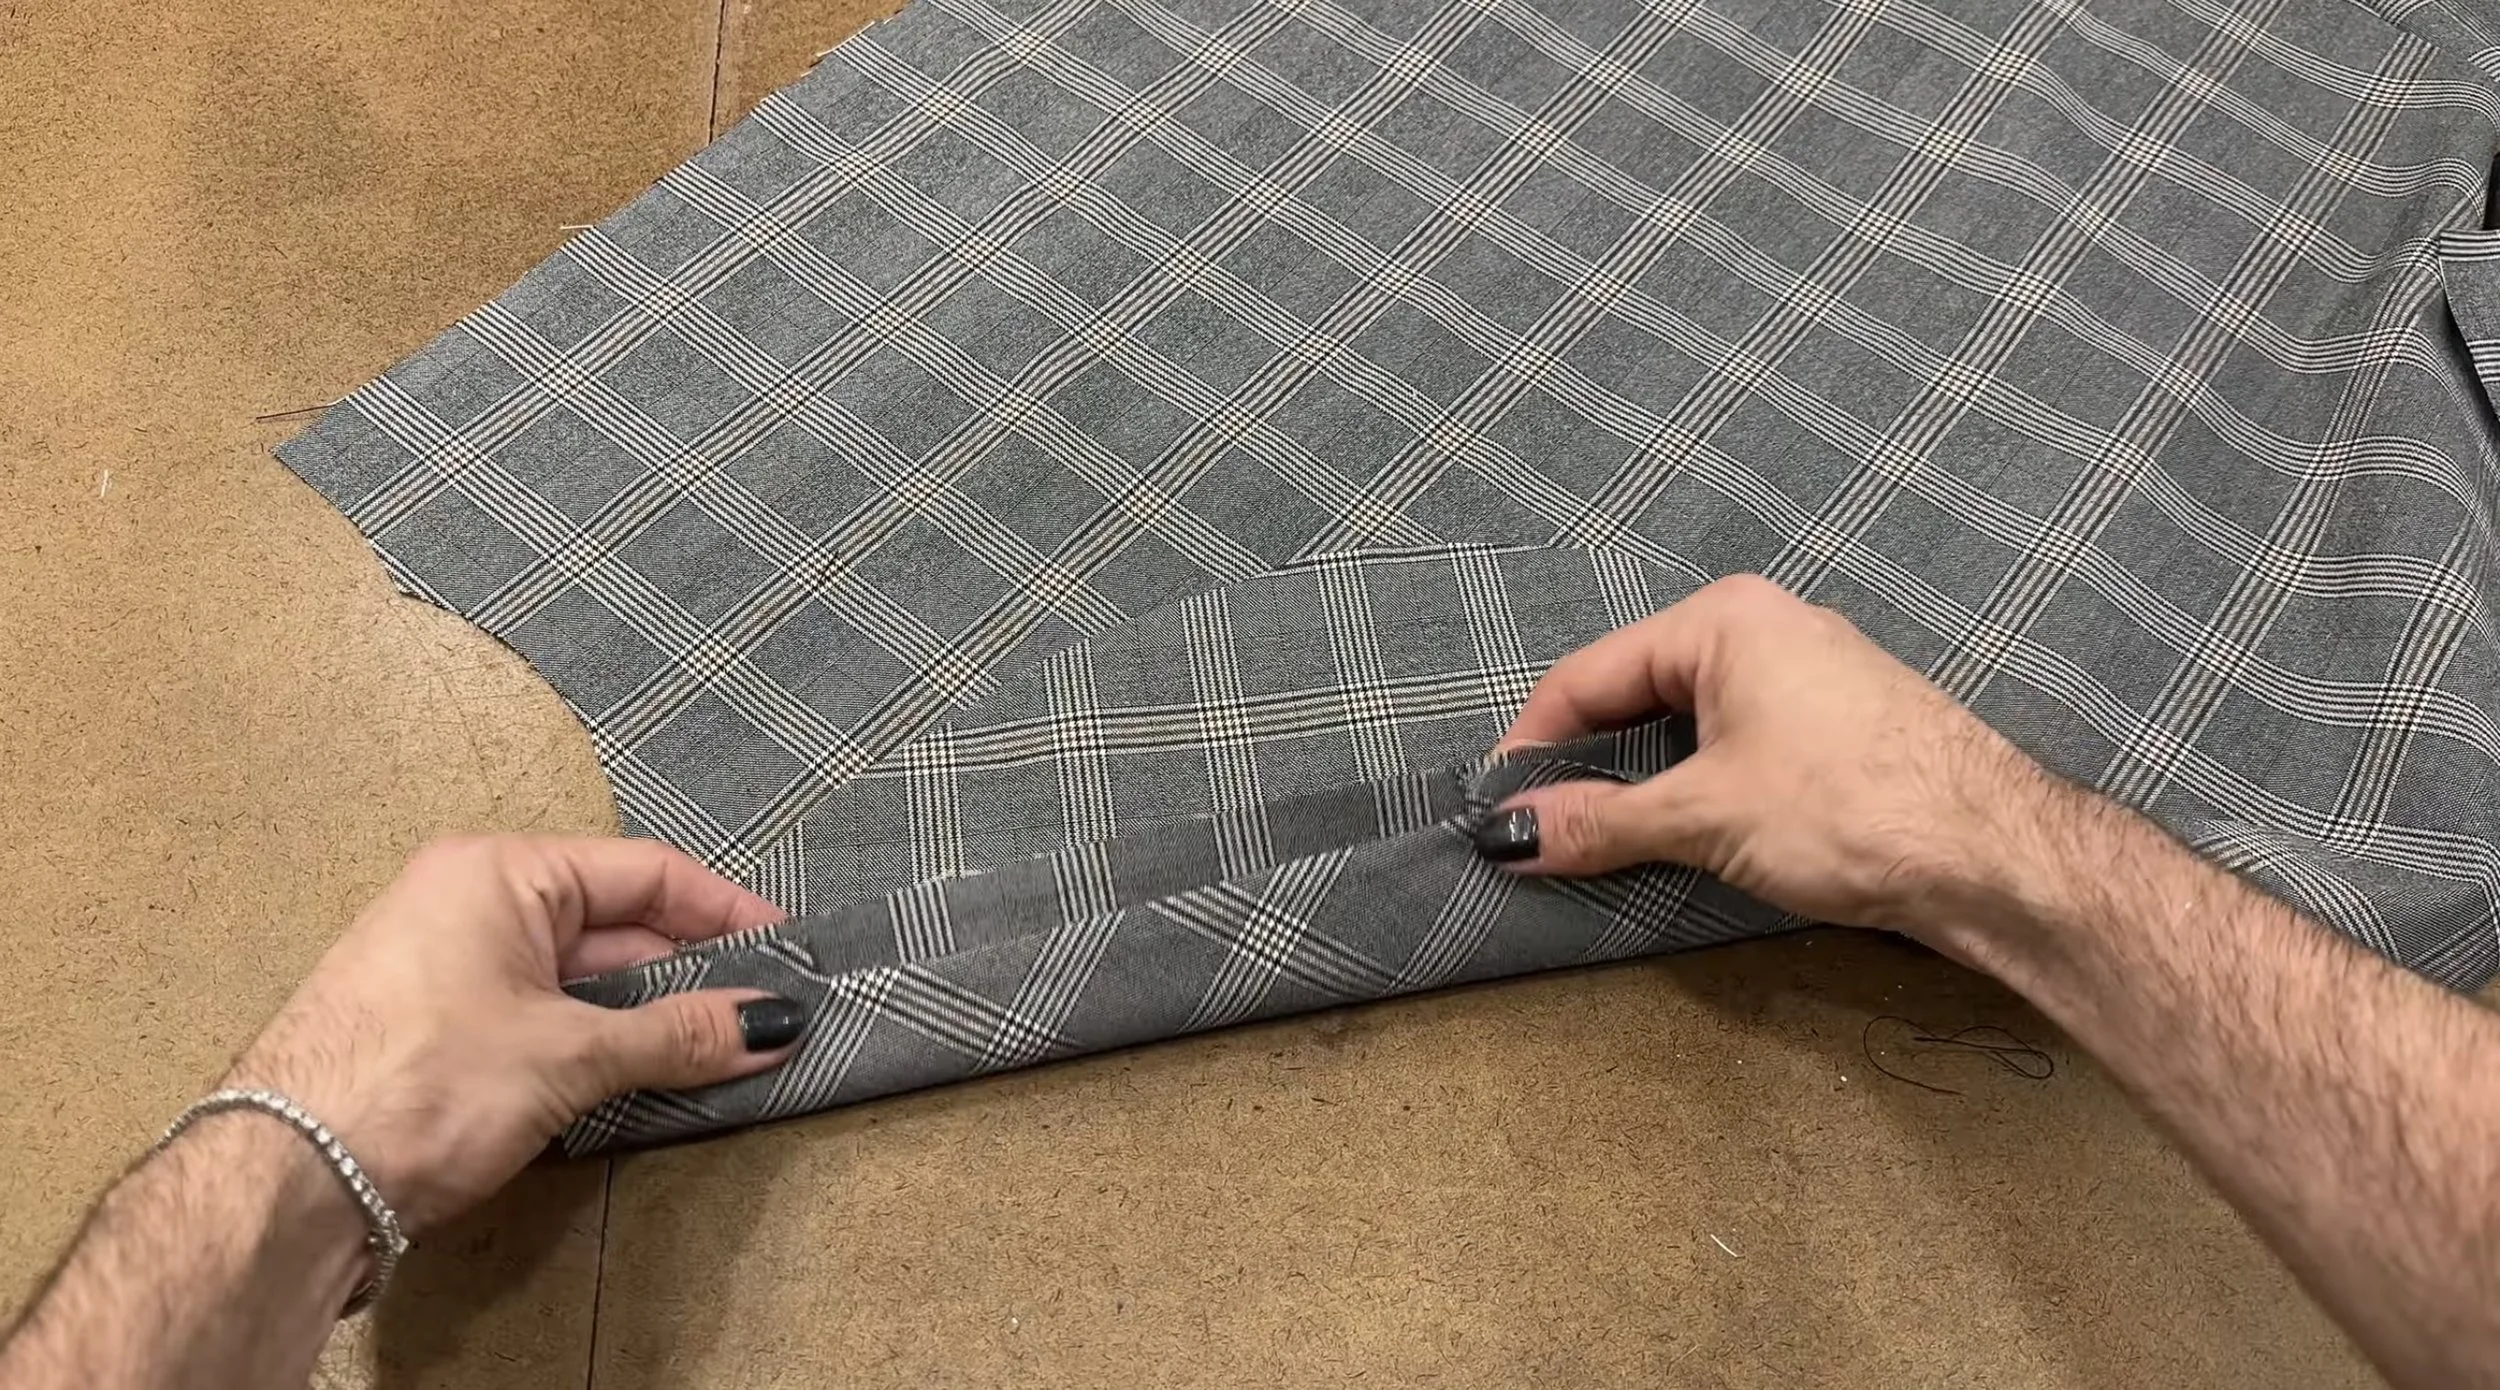
On Strap (c ) mark the indication below the V Notches. Fold strap in half. Starting from the other end stitch up to the mark you just indicated.
Cut half of the seam allowance away from the part you just sewed. Flip the Strap RSO. Press Flat and Beautiful.
With RSF pin the Strap open to the Front Bodice. The seam allowance should match. Stitch.
Press the seam allowance open. Fold the seam allowance in towards the center. Fold the seam allowance down on the other side of the strap and fold towards the seam allowance. Pressing flat. Work your way up.
Hand Stitch all the way down sewing the strap down. If hand stitching isn’t your thing you could fuse this part.
On Side FT/BK Skirt (G) are diamond indicators for the pocket. Mark these on your pocket pieces then pin one to the skirt. Stitch starting at the edge of the fabric to ½” in then sew up towards the other indicator and finish by stitching towards the edge. You should have a box shape now. Trim away the seam allowance.
Turn the pocket towards the wrong side. There should be right angles on both sides. Then press flat so it stays visible on the outside.
Repeat on the other Side FT/BK Skirt (G)
Pin the other side of the pocket to the pocket. Stitch the pocket's outside edges. You will only be sewing the pocket edges. Overlock or finish the edges in your desired way. Repeat on other pocket.
Place the other Side FT/BK Skirt (G) on top of the other then stitch with RSF. Don’t catch the finished edge of the pocket. You want to sew right up to the edge. Finish seam then press flat and beautiful.
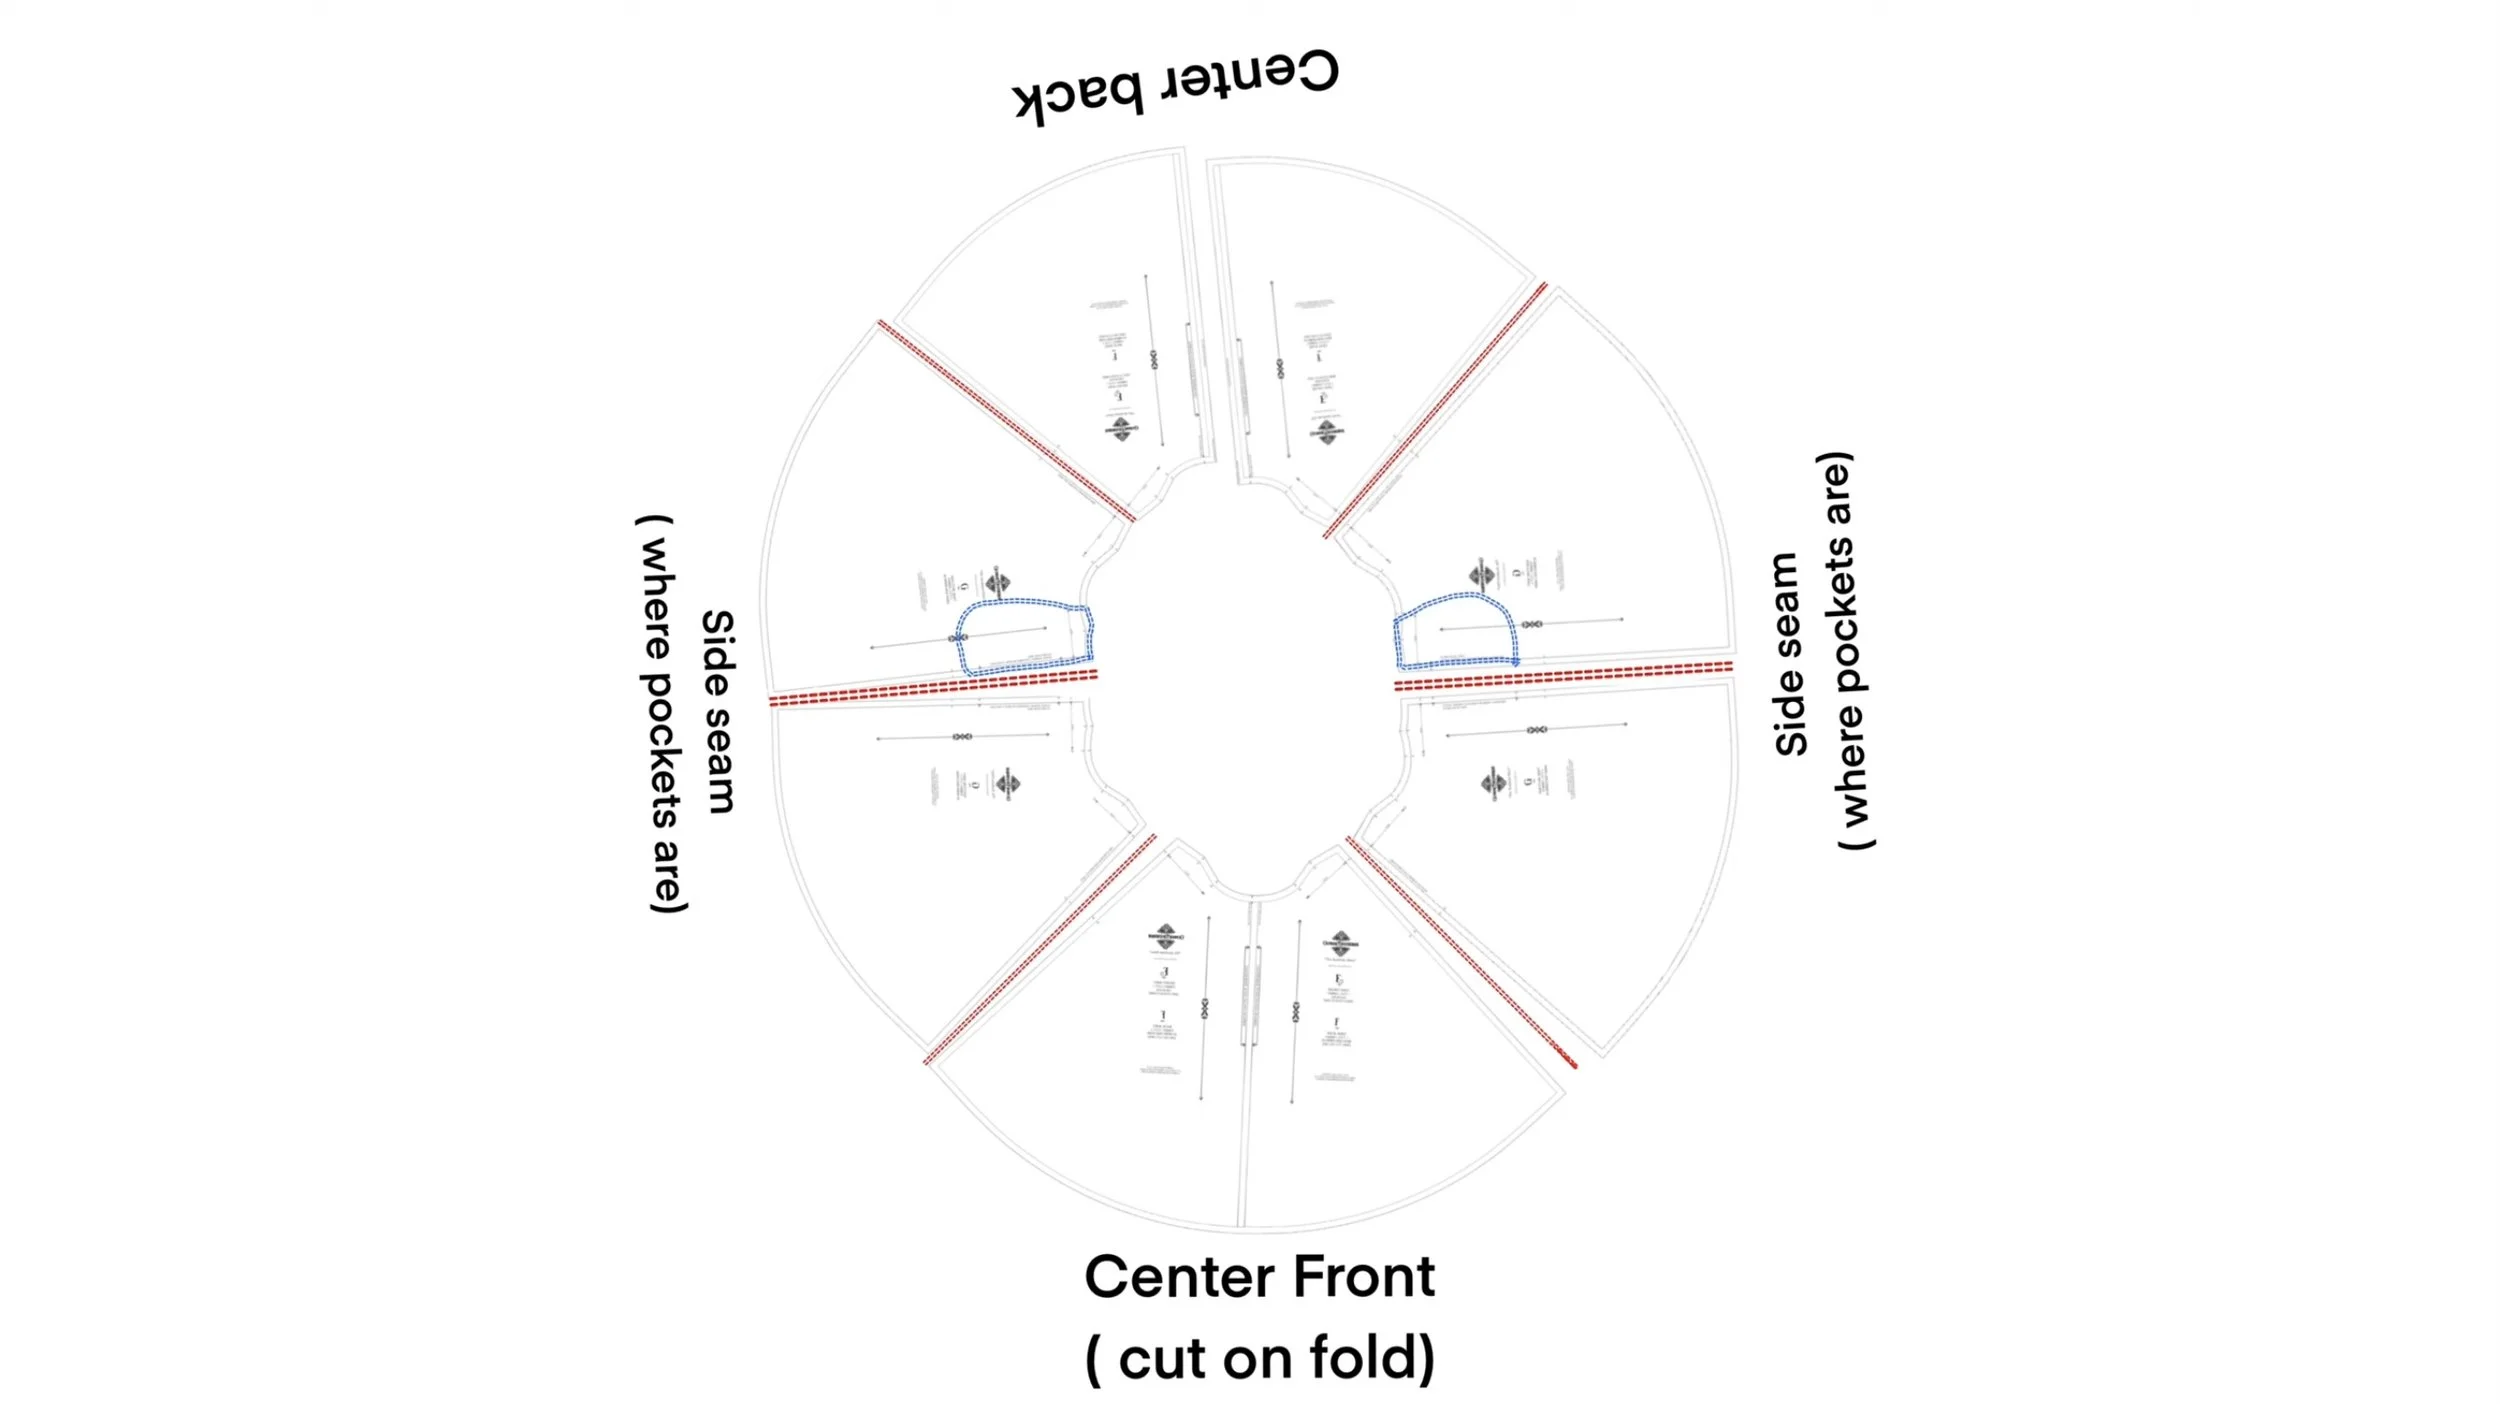
With RSF attach the Center Front to Side FT/BK Skirt (G) pieces, these are the ones that contain the pockets. Take notice of the top of the pattern they should line up. Then finish and press the seam.
To complete the circle skirt, with RSF attach the back pieces to the other side of the pieces that contain the pocket. Finish the seam with an overlock or zigzag stitch. Press flat and beautiful.
On Back Skirt (F) there are indications for pleats. Mark the outer end of the notches. Since this is already sewn don't forget you won't use the seam allowance.
Fold the skirt in half with RSF lining the marks you just made up and pin. Pull the seam line towards the marking flatten the fabric out and pin. Work your way around the skirt and finish the box pleats. Wherever there is a seam you’ll be creating a box pleat (including the pocket seams).
Mark the “center front” markers on your Front Bodice pieces. The center front markers will go on top of each other. Pin across the bottom. Grab your waistbands and mark the center of them.
Sandwich your Front Bodice between the two waistbands. Make sure the center points of this line up. Pin all the layers together. Stitch all the way down the waistband. Trim off half the seam allowance to get rid of the extra bulk. Press waistband.
With RSF place the skirt onto the waistband and pin. Treat the waistband as one piece. Stitch. Trim away half the seam allowance then finish the edge with an overlock/zigzag or your preferred method.
Install the invisible zipper on the back center skirt.
Cross the straps creating an X shape on the back and pin the bottom of the straps to the back skirt. Mark where the line of the waistband is and cut the excess off leaving the ½” seam allowance. Then unpin and tuck the strap inside of the waistband and pin. Proceed to stitch the strap to the seam allowance of the waistband. Repeat to the other side.
Space your buttons evenly and stitch. I would suggest 3 buttons but you can do as many or as little as you’d like.
The last thing is to hem the bottom of the skirt.
Congrats, You’ve completed the Academia Dress!