
The Midnight Moto-Jacket Guide

Let’s Get Started!
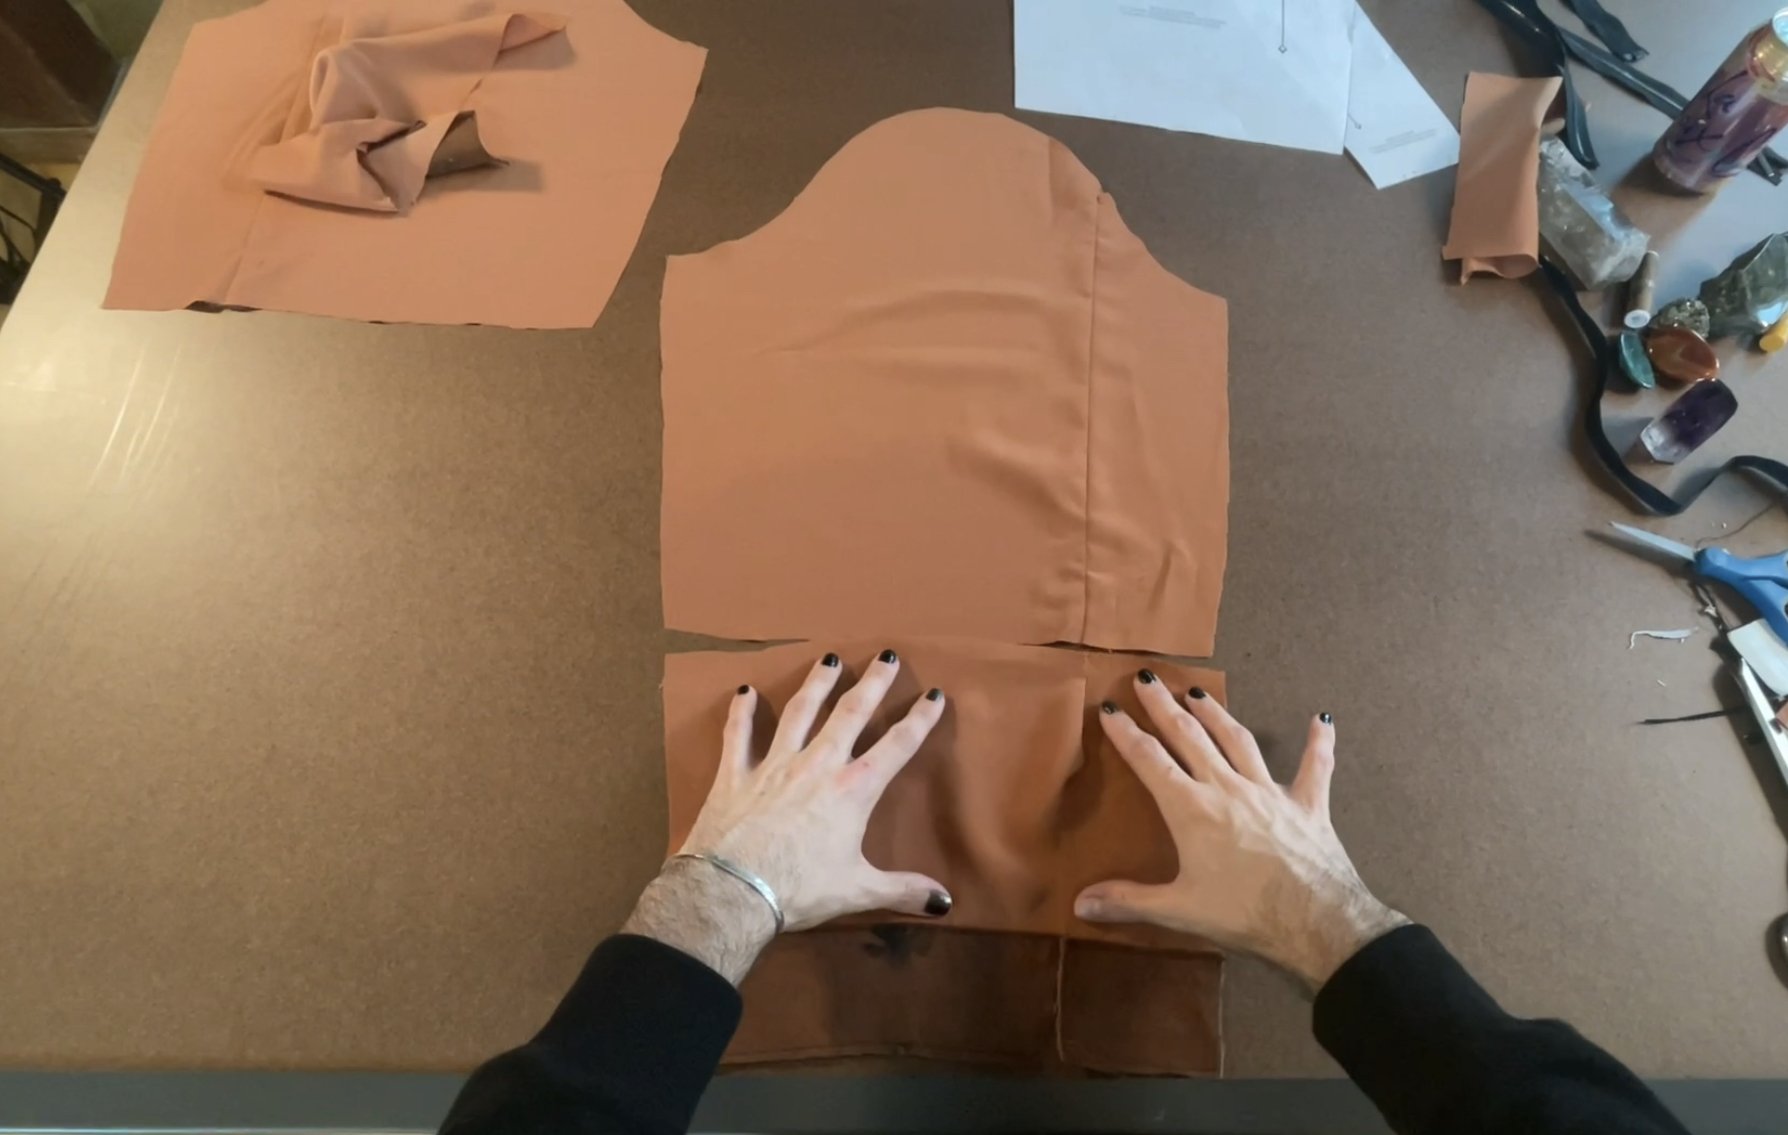
Let’s familiarize ourselves with the pattern pieces! Each piece will tell you how many to cut, and of which fabrics!
A-Collar
B-Under Collar
C-Front
D-Front Shoulder Yoke
E-Side Front
F-Front Waistband (View A only)
G-Belt Loop Tabs
H-Sleeve Cap Inset
I-Front Sleeve
J-Middle sleeve
K-Back Sleeve
L-Cuff
M-Back Cuff
N-Cuff Facing
O-Back Cuff Facing
P-Back Shoulder Yoke
Q-Back Yoke
R-Side back
S-Back
T-Back Waistband- (View A Only)
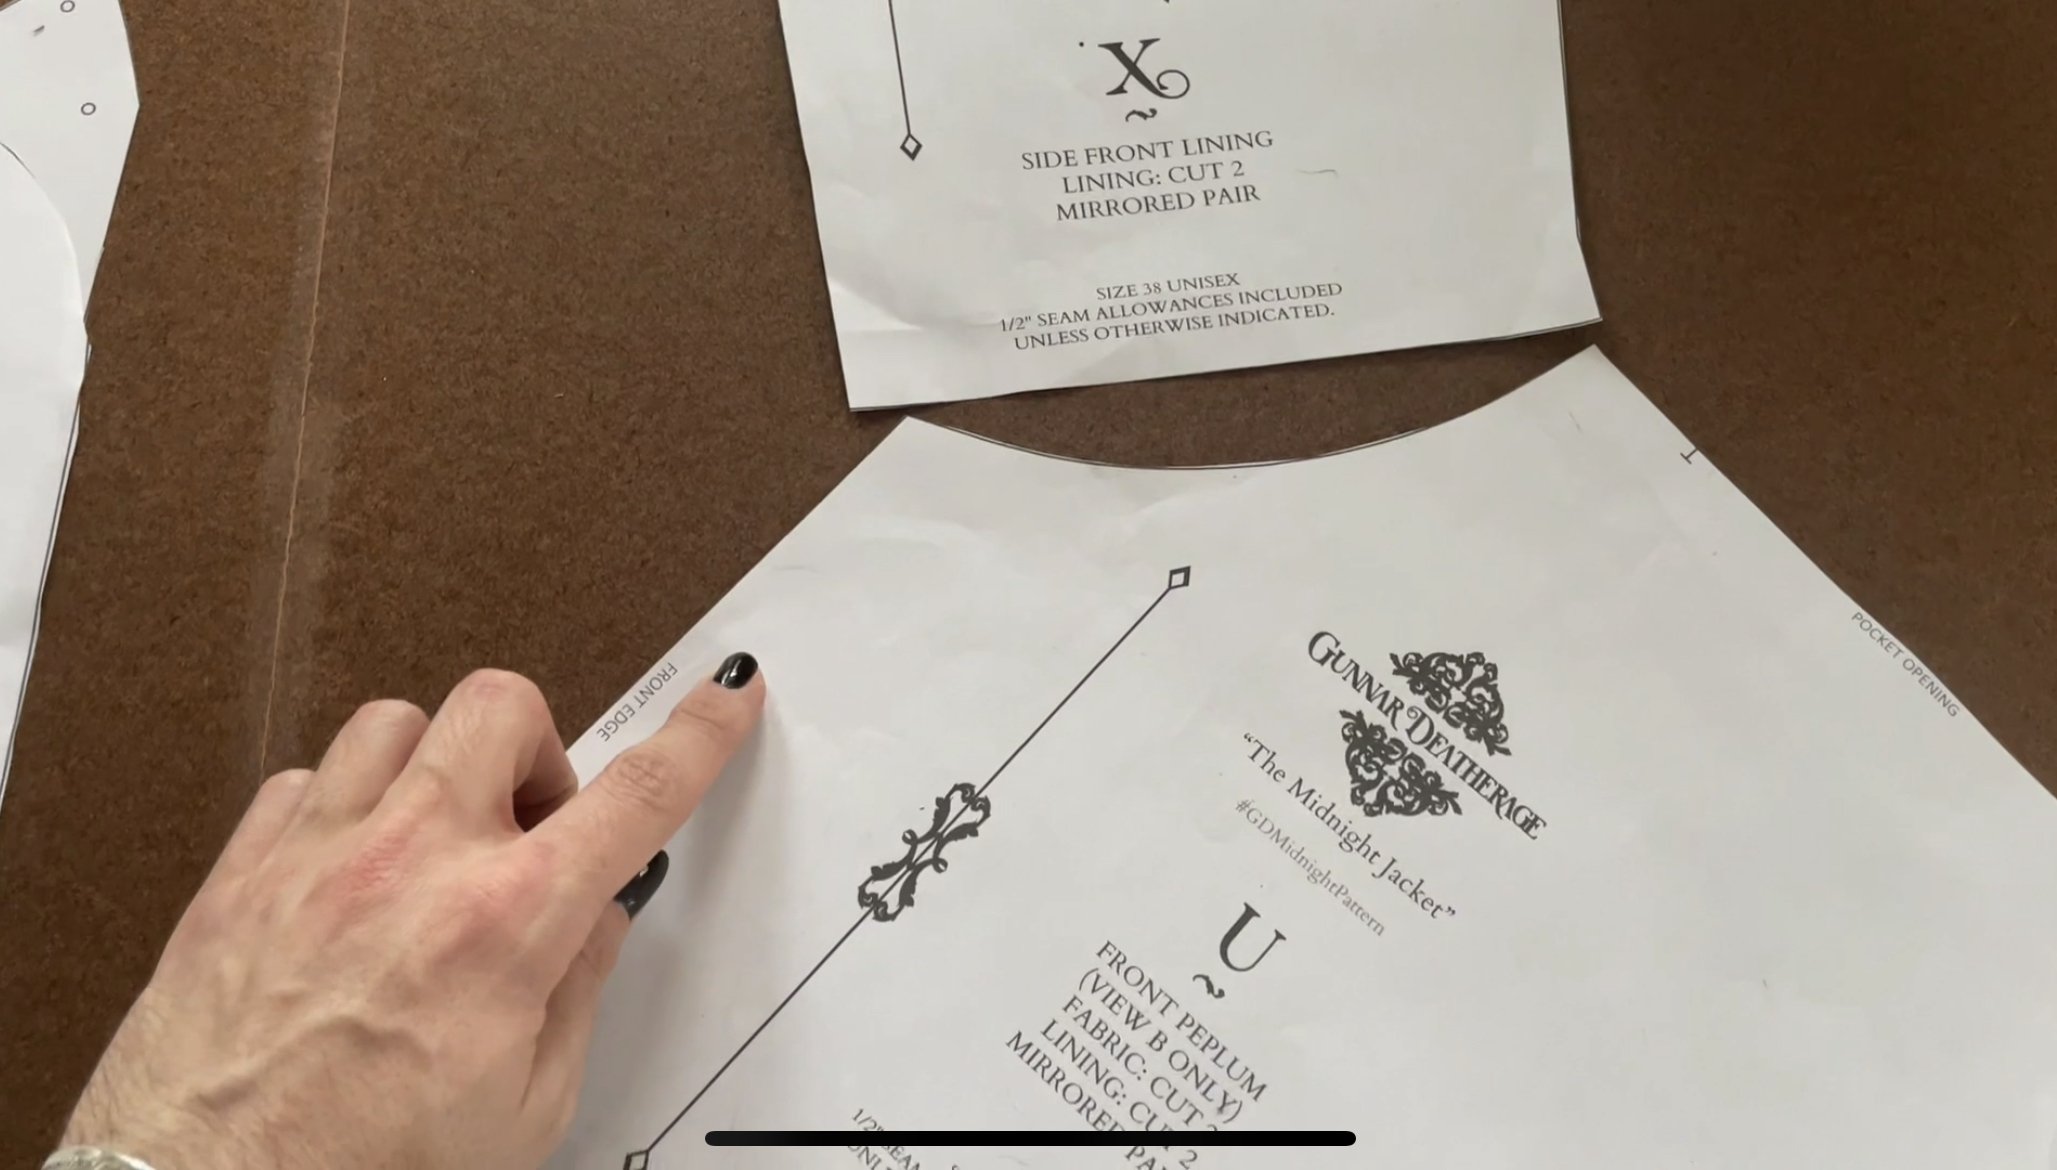
U-Front Peplum- (View B Only)
V-Side Seam Pocket- (View B Only)
W-Back Peplum
X-Side Front Lining
Y-Back Lining
Z-A-Sleeve lining
ZB-Back Sleeve Lining
ZC-Chest Pocket Bag
ZD-Lower Pocket Bag
ZE- Inner Pocket Welt
ZF-Inner Pocket Bag
Before you get into cutting, please take a moment to check out the pattern pieces to see how many pieces need cut. Pay close attention to the Front (piece C) which has a separate cut line.
1.Lets begin by cutting our fabrics
2.Lets begin by constructing the back of the jacket.
3.Start By stitching the center back seam of our Back Piece (Piece S.) After stitching, press your seams open flat and beautiful!
4.Now Stitch the Side Back (Piece R) to the Jacket Back Making sure to match notches.
5.The next step is to stitch the center back yoke (Piece Q) together. Afterwards press open.
6.Now we can attach the back shoulder yoke (piece P) to the back yoke. If you notice, there are notches and dots to help you match up the yokes. You need to use a good amount of pins to ease the yoke into the insert. Take your time with this. After stitching, you can clip notches into that curved seam which will allow your to press that seam nice and flat. You can also trim away a bit of the seam allowance so it doesn’t feel as bulky. Now repeat on the other side the back yoke.
7.The next step is to attach the back yoke to the back of the jacket. Pin with right sides facing, then press open flat and beautiful.
8.Now we can assemble the Belt loop tabs. The belt loop tabs are more for decor than anything, and are optional! If you don’t have the hardwear kits (you can find them at Joann,) or don’t feel like attaching them, you can choose not to use them! You should have cut 8, and when we sew them together we will end up with 4. Pin the right sides together, and sew them together, leaving the bottom open to turn it right side out. After turning, you will press the points out, and them press/topstitch.
Depending on whether you are making View A or View B, will determine where your belt loops are placed, but for now we can sit them aside.
9.If you are making View A, You will be sewing the back waistband (piece T) to the back/side back of the jacket. Pin the right sides together, and stitch. Afterwards press flat and beautiful.
If you are making View B, you will Need To assemble the back peplum (piece W) by sewing the center back seam of the Back Peplum. After stitching and pressing you will need to pin your belt loop tabs to the jacket waist seam where the notches indicate for the belt loop tabs to go. After pinning the belt loop tabs ing place, you will attache the back peplum to the jacket back at the waist seam.
10.Lets move on to the jacket front.
-Before we work on assembling, take note that there is a cut line on Piece C at the bottom for View A, or View B. Cut Piece C according to which view of the jacket you will be creating! Now Let’s work on the front of the jacket. The Jacket front utilizes pieces C, D, E, and F.
11.Lets begin by attaching the Front Shoulder yokes (Piece D) to the Side Front jacket (piece). Pin the yoke in, and stitch, afterward clip the curves, and press flat and beautiful. Now repeat this on the opposite side.
12.If you are making View A, you will attach The Front waist band (Piece F) to Side Front Jacket at the waist seam. With right sides facing, pin and stitch. Repeat on the opposite side also.
-If you are making View B you will want to pin the belt loop tabs to the waist seam where they are marked on the pattern.
You will attach The Peplum Front at the waist seam of The Side Front Jacket.
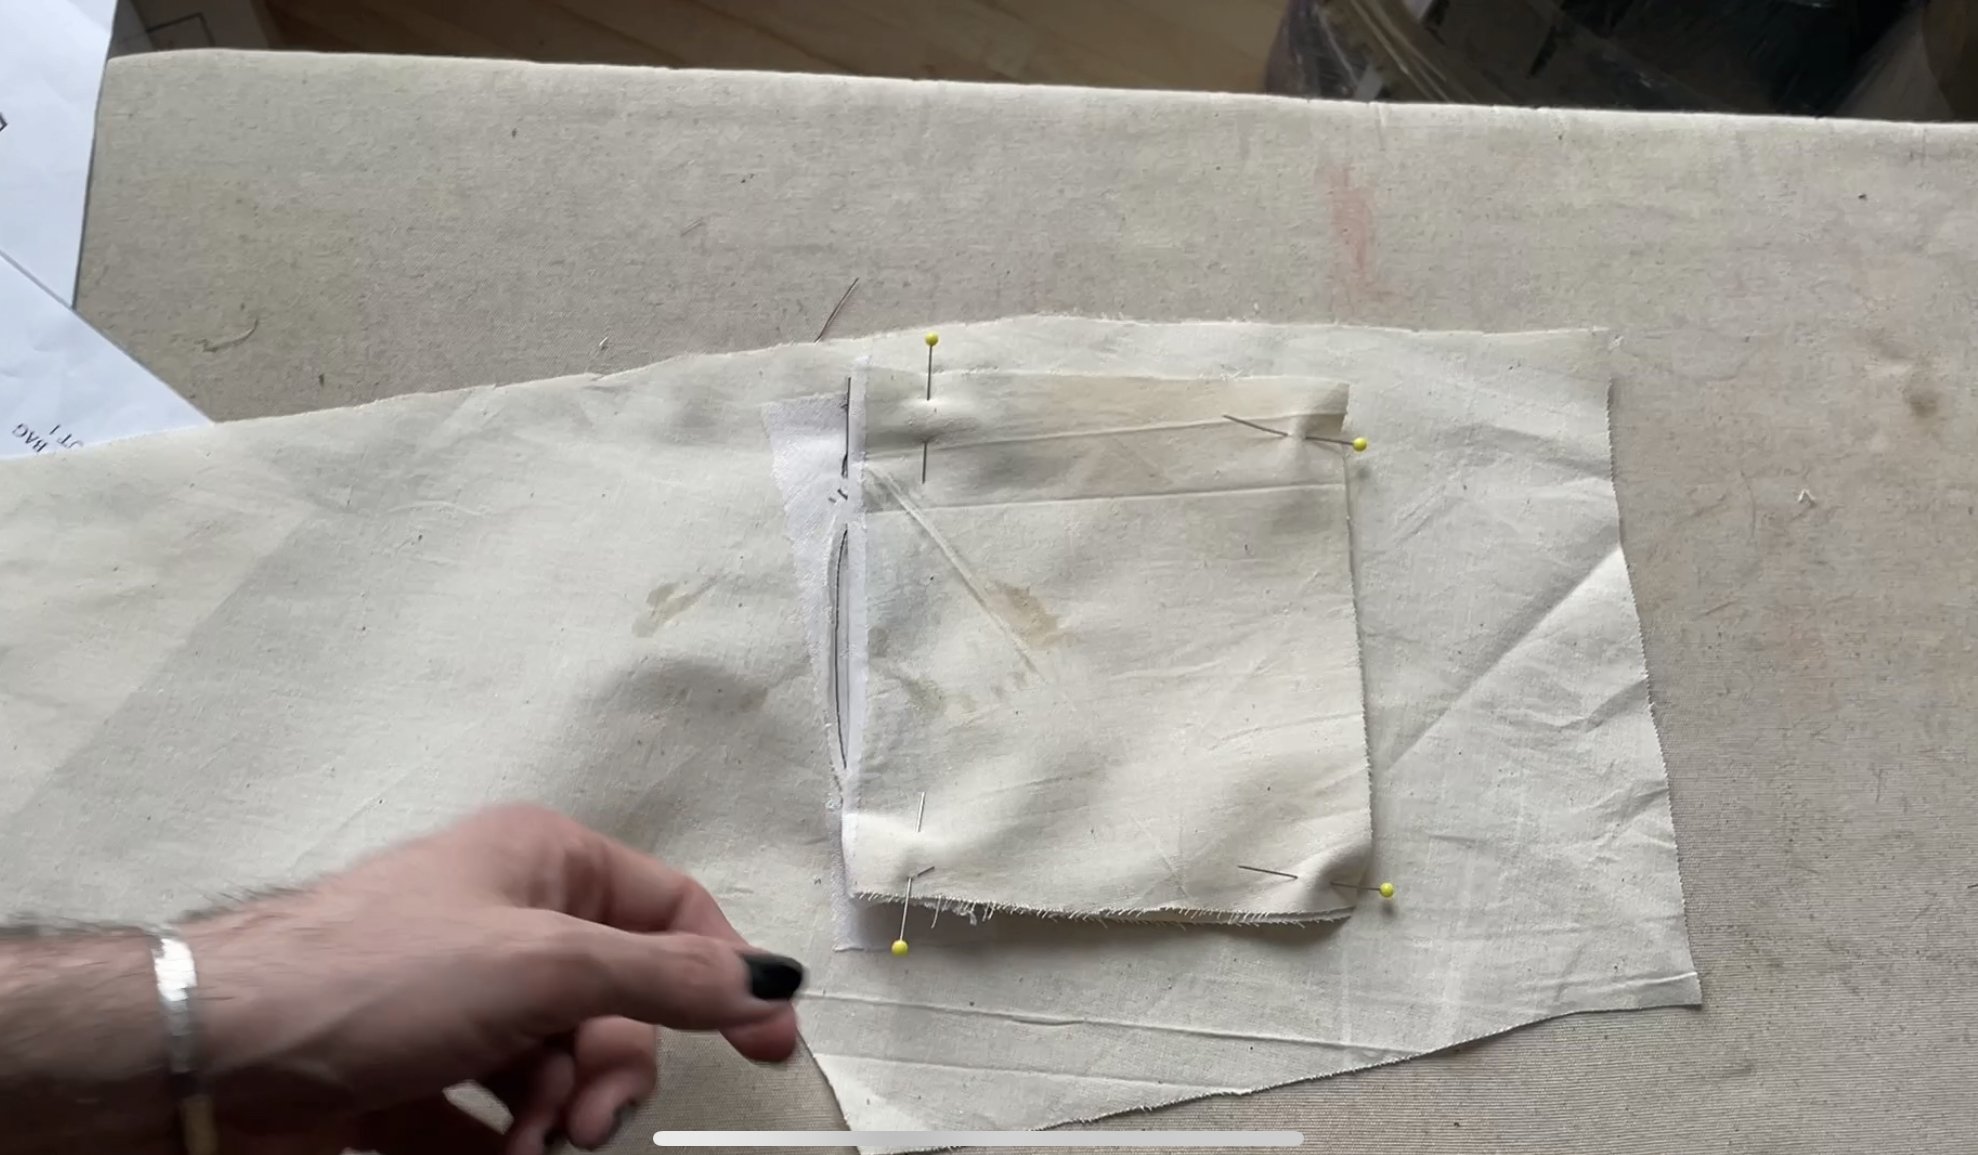
13.Now we need to work on adding in the pocket zippers and linings. There are boxes marked for pockets with envelope style markings in the center of the boxes, so let’s mark this on the back side of the side front jacket. I’m using a tailors chalk that disappears with steam. I am marking the back because I will be adding a piece of fusible interfacing to the back. This will help us hold the shape of the rectangle after sewing. I’m adding the fusible to the back where the zippers will go.
14.After adding my fusible to the back, I will be marking the front of the (side front piece) in the same positions. I’m going to lay my pattern piece over my fabric cut out, and trace those envelope lines again making sure everything is lined up appropriately. After tracing, I will carefully snip the envelope shape using my shears.
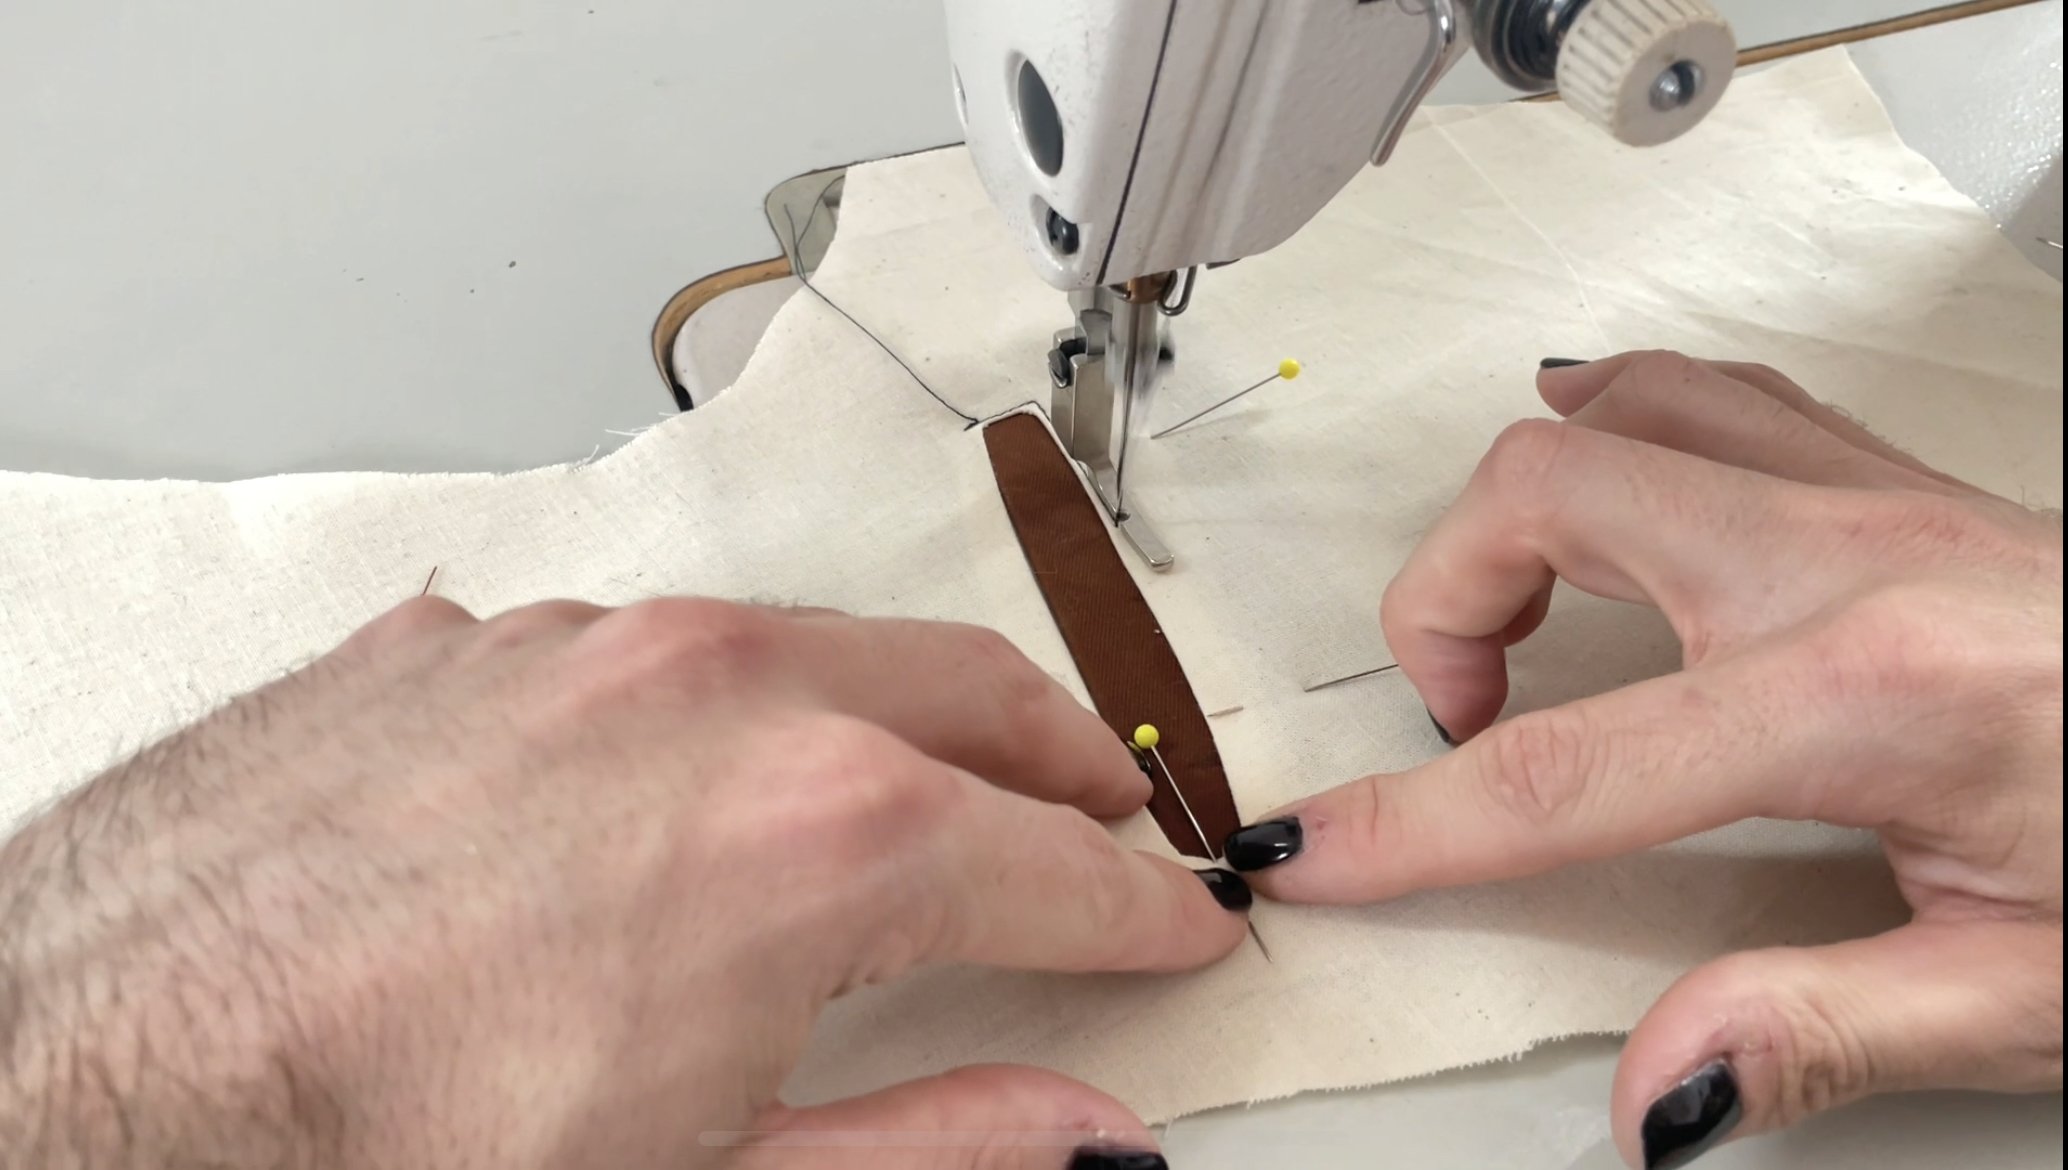
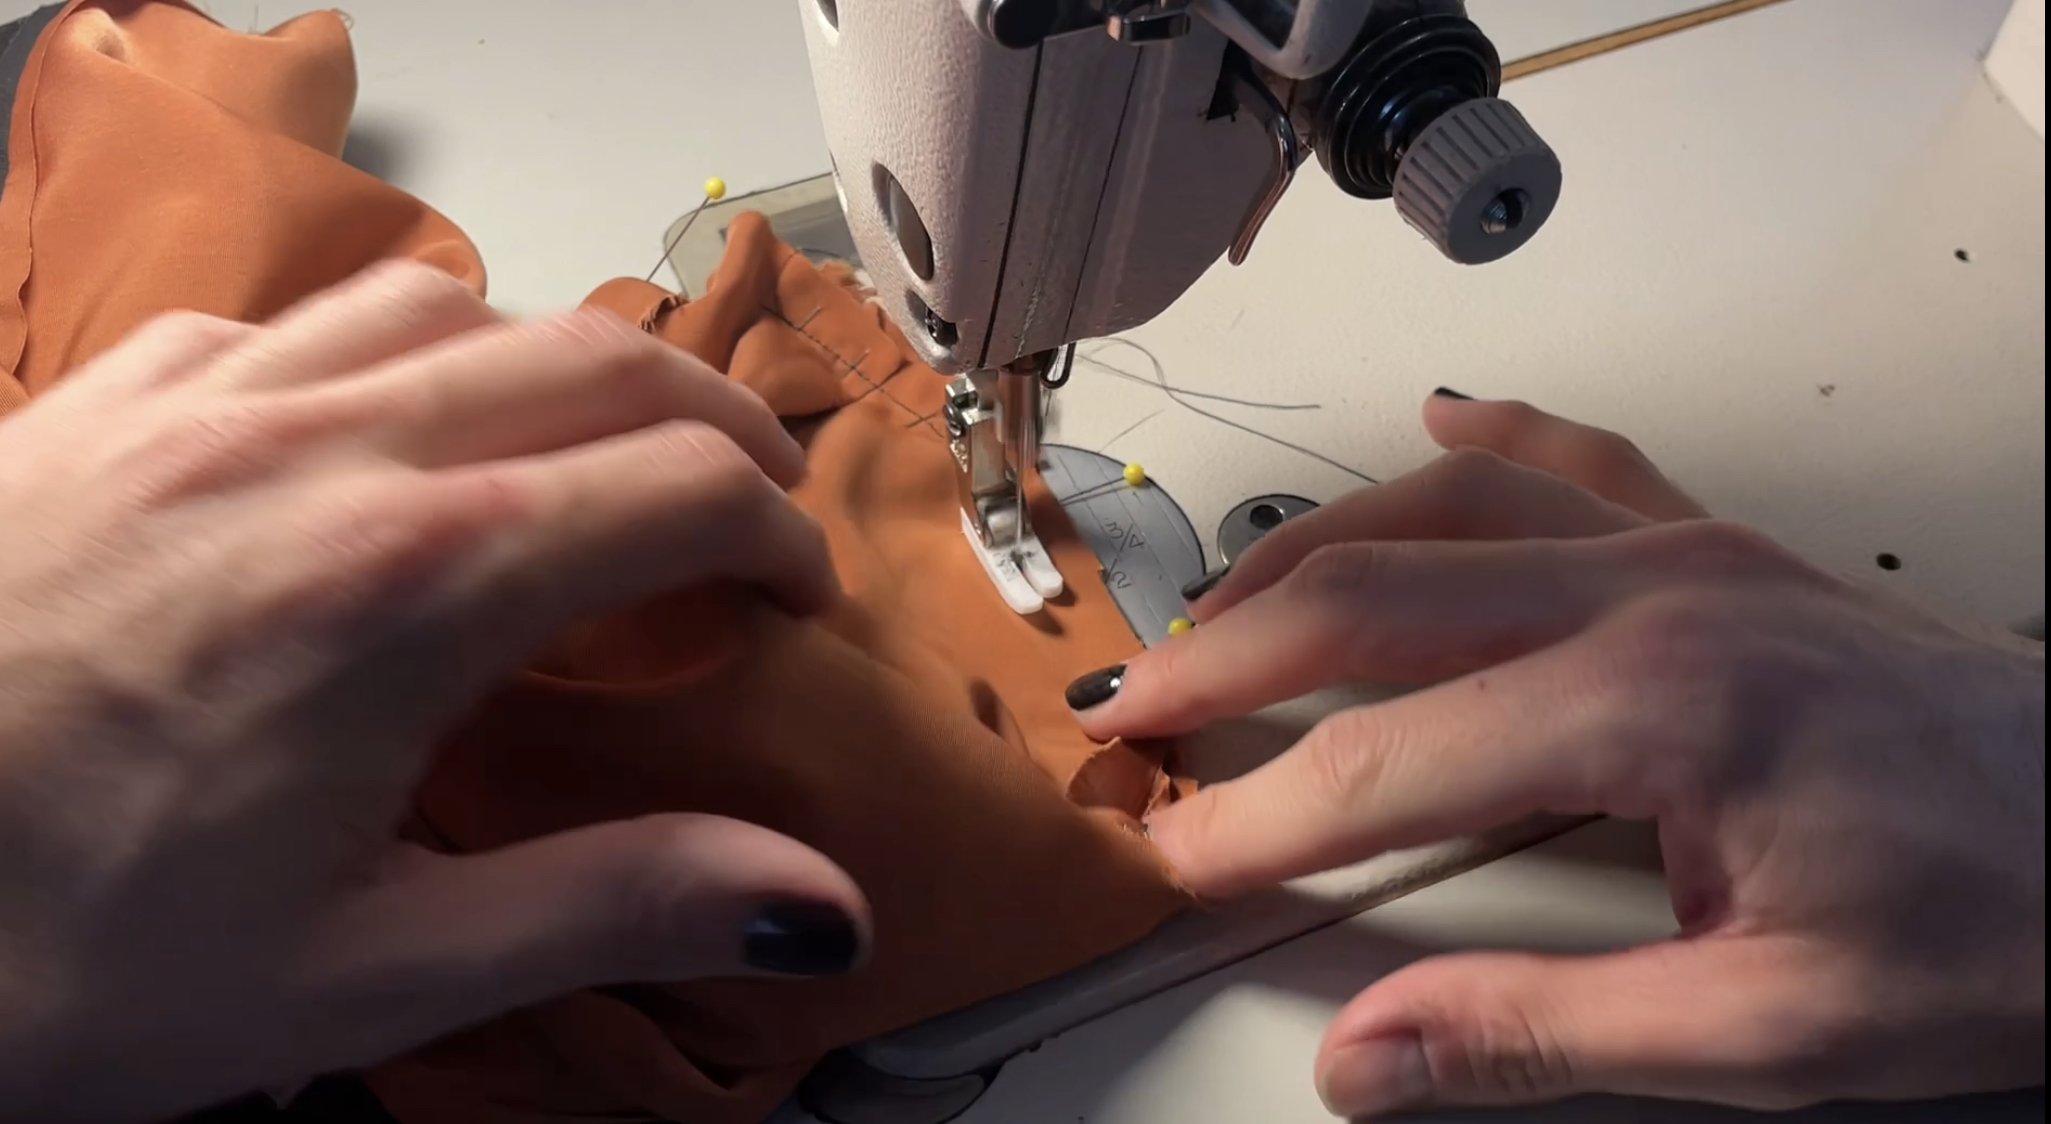
15.Now that we have cut the openings, we can attach our zippers. If you don’t have zippers that are the exact length, you can adjust the length of the metal zippers by removing some of the teeth, and the stoppers. If you need a tutorial, I demonstrated this on my Patreon Live a few months ago, and it will still be available for viewing for all of my patrons.
16.Now that my zippers are the correct length, I will attach them to the openings. To do so, I will carefully line my zippers up, and fold my seam allowance to face the zippers matching right sides. I’m going to pin in. Place and sew one side first. After sewing one side, I will line up the other side also, and pin and sew. For this I am using a narrow zipper foot, and getting the foot close, but not directly into the teeth of the zipper. I like the narrow foot for this because it allows me to have a little bit of seam allowance of the zipper tape to sew the pocket in with.
17.Now I am going press my zipper flat, and this will allow me to pull the top and bottom parts of the (envelope cut) we made, onto the zipper zap, and then pin them into place. Once we have pinned the top and bottom, we will stitch those. This will create that nice rectangle shape for the zipper to show on the front of the jacket. This is by far the trickiest part of the jacket, so take your time with this. The zippers will be a social point of the jacket and you want them to look clean!
After you have one zipper sewn in, you can choose to topstitch carefully around the edge if you like.
18.Now you will repeat this step to the other zipper on the Side front, and the 2 on the opposite jacket front.
19.Now let’s add our Lower Pocket Bag(ZD) to the Lower pocket. To do this, we will mark on the back of the pocket bag with chalk, just like we did to then Side front. We will also add a small rectangle of interfacing to the back of the pocket bag.
20.Now we can flip the pocket bag over, and draw the envelope lines on the front. After drawing, we can carefully cut the envelope lines.
21.Flip the side front jacket piece so the face is facing downward, and lay the pocket bag over the zipper, with the right side facing you (iron sides of the fabric will face.) Now you will attach this pocket bag just like we did the zipper, by attaching side at a time, and working your way around the rectangle starting with the two longer sides. After you have sewn all four sides, you can press.
22.Now we will want to stitch around the edges of the pocket bag. Make sure the bag is facing the right direction to where your hand will enter the pocket. Fold your pocket bag in half in that direction, Now pin around the edges, and then stitch. I’m going to overlock around my edges to make it nice and secure. You will repeat this to the bottom zipper pocket on the opposite side front piece.
23.Now we can add the Chest Pocket Bag (Piece C) to the top zippers of the side front. Much like the bottom, we will repeat the steps of marking the envelope cutout, adding the fusible, and attaching to the back of the zipper. When you are going to fold the pocket back in half to close it up, make sure it is facing the way your hand will enter, just like the bottom pocket bag. After pinning, stitch around the edges, and then overlock or zigzag.
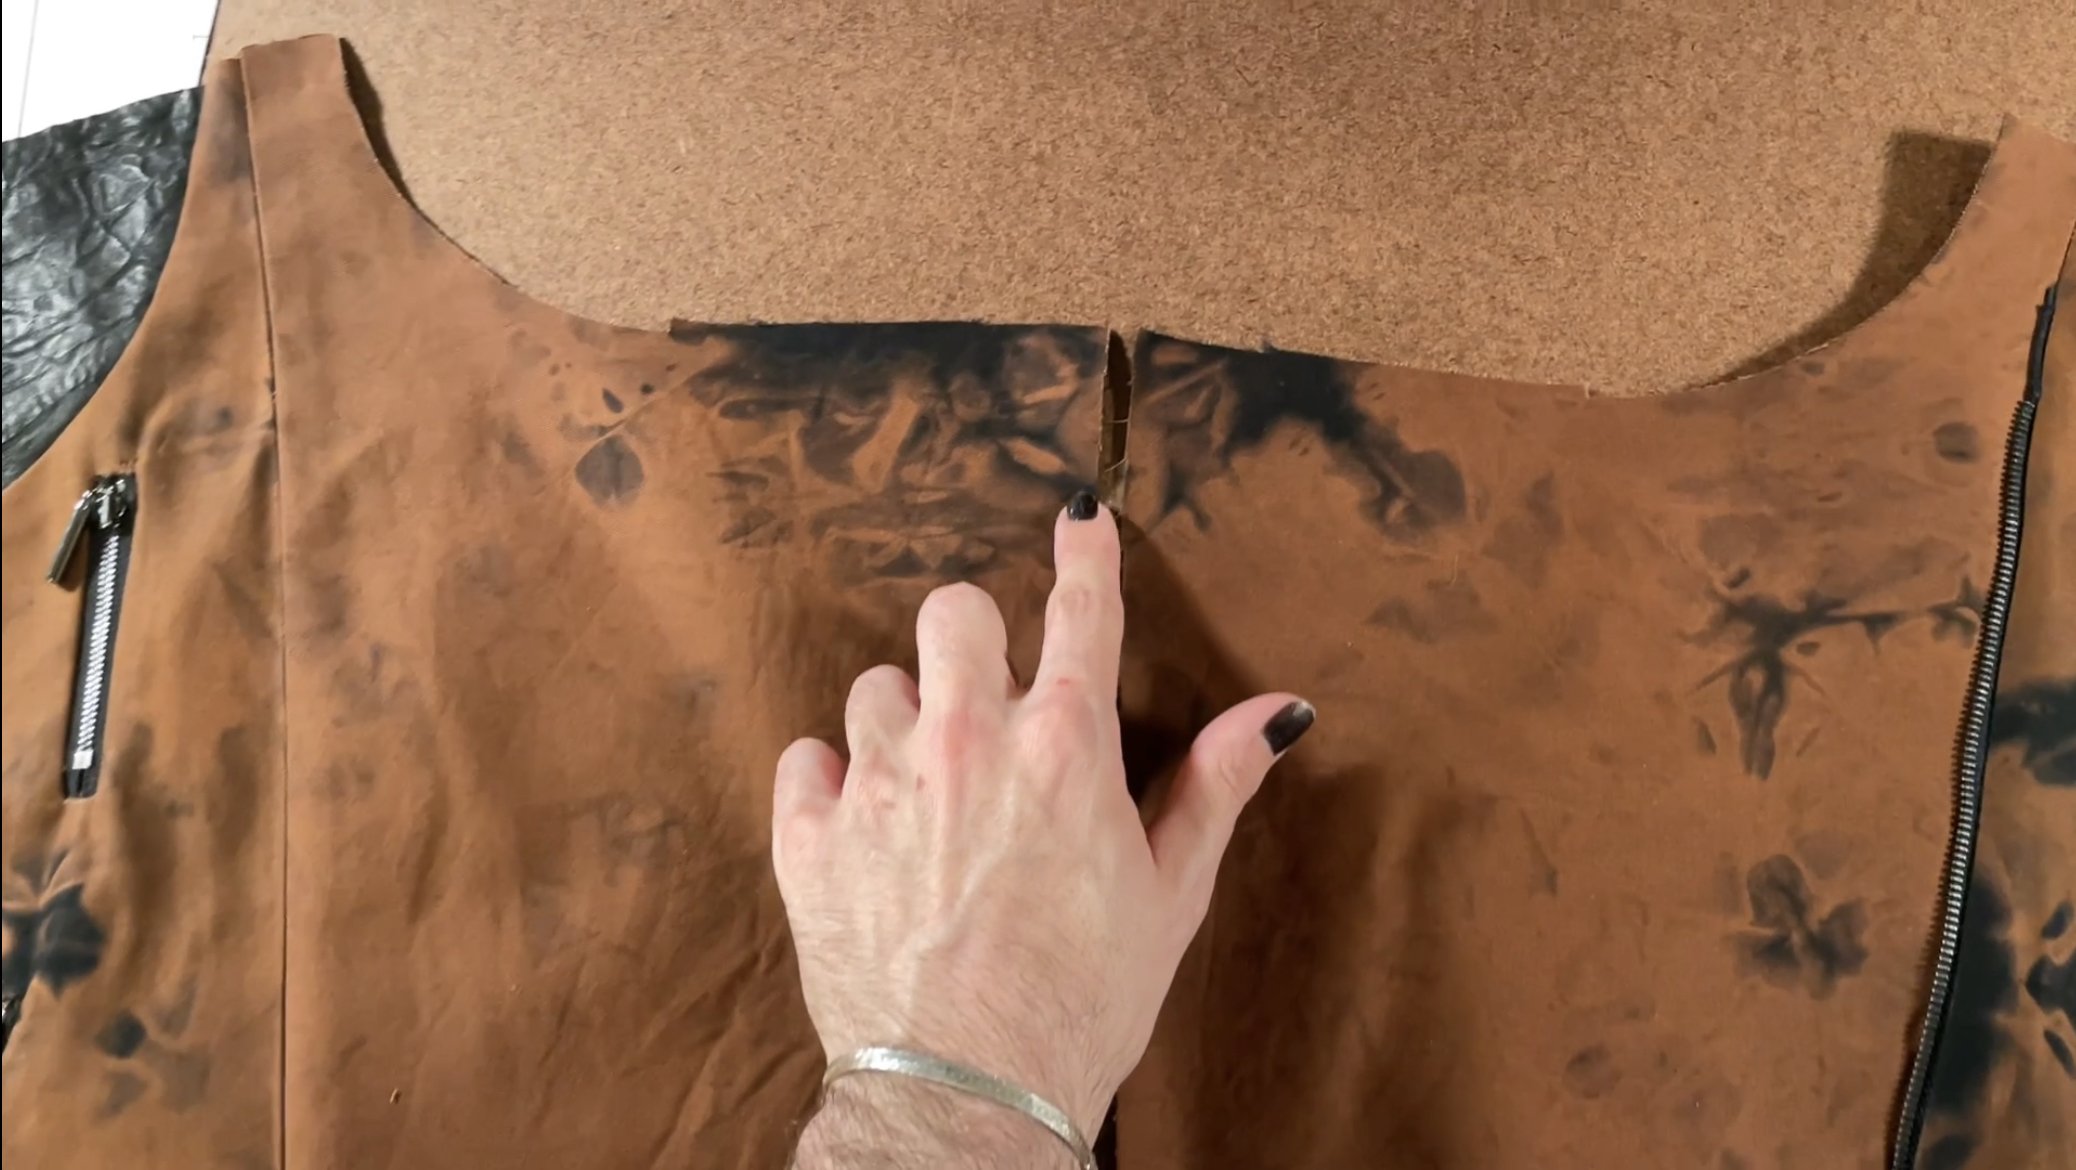
24.Now let’s attach our Jacket Front (Piece C) to the side front. Please keep in mind that you will be sewing half of our metal zipper into one of these seams, and which side of the zipper you sew into this seam determines how you zip top your jacket if that matters to you. Once you decide which side of the zipper to sew in, pin the zipper into the side front/front seam with the zipper teeth pointed inwards, and leaving yourself at least 1/2” from the bottom seam allowance to where your zipper starts. Sandwich your zipper between the side front and front pieces, and then stitch the front/side front pieces together. Match your notches so you can line everything up beautifully.
Let’s sit our jacket front aside and work on the sleeves.
25.Let’s create our sleeves.
-I’m going to start with top portion of the sleeve. Let’s attach the Sleeve yoke, (Piece H) to the Middle sleeve (Piece J.) Pin the yoke into the curved opening at the top with right sides facing, and then stitch the yoke into the sleeve. Afterwards clip the curves, and trim away a bit of the seam allowance, and press the seam open flat and beautiful.
26.Now let’s attach the sleeve back to the middle sleeve. Match your notches, and pin the right sides facing. After pinning, stitch in place and press the seam open flat and beautiful.
27.Now we can attach the front sleeve to the middle sleeve. Match your notches, and pin the right sides facing. After pinning, stitch in place and press the seam open flat and beautiful.
Before we can sew the cuff to the back cuff, we need to insert a zipper into seam. Technically this is optional, and if you choose not to, you will just sew the seam closed where the zipper should go, but if you are inserting a zipper, now is when you would do so. You want to make sure your zipper tape is 1/2”-5/8” longer than where the teeth stop and start. If your zipper length matches the cuff measurement, you won’t have to adjust anything. Start by sewing one half of your zipper to one side of the cuff, and the other side of the zipper to the back cuff. After stitching, you will want to press the seam nice and flat.
28.We can now attach the cuff to the top of the sleeve. Make sure to match the notch of the cuff at the top to where the seam of the middle and front sleeve meet. This will ensure the zipper on the cuff aligns on the right side of the arm.
29.Now we can sew the inseam of the sleeve. Pin the right sides facing, and the stitch. Afterwards press open flat and beautiful. Sleeves can be tricky to press, so using an ironing ham can be helpful. Now we can sit our sleeves aside.
30.Let’s assemble the collar
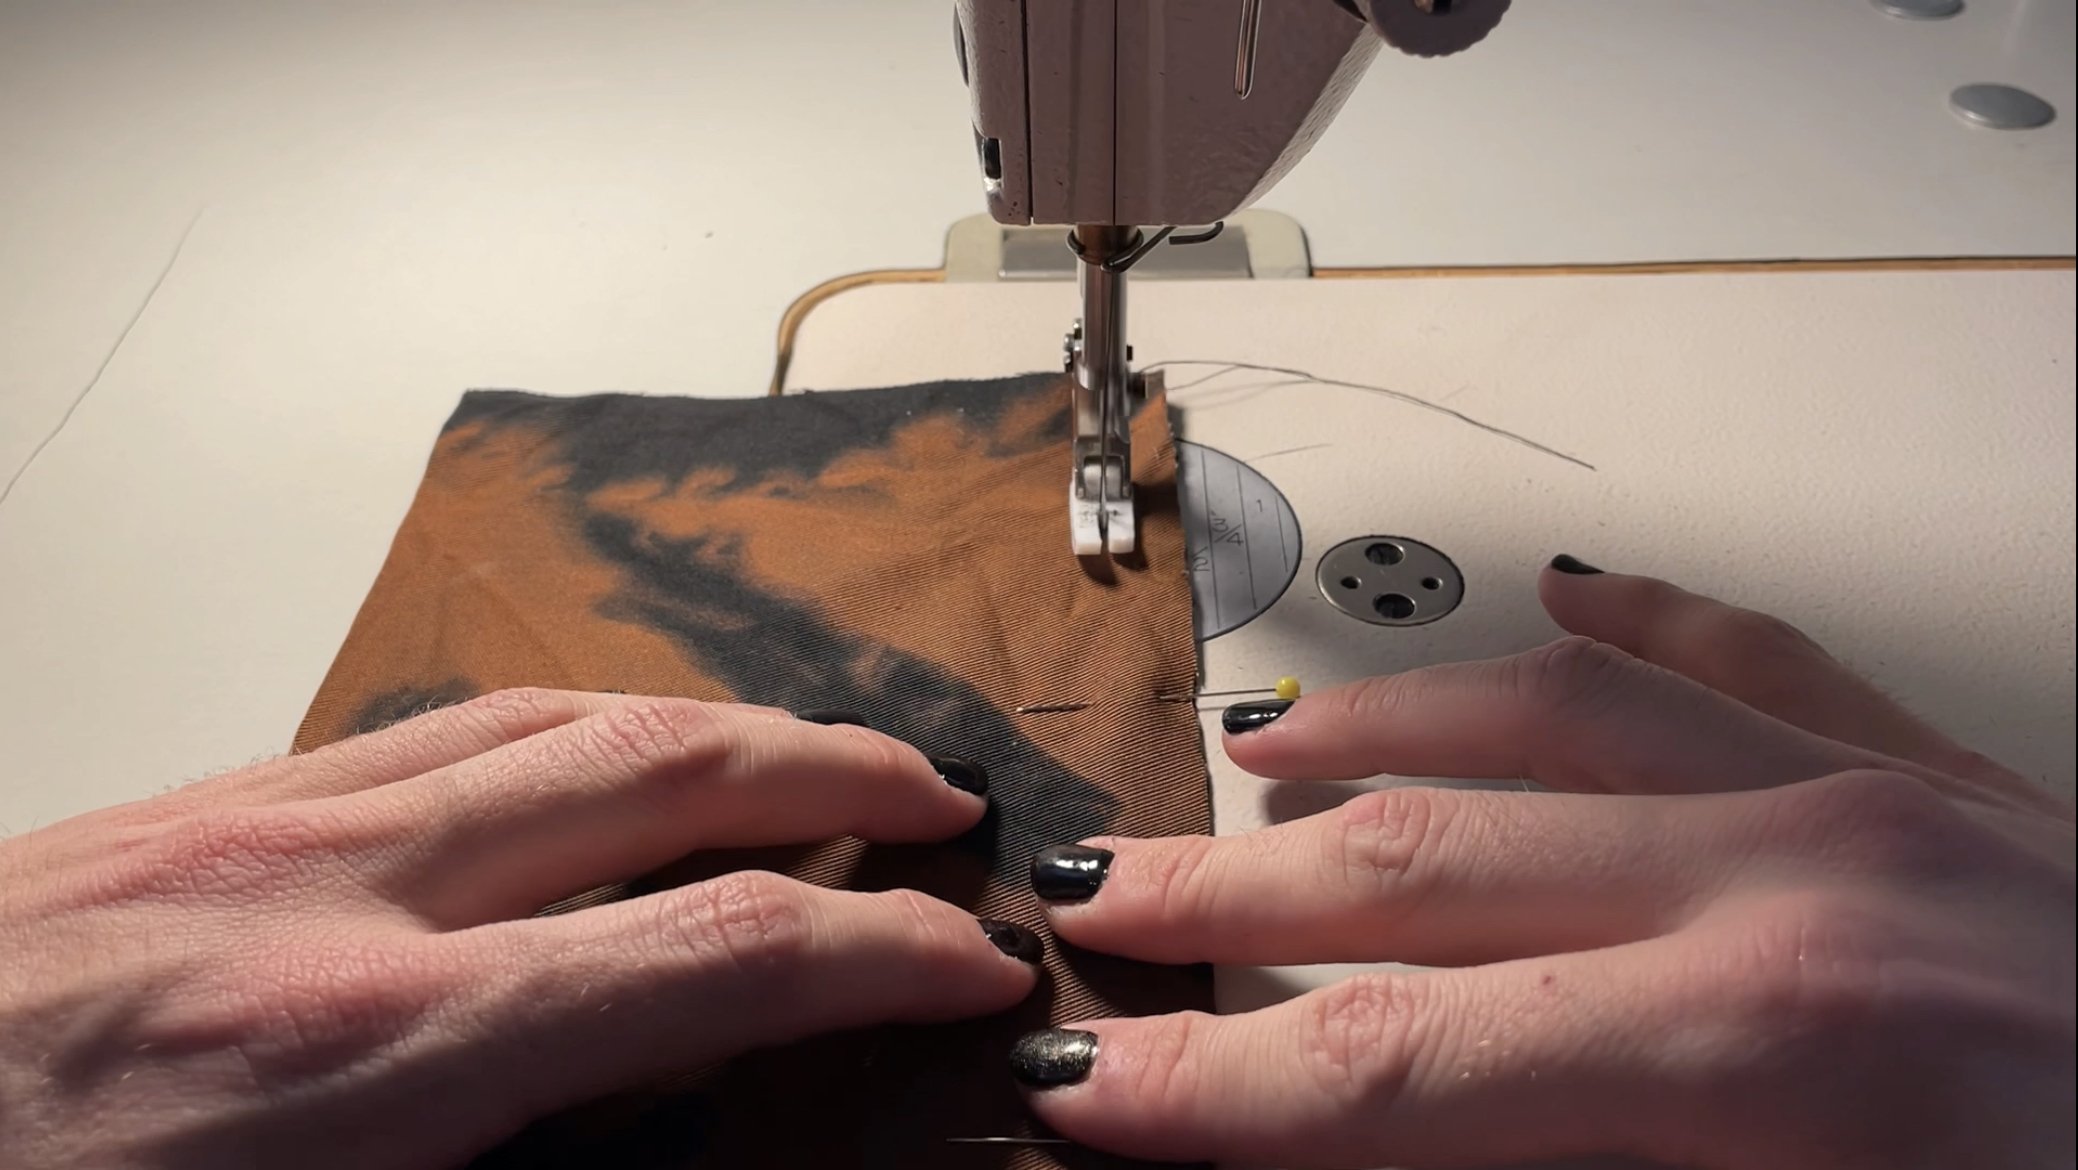
-For the collar, we will pin the under collar (Piece B) to the collar (Piece A) with right sides facing. After pinning, stitch around the edges. Please note that the seam allowance for this piece is 3/8” inch rather than 1/2” on the rest of the pattern. After stitching, slip the corners and turn the collar right side out. Press the points of the collar out so they are nice and pointed, and then press. Afterwards you can topstitch if you like.
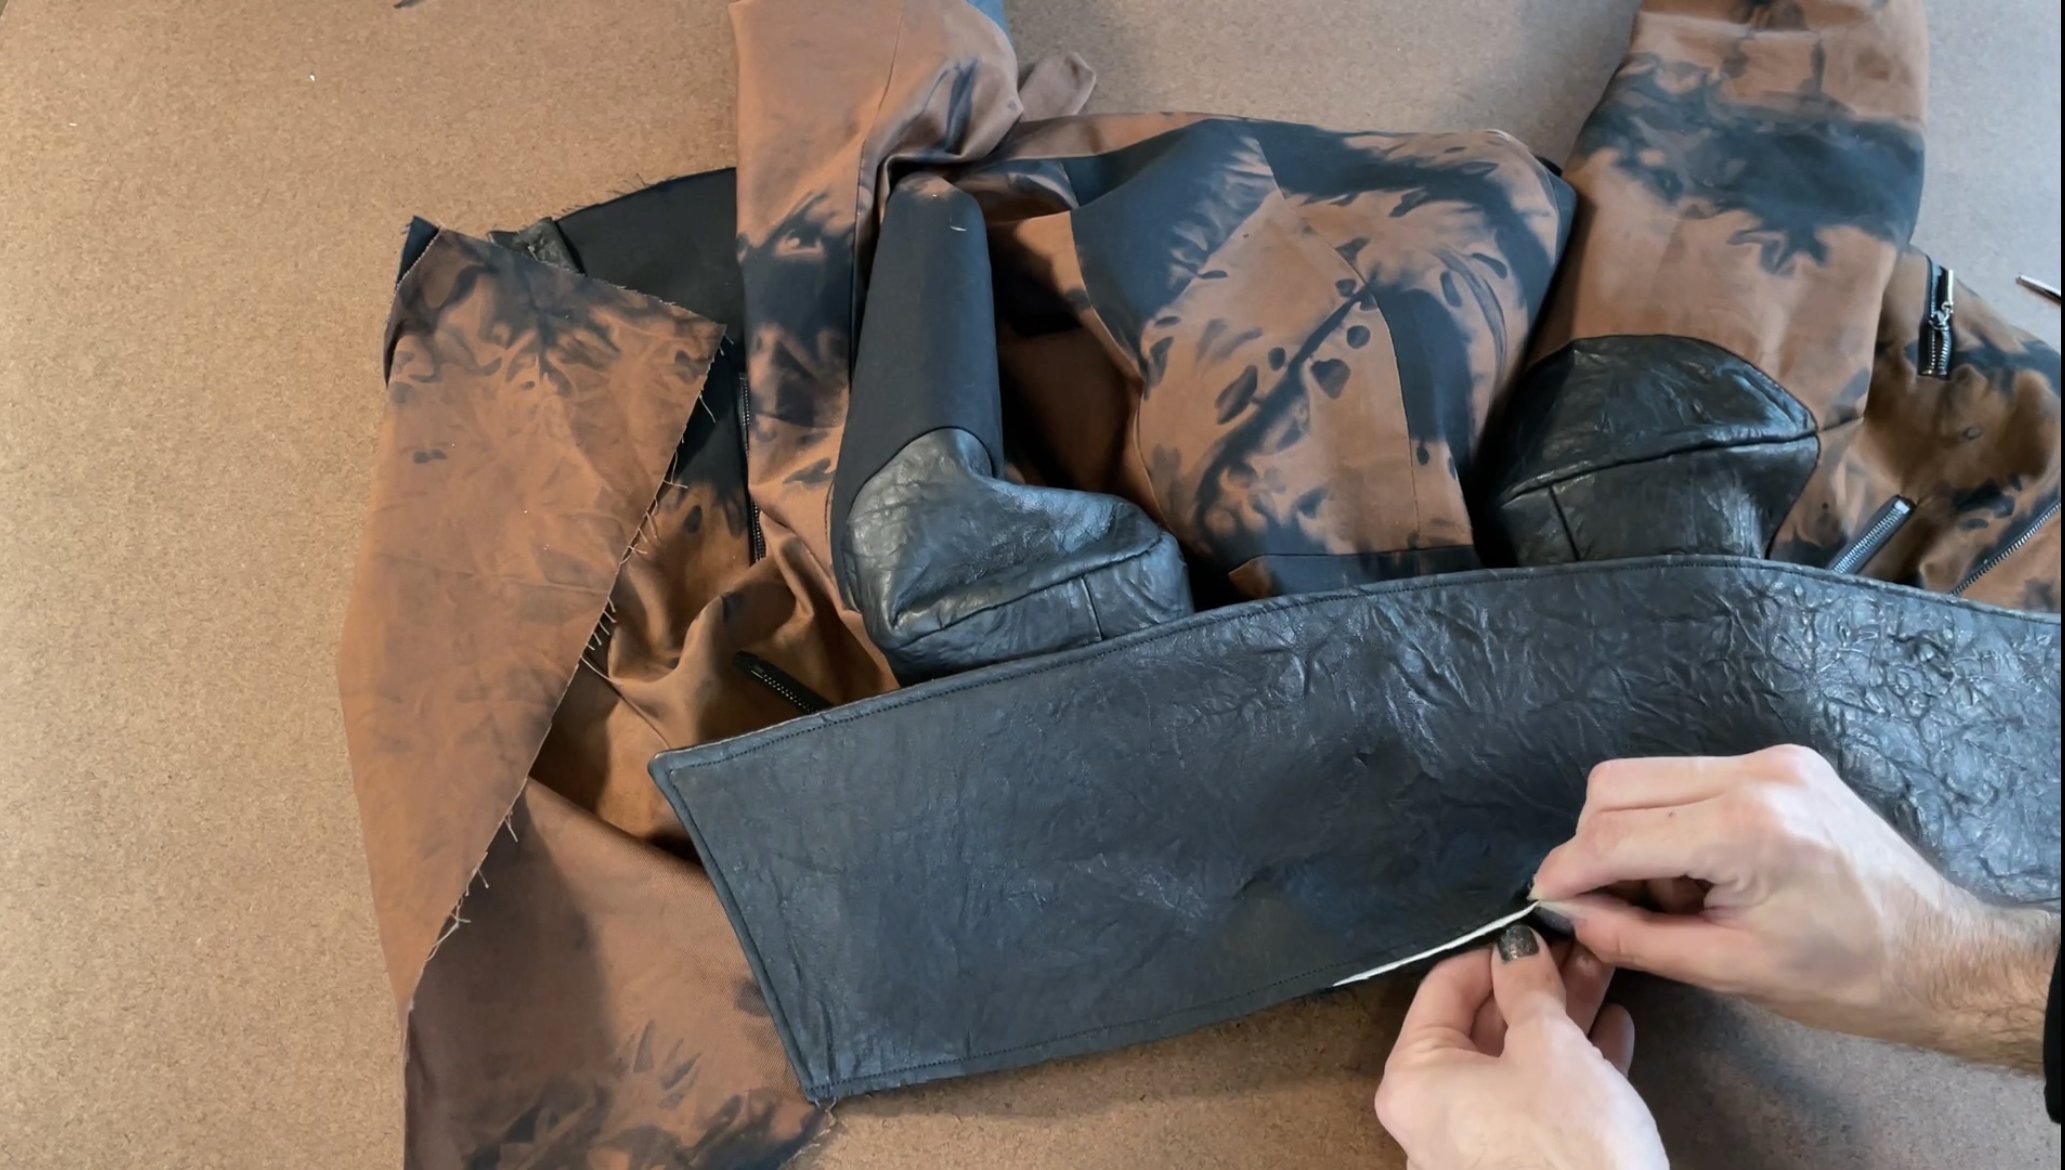
31.We have now assembled all of the pieces to make the outer shell of the jacket, and can begin assembling the shell.
-Start by pinning the shoulder seams of the front, and back of the jacket. With right sides facing, you will stitch the shoulder seams, and them press them open flat and beautiful.
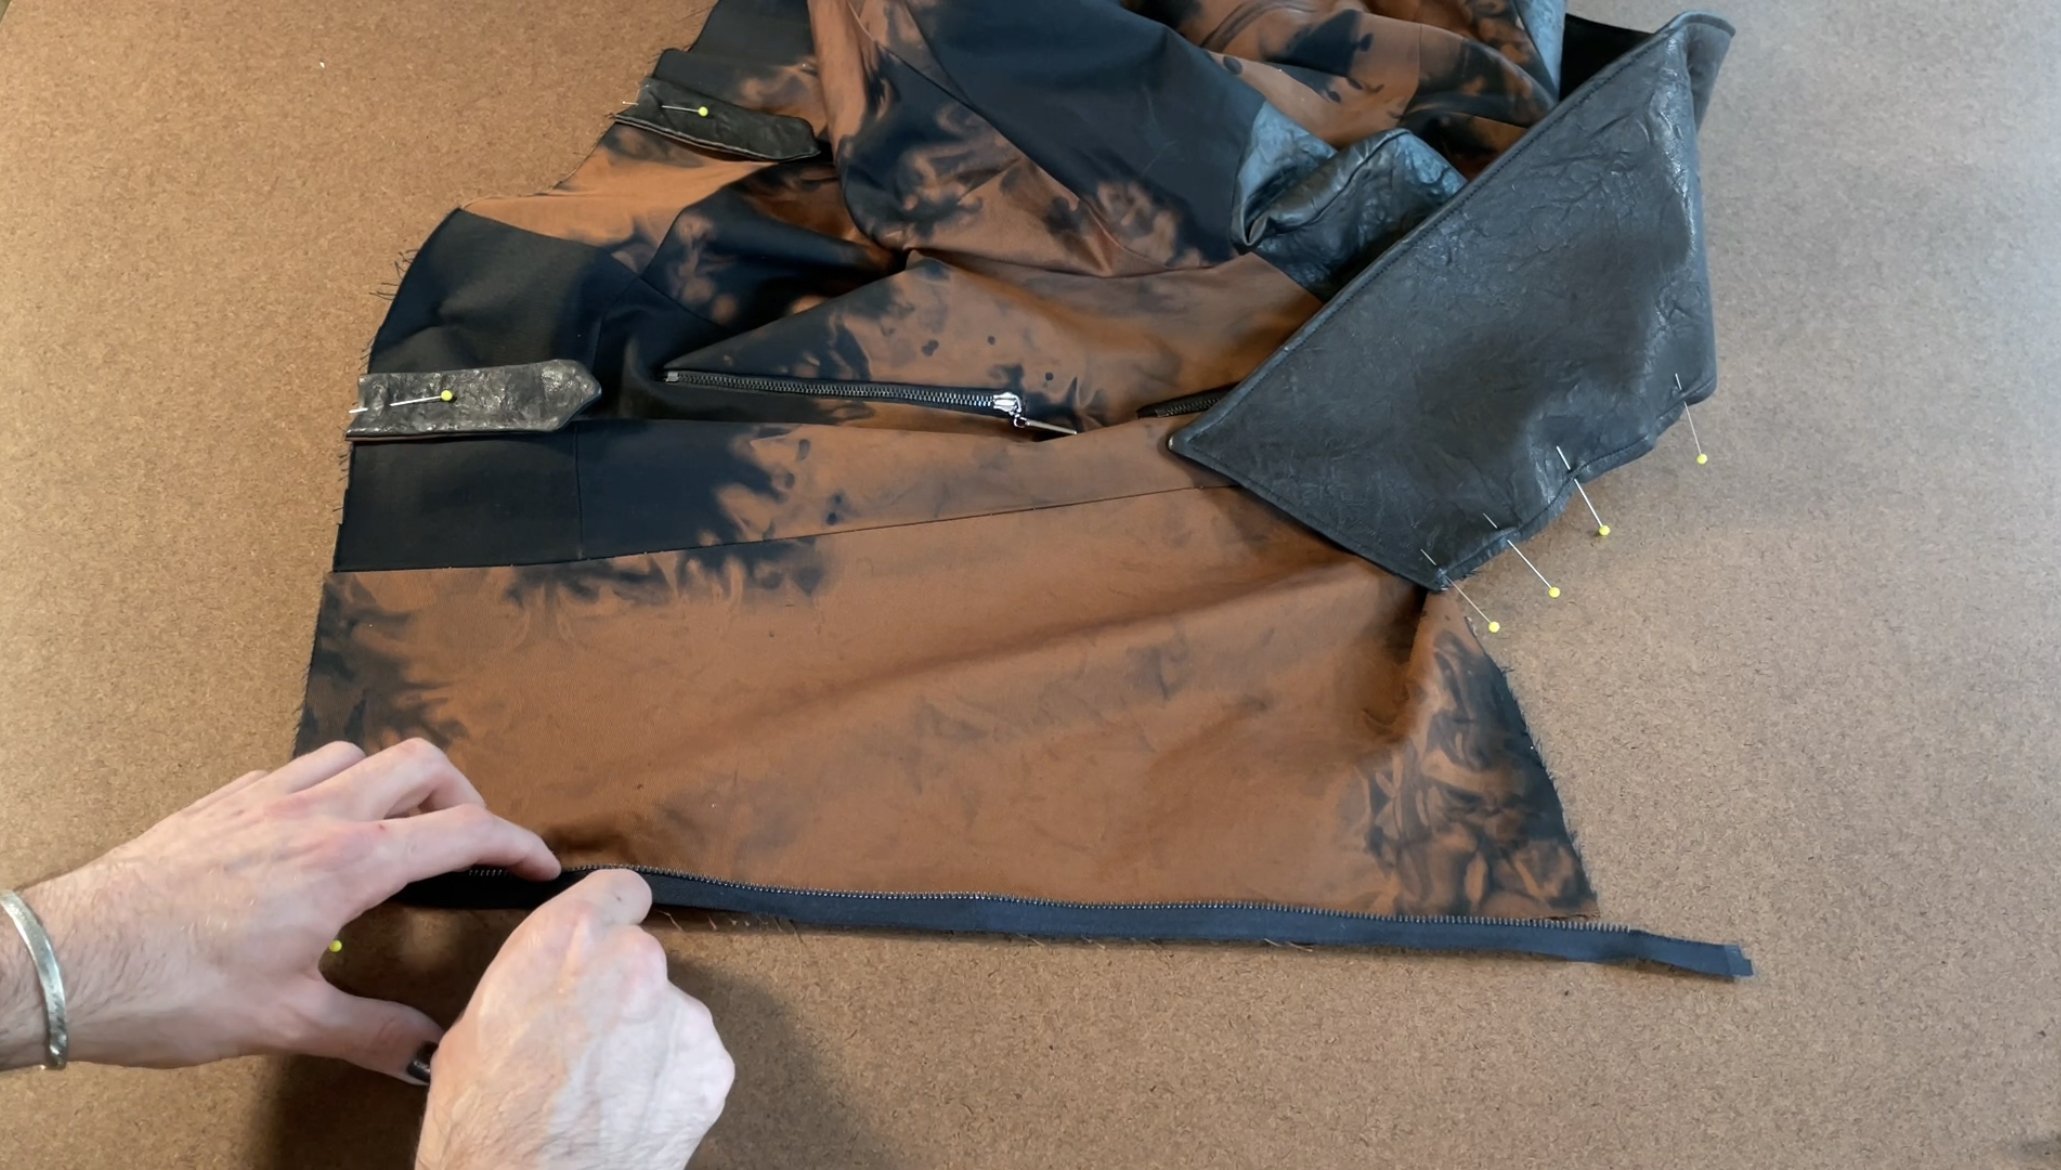
32.(FOR VIEW A) Now we can stitch the side seam of the front and back of the jacket. With right sides facing, pin and stitch the side seam of the jacket. Afterward, press open.
-FOR VIEW B, you will need to add in the side pockets to the seam of the peplum (if you are wanting to add those.) To do this, you will pin and stitch the side seam from the top to the notch marked “pocket opening” on the peplum. You will stitch from the bottom of that opening to the bottom of the peplum too, leaving an opening. The next step will be to stitch the side seam pocket (Piece V) to the seam allowance of the pocket opening. I am going to be sewing one side of the pocket at a time, and then will join the two layers at the end. I am matching up my pocket to the pocket opening and checking my notches. Afterward I will pin. Then I will stitch starting where I left off at the pocket opening, and stopping where we stopped at the pocket opening. Get these stitches as close as possible to the original stopping points. Now repeat this on the other side with the other half of the pocket. Afterward we will join the two pockets by sewing around the edges of the pockets,. Now press everything nice and flat. This allows you to check your work also, you’ll get a good idea of how things lay at this point. At the end, I will add a little stitch to secure the pocket to the peplum waist seam.
33.Now line both sides of the side seam pocket up, and stitch the top and all the way around the3 edges. Afterward you can overlock/ zigzag if you like. I also sometime add a little hand tack to the top of the pocket to the seam allowance of the peplum to help it hold itself up.
34.Now that the side seams are sewn (no matter which view you are making.) Let’s insert the sleeve into the arm hole. You want to match notches, and make sure to match right sides of fabric. Use as many pins as you need to make sure the sleeve properly fits into the opening. After pinning, stitch the sleeve into the arm opening. After stitching, you will want to clip the curves and press as best as possible.
35.If you plan on using a shoulder pad, nowise when you would attach that. I like to whip stitch my shoulder pad tot he seam allowance of the arm hole at the top. I make sure the shoulder pad is lined up perfectly to the cap of the shoulder and stitch that into place. This step is not necessary if you aren’t a fan of shoulder pads. Now stitch the outer sleeve in, and sit the shell of the jacket aside.
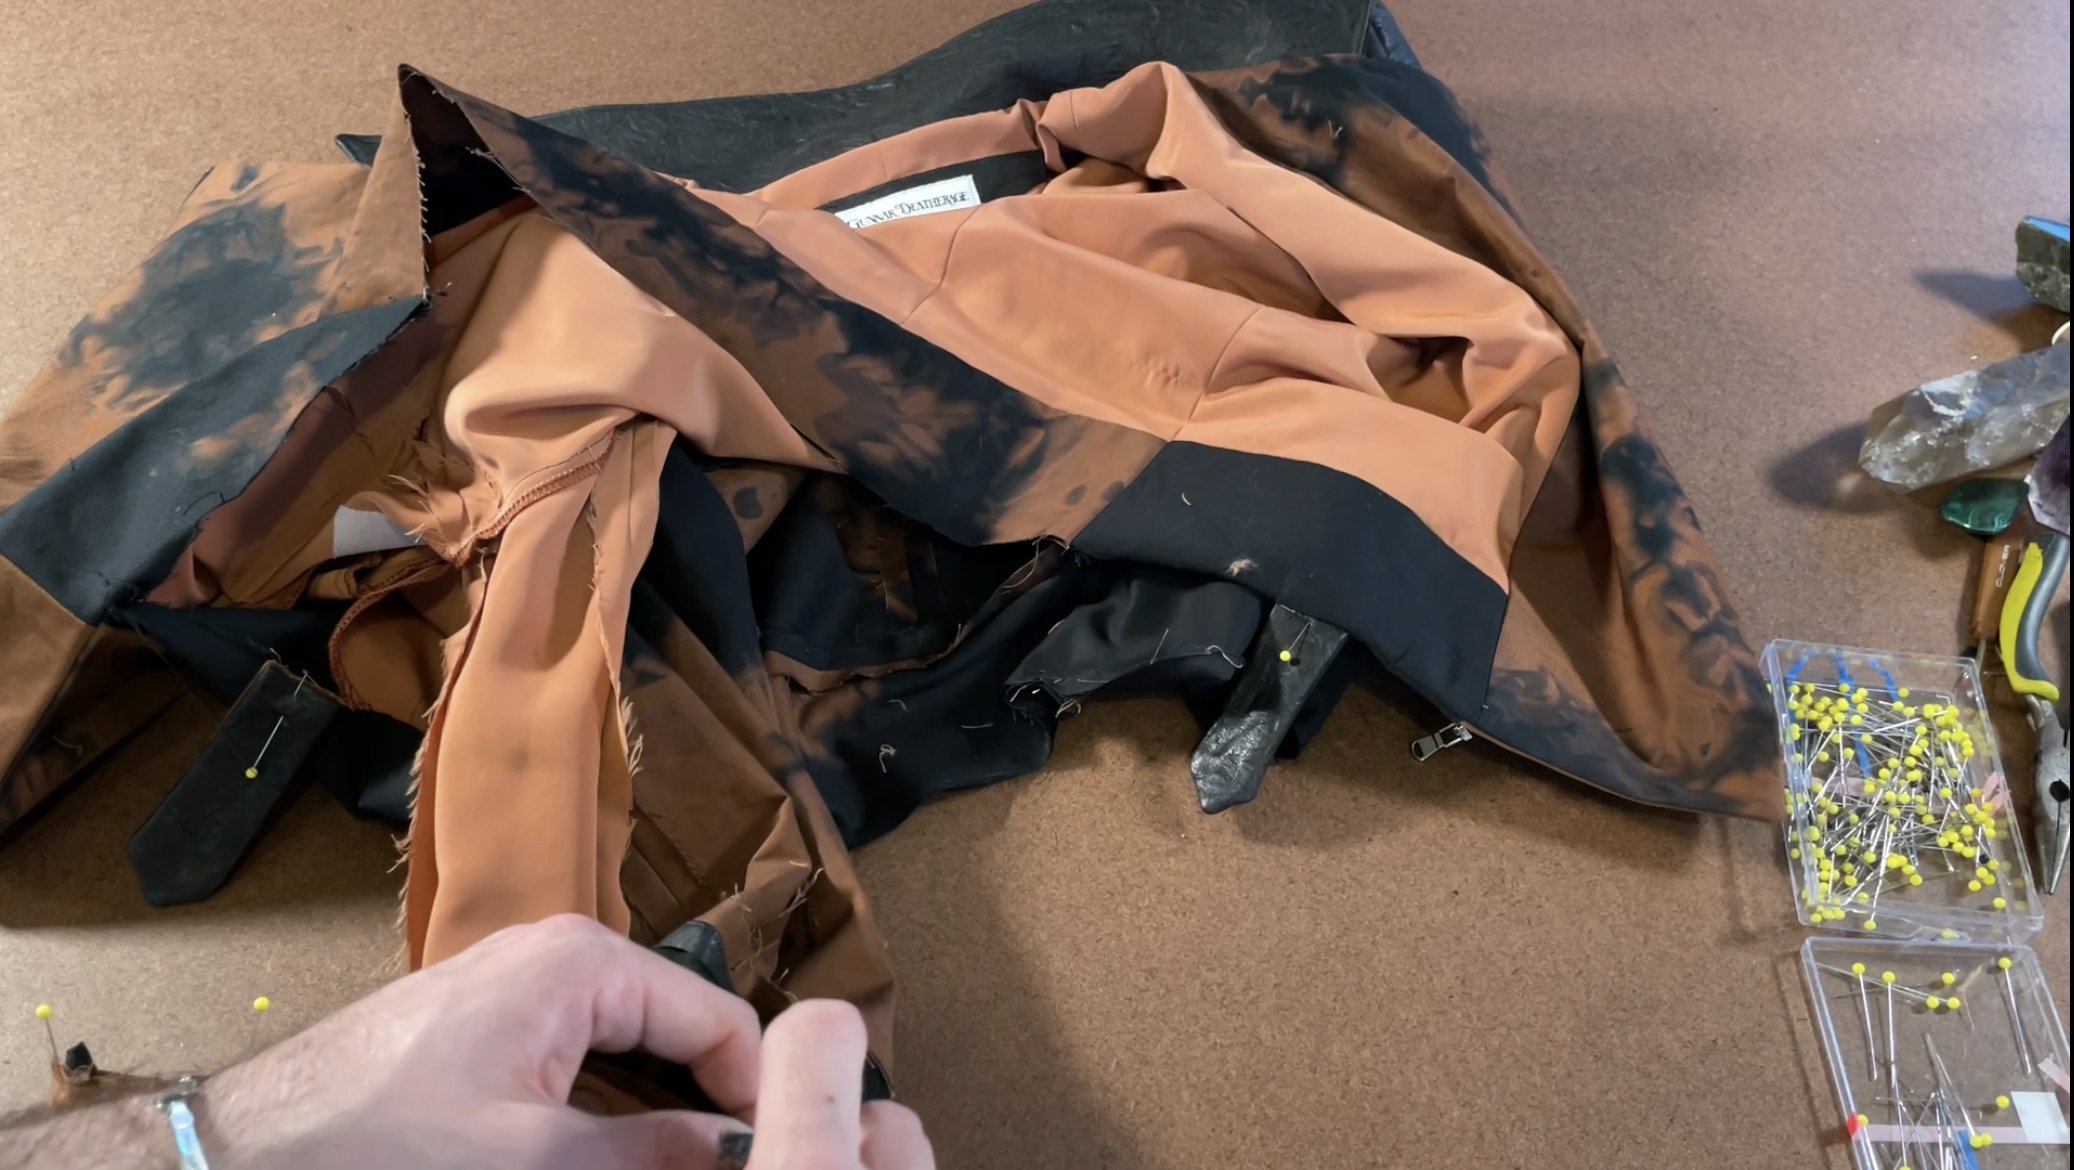
36.Let’s assemble the lining of our jacket.
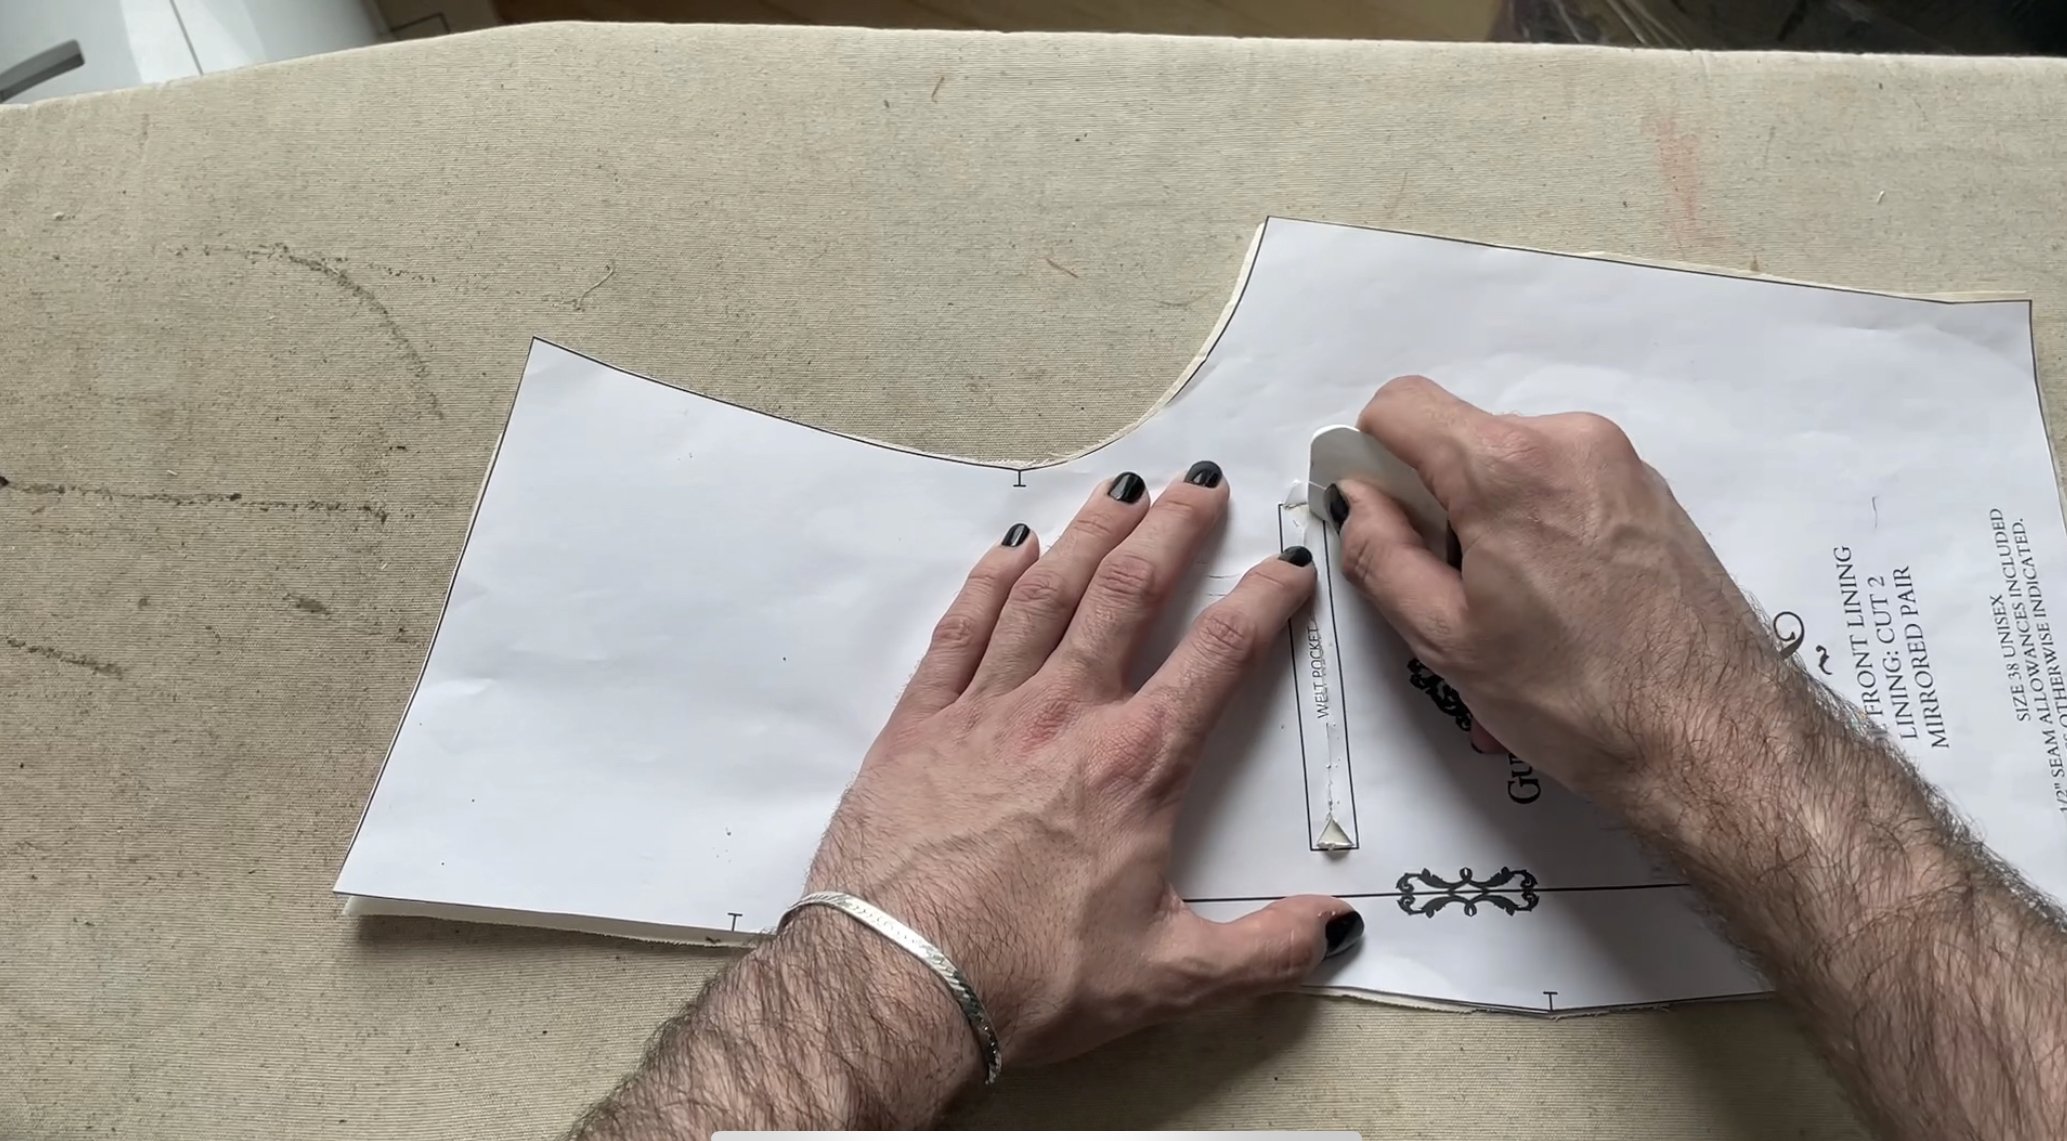
Let’s begin by adding the pocket tot he Side Front Lining (Piece X) This step is unnecessary, but I like to include this pocket because if I have something valuable on me, this is traditionally where it would go. To begin, much like the zipper part of the process, you will mark the front and back where the envelope lines are on the side front lining and the lining pocket.
37.You will iron some fusible interfacing to there the welt will go. Now you can flip the side front over, and carefully cut out the envelope style lines where the welt will go. From here, I like to carefully fold under the flaps of the opening, and pin them down, and then iron them so they stay. This will give a really nice rectangle.
38.Now I am going to fold my welt in half, and then either overlock or zigzag around the edges. Now I will insert the welt behind the opening and line it up so it is central, and pin it in place. You should be able to feel where the welt is overlapping with your seam allowance of the rectangle opening.
39.Now that everything is pinned in place, I will then topstitch around the outside edges of the rectangle, which will secure the welt in the center of the opening, and also secure the seam allowance the welt opening to the back of the side front lining.
40.Now that we have secured the welt to the opening, we can attach the Inner pocket bag (piece ZF) to the back of the welt. We will treat this exactly like we did to the back of the zippers by marking/ using an interfacing to the back, and then lining up over the back of the welt, and turning the seam allowance under to match up/ pinning and stitching. After you have worked your way around the rectangle, and the pocket lining is stitched to the seam allowance of the jacket lining, you will close the inner pocket lining up, by folding in half, and then stitching around all the edges. After stitching you can overlock/zig zag around the edges to make it more secure.
41.IF YOU ARE MAKING VIEW A you will attach the Front waistband (piece F) to the waist seam of the Side front lining.
-IF YOU ARE MAKING VIEW B, you will attach the front peplum Lining (Piece U) to the waist of the side front lining.
42.Now we can work on the back lining. Begin by sewing the center back of the lining back ( Piece Y.) After pinning and stitching with right sides facing, you will then press the seam open.
-Please note there are darts on each of the center back lining pieces. Make sure you stitch the darts.
43.Depending on whether you are making VIEW A, or VIEW. B, you will attach the back waistband or the Back Peplum lining. If you are using the peplum, you will need to stitch the center back peplum lining (Piece W) before attaching at the was it seam of the back lining.
44.The next step is to attach the shoulder seams of the lining front and the lining back. We will also be attaching the side seams. With right sides facing, pin and stitch the shoulders and side seams of the lining. Afterwards press open flat and beautiful.
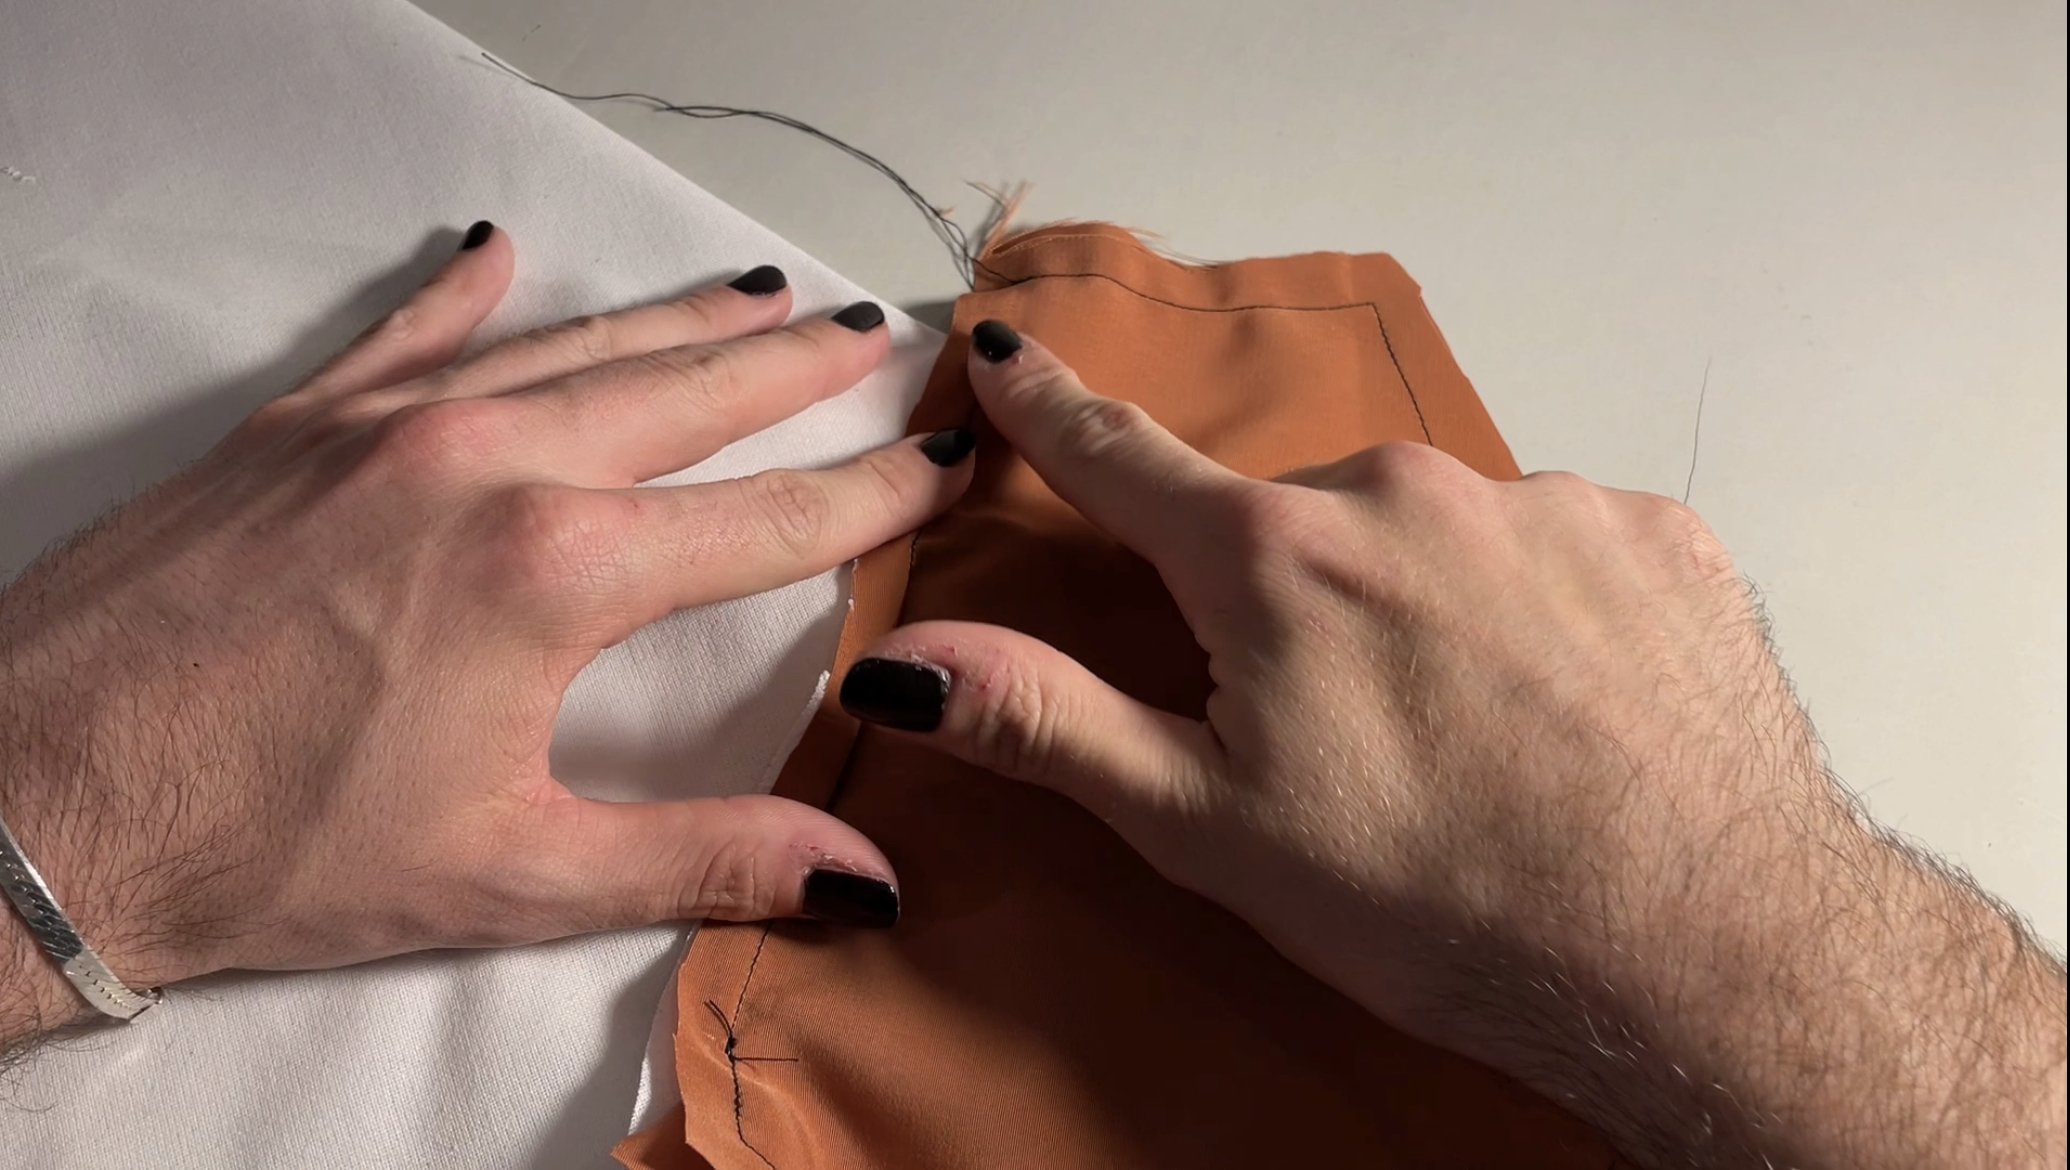
45.Lastly, lets attach our front facing to the side front lining. This right sides facing, pin and stitch the facing to the lining.
46.Now lets create our sleeve lining.
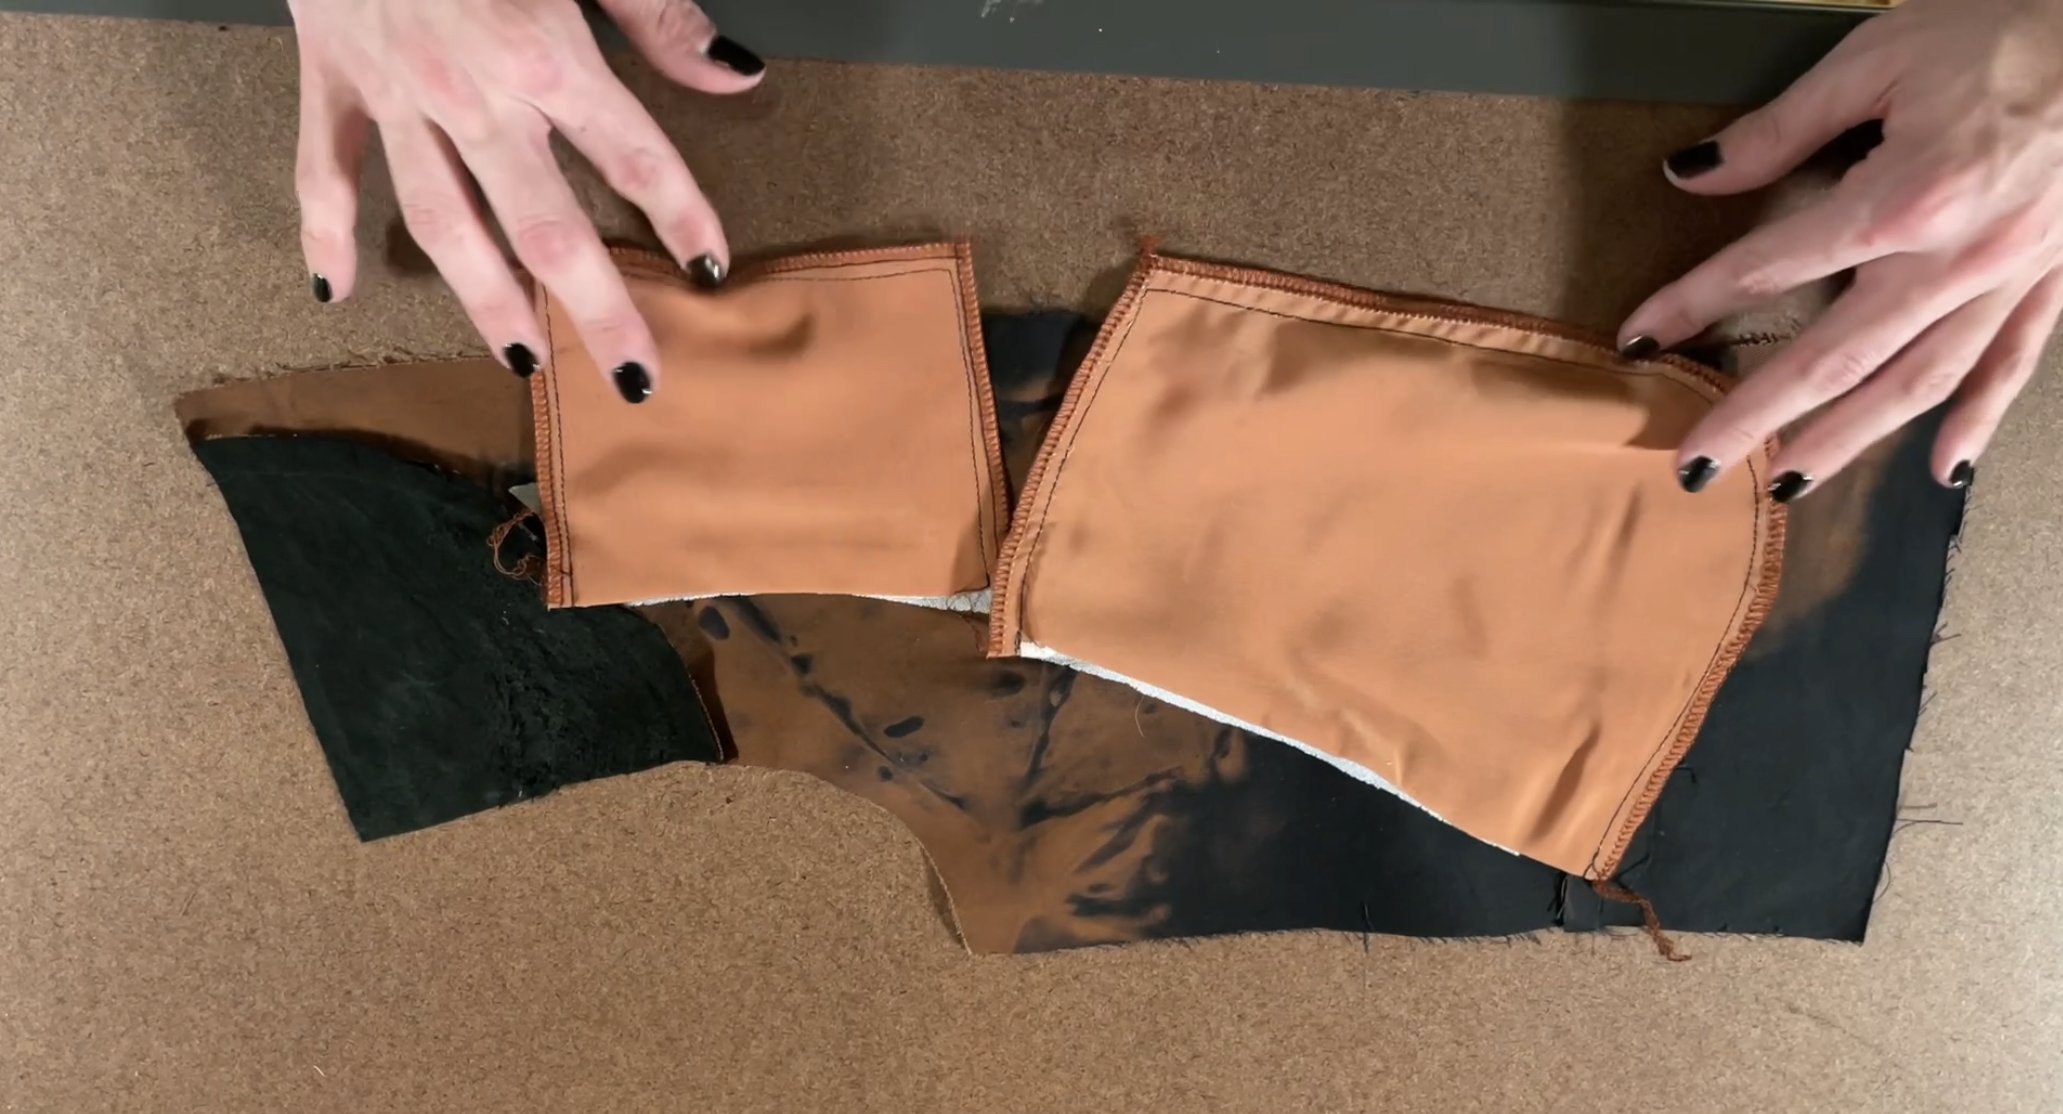
-You should have cut 2 of the back cuff lining, and 2 of the cuff lining. We will now be sewing the cuff facings onto the cuff linings. These will sit directly in the sleeve, and will be visible. This step isn’t necessary but I think makes a big difference ing the overall look and aesthetic. To start, you will want to finish out the top edge of the cuff facings. I am overlocking min, but you could do a zigzag stitch, or even ironing the 1/2” seam allowance to the back side of the facing. Just something to finish out the top edge.
47.Now we will stitch the facings to the bottom of the cuff and the cuff lining. Sew all around the outside edges. I’m doing this at 1/4” inch so non of my stitching will be noticeable once we sew the rest at our usual 1/2” seam allowance.
48.Now I am going to stitch the sleeve lining (piece ZA) to the back sleeve lining (Piece ZB.) After stitching, ill press those open.
49.I will now attach the cuff lining and the back cuff lining , and only stitch down about 1/2”from the top towards the bottom. We will need to attach the sleeve lining to the sleeve, so we will be leaving this open for right now, but need to sew that little half inch to attach it tot he top part of the sleeve lining.
50.WIth right sides facing, pin and stitch the cuff lining to the sleeve lining. Afterwards presser and finish out the seam.
We can now stitch the inseam of the sleeve lining. Pin the right sides together, and stitch and press.
51.Now lets insert the sleeve lining into the lining at the sleeve opening. Make sure to match up the back sleeve to the back of the jacket lining so the curve of the elbow and zipper opening align with the outer jacket. Pin around the arm hole, and then stitch around the arm hole making sure to clip curves, and finish out the edge. Repeat this with the other sleeve.
52.Our jacket lining is now ready to sew into the shell of the jacket, so let’s sit it aside for a moment.
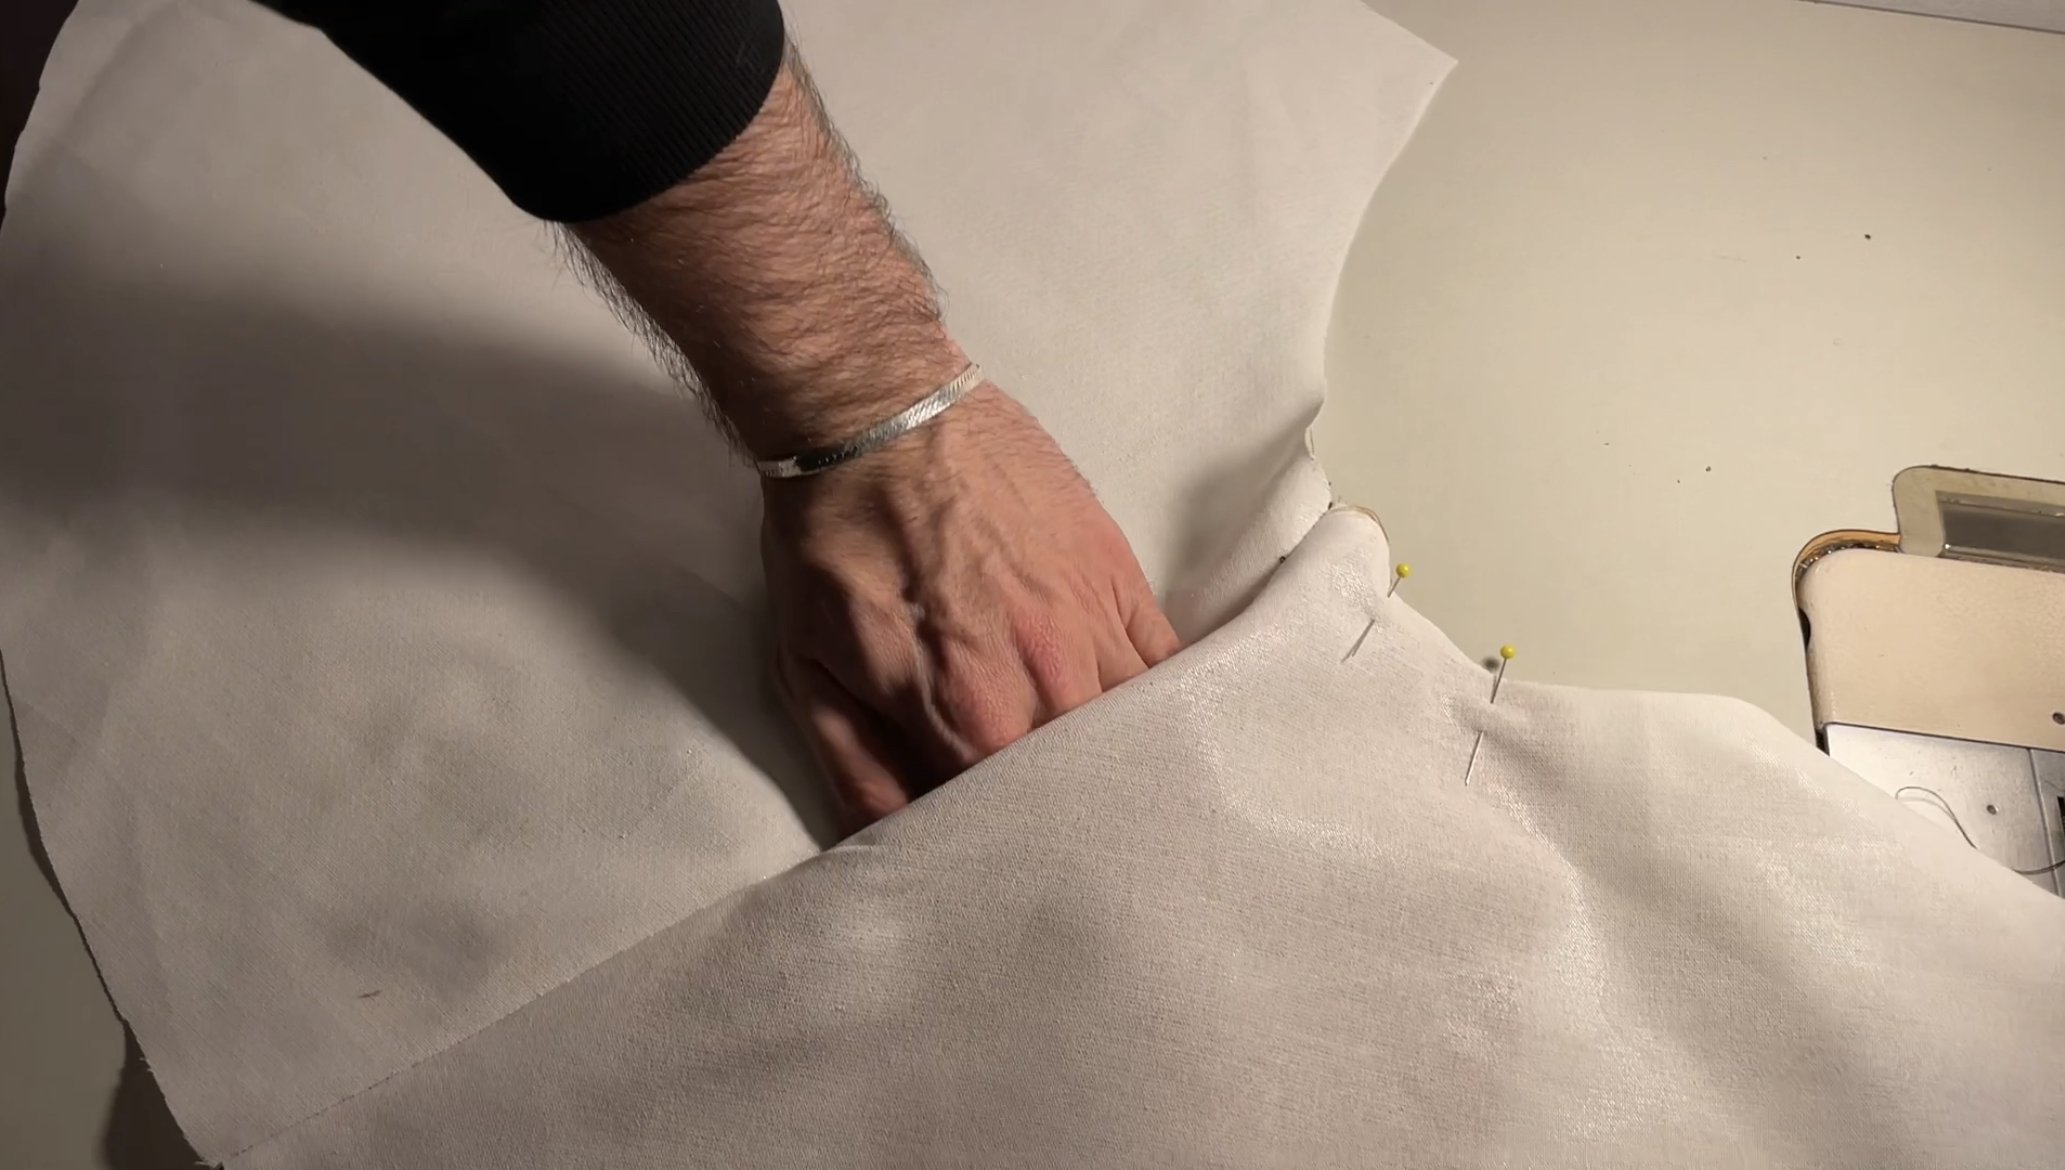
Before we attach the lining to the shell, lets pin our collar into the neck. Mark your center collar, and align it with the center back seam of the jacket. With the collar facing down towards the jacket, pin all along the top.
-If you are making VIEW A, you will also pin in your belt loop tabs to the bottom. They will also face inward towards the jacket.
-Now let’s pin our lining to the jacket shell. Start with the center back seam, and work your way along the top. Before you pin along the center fronts, you need to pin your zipper into the other side of the jacket (opposite of where you sewed the other half of it.) You want the teeth to face inward, so pin with that in mind, and also start your zipper the same length from the bottom as you started your other zipper… about 1/2”
53.After pinning your zipper, pin your front jacket to front lining to sandwich the zipper in between the two, and then pin the other side. You will also pin along the bottom of the jacket, but make sure to leave yourself an opening to turn the jacket right side out, and also to be able to finish out the sleeves.
54.Stitch from the opening at the waistband, or the peplum bottom, all the way around the front, neckline, and down the other side to the waistband/peplum bottom, making sure to leave yourself a decent sized opening to work with. After stitching, you will need to clip the corners by the collar, and then when turning right side out, press all the points out so they are nice and pointed. Make sure to press all of this!!! This is super important. Pressing is what makes a garment feel professional!
55.Now that the garment is right side out, you need to pull she ends of the sleeve and the sleeve lining through to the bottom opening. We will be sewing the sleeve lining to the sleeve with the right sides facing. We will start on one side of the zipper, and pin the lining to the seam allowance of the zipper and zipper tape. work your way to the end of the sleeve , and back down to the other side of the zipper making sure to start and stop stitching where the zipper start and stops. After we have stitched this, we will clip the seam allowance.
56.If you do this step and the lining is twisted, it means that the lining and the sleeve were not aligned correctly before stitching. You will need to rip the seam out with a seam ripper, and then attempt again. I find that its helpful to put the sleeves back in, and actually put the jacket on, and pin the lining to the sleeve so that when I turn it right side out through the opening act the bottom, I can make sure the linings are matched up.
57.Once you have sewn both sleeve linings to the sleeves, you can pull them right side out. We should now be left with the opening at the bottom of the waistband, or peplum. Carefully pin and hand stitch the opening closed. Afterward you can press it nice and flat.
58.Now would be the time to top stitch all around the outside edge of the coat if you wanted, making sure to stop at the collar, and pick up again where it leaves off. You could also wait to top stitch the collar until this step.
59.The very last step is to add the hardwerar to the lapel, collar, and belt loop tabs of the jacket. These kits can be found at Joann, Amazon, or even wawak.com.
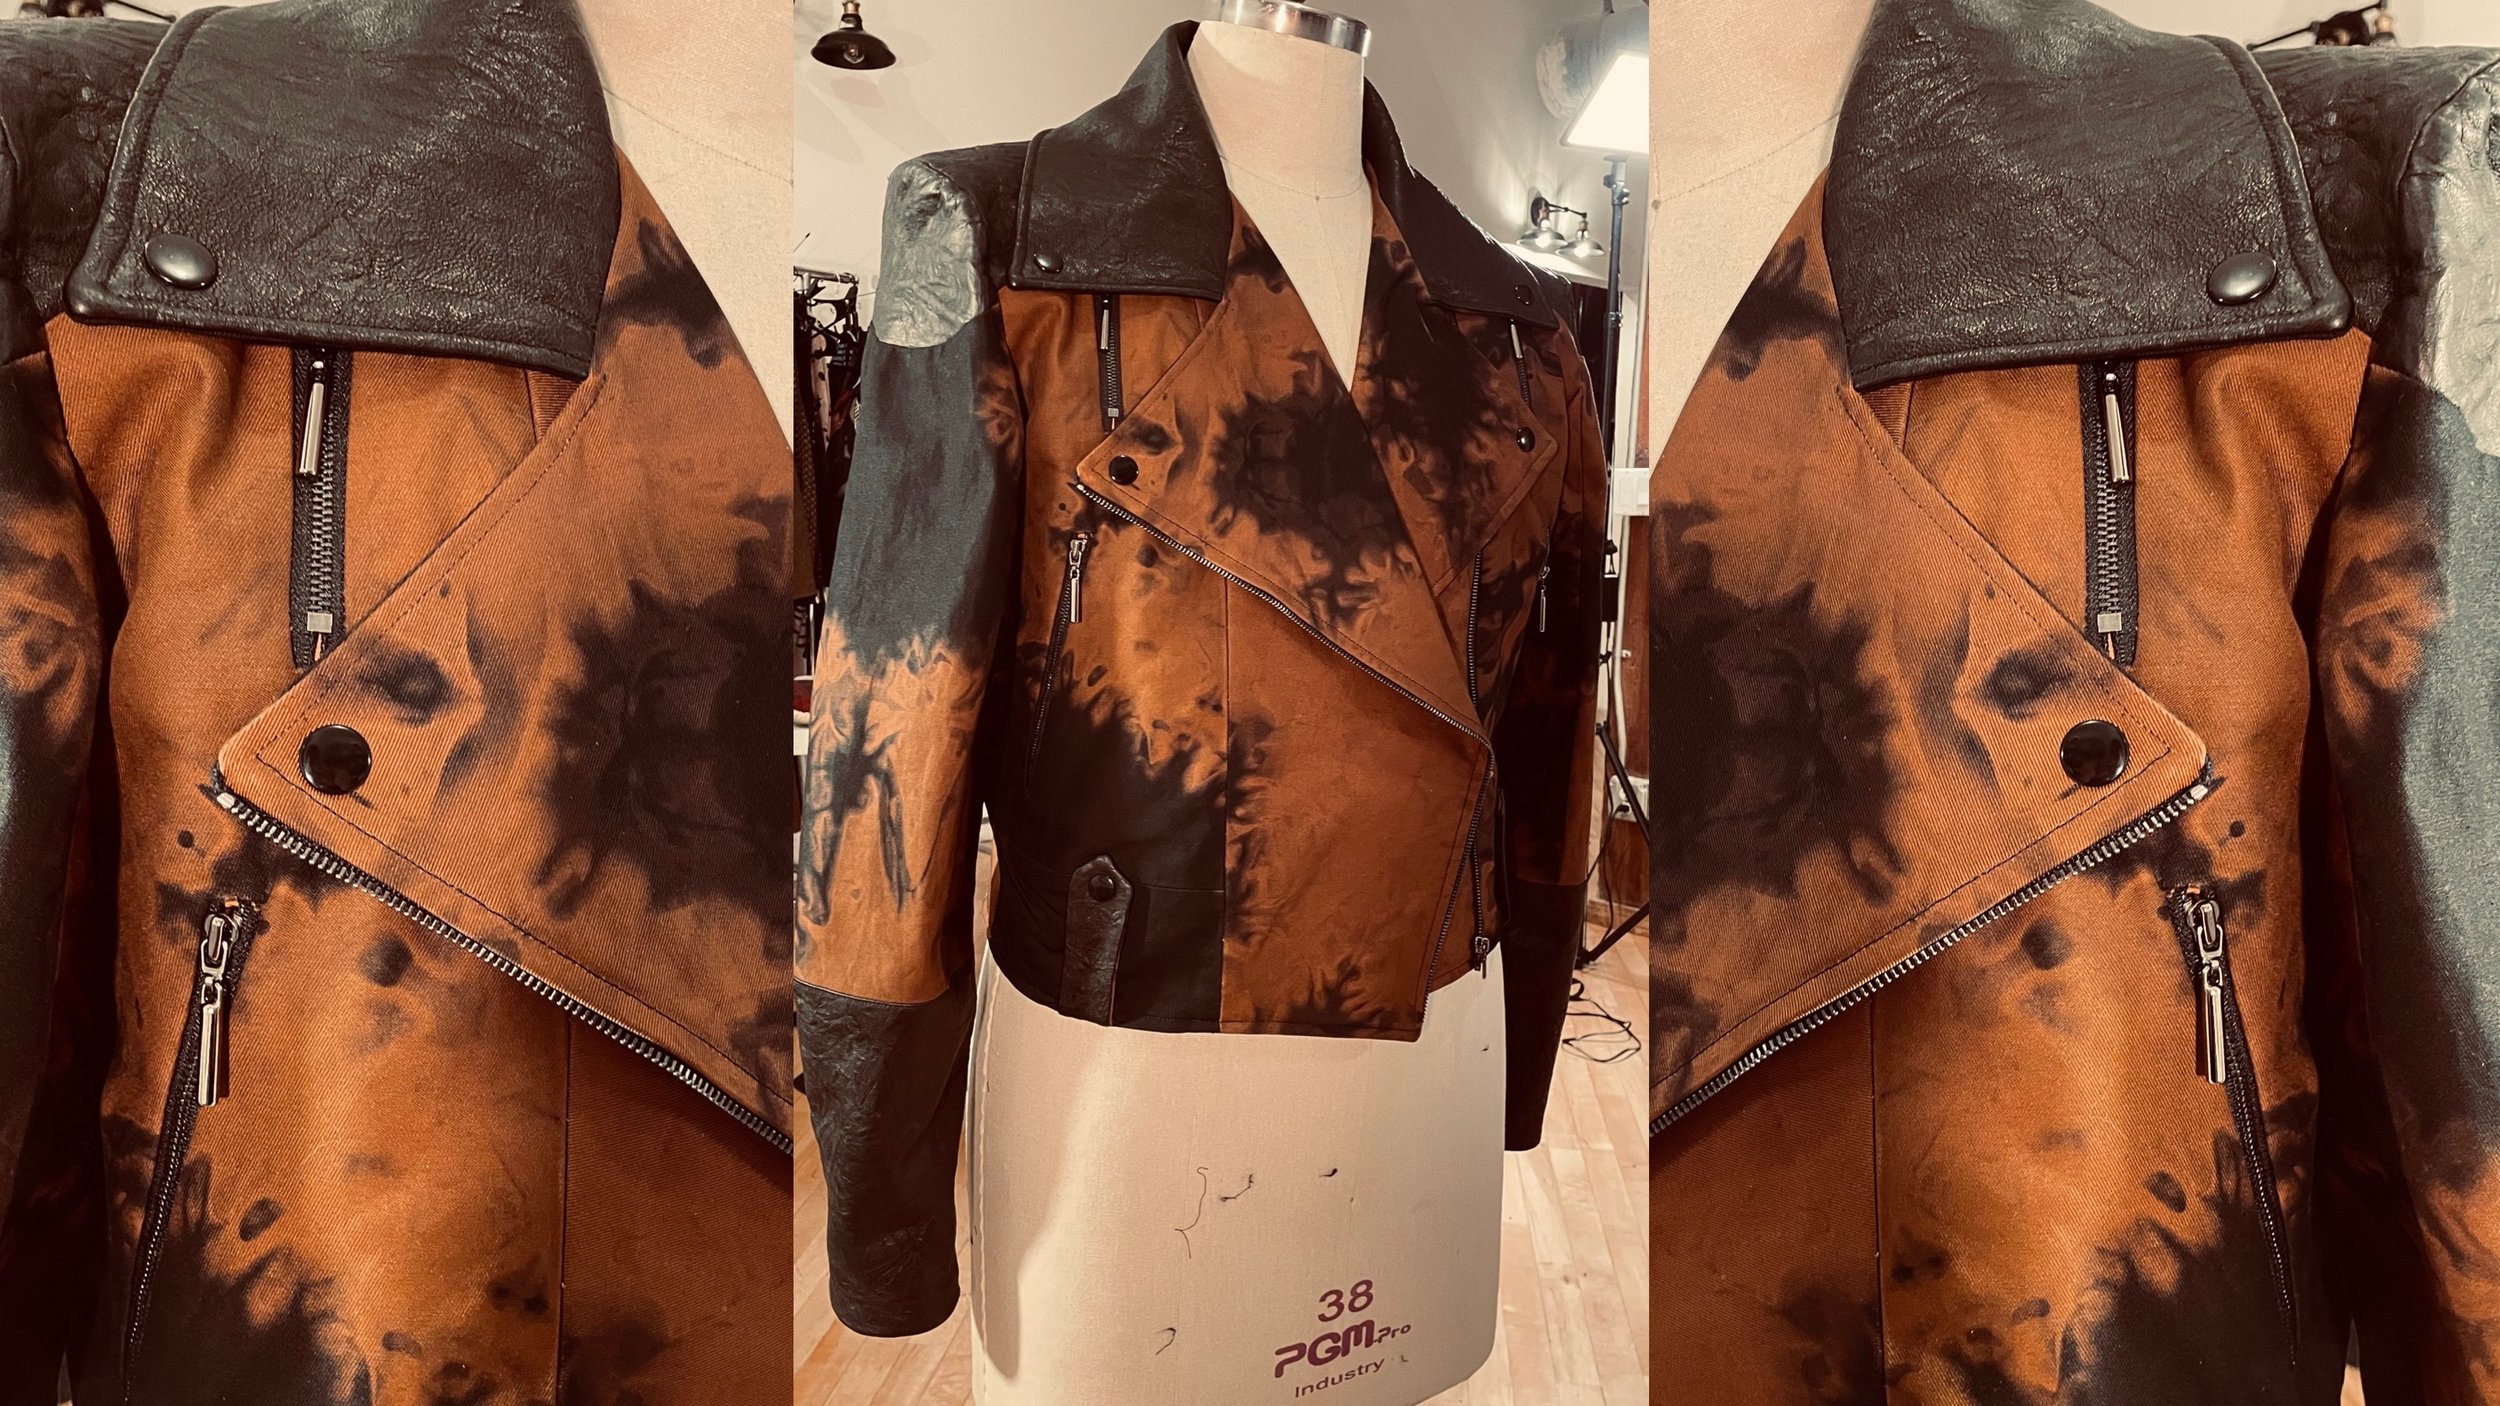
Welcome to the Midnight Jacket Tutorial. I am a firm believer in a Moto-jacket being a staple in any wardrobe, because the shape is so flattering, and can be made out of many fabrics that completely change the vibe of the jacket. You can use Denim, Leather, Faux Leather, Vinyl, Brocades, or any fabric that has a sturdy hand to it. This jacket can handle a bit of a heavier fabric!
There are two views for this Jacket. View A is the more unisex version, and also the version I am making for this tutorial, and Version B has a peplum where the waistband is on the other view. I will also show you how to create this version in this video.
There are a lot of pattern pieces to this, but don’t get overwhelmed with that! We’ve added some seams for aesthetics that allow you to do some cool color blocking if you wish, and that explains the amount of pieces!
Below are the written sewing instructions, and I also filmed a step by step Youtube video of the entire creation process of this dress which is on the left of this text box! When you make your dress, please tag me! I would love to see what your dress looks like!!

View A

View B


This is the general layout for the back pieces.
stitching the center back


When adding in the yokes, make sure to match the notches. You will need to negotiate them in there a bit because of the curves.


When sewing the back yoke to the back, match those seams


clip away the excess seam allowance before turning loop tabs right side out.


These cut lines depend on which view you are making.


Stitching right next tot he zipper to attache it to the opening.


.


adding half our front zipper between the side front/ front pieces.


inserting the sleeve cap inset.

general layout of the top of the sleeve.


Match the notches when attaching cuff to top of sleeve.


sewing the sleeve inseam.


stitching the collar.


stitching the shoulder seams.

side seam peplum example.


making sure notches match.
should look super clean at the seam.

inserting the sleeve into arm hole.

stitching in the shoulder pad


stitching the inner pocket bag to the seam allowance of the welt.


the back lining has darts.

stitching the shoulder and side seams of lining

this is how the cuff facings look.


sewing the sleeve lining into the lining arm hole.
pinning the collar into place.

Belt loop tabs get pinned where marked on the waist band for view A
pinning the other half of the main zipper to the front before stitching in lining.

pinning in lining.

sewing the lining to the shell.

pulling the sleeves through bottom opening.
pinning sleeve lining to sleeve cuff.

stitching close to the metal zipper

topstitching around outer edges of jacket.

adding metal snaps to belt loop tabs.