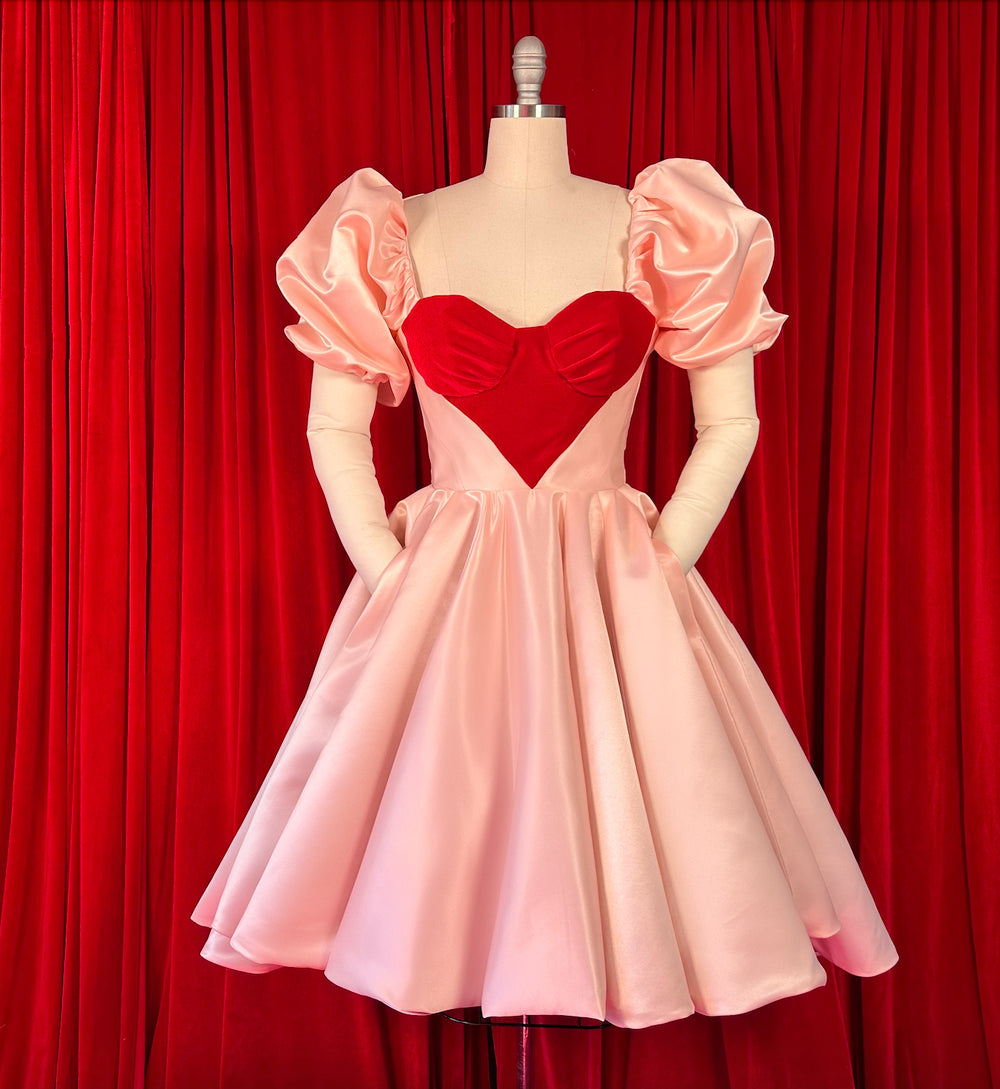
The Sweetheart Dress Sewing Pattern Guide

Hello and welcome to The Sweetheart Dress Sewing Guide!


Before You Get Started

Please take note that the seam allowances on this pattern is 1/2” unless otherwise stated.

The Pattern will have all notions and cutting layout you will need.

Difficulty: Intermediate to Difficult

Fabrics To Use: Woven Fabrics, Heavier Satins, Light Weight Chiffons (if you want something to hang a bit more drapey). It's suggested that you use a fabric that can handle an interfacing or fusible interfacing.

What You Will Need

Fusible Interfacing, Boning, Optional Sew-In Bust Cups

Glossary

RSF = Right Side Facing

RSO = Right Side Out

Pleating = To fold fabric doubling material over itself. Here’s a tutorial if you need help. https://www.patreon.com/posts/50184974

Flatline = To secure two pieces of fabric together into one single section.

Gathering = process of bunching fabric into a pre-measured length creating fullness. Here’s a tutorial if you need help. https://www.patreon.com/posts/50168324

In the instructions it is assumed you are creating the lining, interlining, and outer shell simultaneously unless otherwise noted. However, the interlining can be intimidating to some since this adds another element to keep up with. This step isn’t a necessity, but in the tutorial the interlining is being used. For this tutorial, i’ll be adding my boning to the interlining.

Constructing The Bodice

1. Line the Center Front Bodice and Middle Front Bodice pieces up using the notches indicated on the pattern. With RSF pin together. Starting at the bottom, indicated by the small circle on the Middle Front Bodice, and stitch. Repeat on other side.

2. Press seams.

3. There will be two overlapping pieces at the bottom, created by the Front Side Bodice pieces. Pull the Center Front Piece away from two overlapping pieces, you don’t want to sew into this. And Stitch the two overlapping pieces together using the center of the bodice as a guide stopping at the point that you started at in step 1.

4. Trim off excess seam allowance being cautious to not cut too close because the garment still needs strength.

5. Press seams

6. Matching the Side Front Bodice to the Middle Front Bodice using notches as a guide, pin with RSF, and stitch. Repeat on opposite side.

7. Matching the Side Back Bodice to the Side Front Bodice using the notches as a guide, pin with RSF, and stitch. Repeat on opposite side.

8. Matching the Middle Back Bodice to the Side Back Bodice using the notches as a guide, pin with RSF, and stitch. Repeat on opposite side.

9. Matching the Center Back Bodice to the Middle Back Bodice using the notches as a guide, pin RSF, and stitch. Repeat on opposite side.

The Bust Cups

Bust cups can be kinda finicky. If you are unsure of your measurements, or this is the first time making bust cups, create this first in muslin so you know it fits correctly.


10. Matching the Center Front Bust Cup to the side Front Bust Cup using the notches, pin with RSF, and stitch following the curve of the cup.

11. Clip the curve, to release tension, and press Flat and Beautiful!

12. Using pins or tailor’s chalk mark the indications for pleats on the Front Bust Overlay. Pin the pleats. Matching the outside shape to the Bust Cup pin around the outside edge leaving the pins in that are holding the pleats.

13. Pin the Interlining and Front Bust Overley together and flatline around the edge of The Bust Cup at ¼”.

14. Repeat the same steps to the other side.

15. OPTIONAL Boning: Sew the boning onto the interlining in the center of the Center Front Bodice, outside next to the bust, and in the Center Back Bodice area. Repeat on both sides of the interlining.

16. Pin the Outer Shell to the Inner Lining and flatline ¼”.

17. Pin the bust cups to the bodice. When pinning start at the outside edge and pin. Then pin the inside area and work your way around the bust cup. Don’t get thrown off by any bunching. As long as the area that will be visible is flat then it's okay.

18. Taking your time, making sure nothing is getting folded over, sew your way around the bust cup using your fingers to maneuver the fabric where it needs to go.

19. Cut away almost half of the seam allowance to relieve allowance. Don’t get too close when doing this. 

Before you continue: At this point you should have your Interlining sewn to the Outer Shell and your Lining completely sewn.

The Sleeve and Strap

The Sleeve is optional. If you do make the sleeve the Shoulder Strap is a must as the sleeve needs it to fit live correctly on the pattern. There is room built in the bottom for casing because elastic will be added to the bottom. Notice the notch marking the center of the sleeve at the top of the pattern piece. The sleeve is symmetrical.

20. Gather the top of the sleeves using the Shoulder Strap length as the premeasured size and knot the end to keep the gather stitch at the right length. Make sure your Shoulder Strap is the right length for you.

21. Fold the Shoulder Strap in half and iron. Pin the sleeve all the way across with RSF to the strap and stitch.

22. Overlock the sewn edge (or trim away half the seam allowance) and bottom of the sleeve with serger. 

23. Fold the bottom of the sleeve up to form a casing, using the markings on the pattern to guide you then pin across and stitch.

24. The length of the elastic should be a little bit less than your biceps. Guide the elastic through the casing , making sure to pin the edge so you don't lose it in the casing. Finish leading the elastic through the casing and pin the other end to the other side of the casing. Stitch ¼” at both ends to keep the elastic secure.

25. Finish the sides of the sleeve.

26. On the Sleeve pattern piece there is an indentation with a small circle. Mark this circle on your fabric. Fold the sleeve in half and pin up to that mark. Then sew from the bottom of the sleeve to that mark. Don’t sew into the Underarm Area.

27. Now on the Side Front Bust Cup and Middle Back Bodice on the top of the pattern pieces there is a Strap Placement indication. Mark these. 

28. The strap doesn’t face outward on the sleeve. Tuck these straps under. Line straps up to the Strap Placement on the Side Front Bust Cup and pin, working your way over to the other Strap Placement on the Middle Back Bodice.

29. Pin the other sleeve. 

30. The sleeves are going to be sandwiched between the Outer Shell and the Lining. With RSF pin these together at the top and stitch. Take your time sewing here. You don't want to sew over anything that is not meant to be sewn. When you get to the center area of the bodice you want to make a straight line across the two seams.

31. Clip the seam allowance below where the flatline is.

32. Flip RSO.

33. OPTIONAL Bust Cup: Nestle the bust cup underneath the seam allowance. If it sticks out you can trim the bust cup to lay inside them. Use a whip stitch to connect the bust cup to the bottom seam allowance and the the middle seam allowance. Repeat to other side.

The Skirt

The lining on this will show just enough for a peek-a-boo at the back. This is a fun place to use a fun color or pattern. While assembling the skirt, repeat these steps to create the lining simultaneously. As you sew the skirt the guide notches will increase in number. For example step 37 has one notch, step 38 will have 2 notches, etc. Also, seams of the skirt will line up with the seams on the bodice.


34. Attach the Center Front Panel #1 to Front Skirt Panel #2 using the notches as guides, pin RSF, and stitch. Repeat on other side.

35. Attach Front Skirt Panel #3 to Front Skirt Panel #2 using notches as guides, pin RSF, and stitch. Repeat on other side.

36. On Front Skirt Planel #3 there is indication for Sew One Side Pocket Here. This is where an invisible pocket goes. Use this as a guide to mark on your skirt. With RSF pin Pocket piece to Front Skirt Panel #3. Starting at the maker stitch ½” up go across to the other marker and stitch back towards the edge, creating a small rectangle. 

37. Cut away the seam allowance inside the rectangle. Flip inside out and press Flat and Beautiful! It will make a nice square.

38. Adding another Pocket piece pin all the way around the Pocket pieces and stitch around the outside making sure not to stitch onto the skirt. Once finished pin the extra pocket fabric to the skirt.

39. Attach Skirt Front Skirt Panel #4 to Skirt Front Panel #3 using notches as guides, pin RSF, and stitch. Don’t hit the edge of the pocket. You don’t want to close it off.

40. Attach Side Back Skirt Panel #5 to Skirt Front Panel #4, pin RSF, and stitch.

41. Attach Side Back Panel #6 to Side Back Skirt Panel #5, pin RSF, and stitch.

42. Attach Back Skirt Panel #7 to Side Back Panel #6, pin RSF, and stitch.

43. Attach Center Back Skirt Panel #8 to Back Skirt Panel #7, pin RSF, and stitch.


You should have a skirt and lining now but not joined in a completed circle.


44. Next step is to attach the lining to the skirt hem all the way around. Get your pins out! With RSF, start by matching your Center Back Skirt Panel #8 seam, match the next seam, etc. Go back and pin in between the panels. Doing it this will make sure the skirt is evenly lined up.

45. Stitch the bottom then cut about half the seam allowance away.

46. Turn the skirt RSO and press Flat and Beautiful!

47. With RSF start pinning the bodice to the skirt, all the seams on the skirt should line up with the seams on the Bodice, then stitch.

48. Next step is attach the lining to the the bodice lining. Flip the garment inside out and pin the skirt lining to the bottom part of the bodice lining. Once this is done you’ll flip the garment RSO.

49. Now, you’ll stitch the zipper to the center back of the dress, but do not attach to the lining yet.

50. Stitch from where the zipper ends to the hem (stopping where the skirt meets the lining.).

51. Match up the skirt lining pieces from where we stopped stitching, all the way up to where the zipper starts (starting from the bottom hem). Pin the Skirt Lining RSF and stitch up to the place we just marked.

This will ensure the lining stops where the zipper begins.

52. Your skirt should be inside out still. Fold the seam allowance of the lining towards the zipper. Remember the seam allowance is ½”. Pin the lining to the grosgrain ribbon of the zipper. Repeat on the other side.

53. Hand sew the lining to the zipper. Make sure you are not going all the way through. You’ll start at the top one side, work your way down, and come back up the other side.

54. Turn your skirt RSO


CONGRATULATIONS YOU HAVE COMPLETED THE SWEETHEART DRESS!


The lining, interlining, and outer shell.

You should have all three lining, interlining, and outer shell constructed.

Before you continue: The Interlining should be sewn to the Outer Shell and Lining completely sewn.

The incorrect positioning of the Shoulder Straps

The correct positioning of the Shoulder Straps


You can see how the bodice is sandwiched between the skirt linings