The Voyage Cape Sewing Pattern Instructions
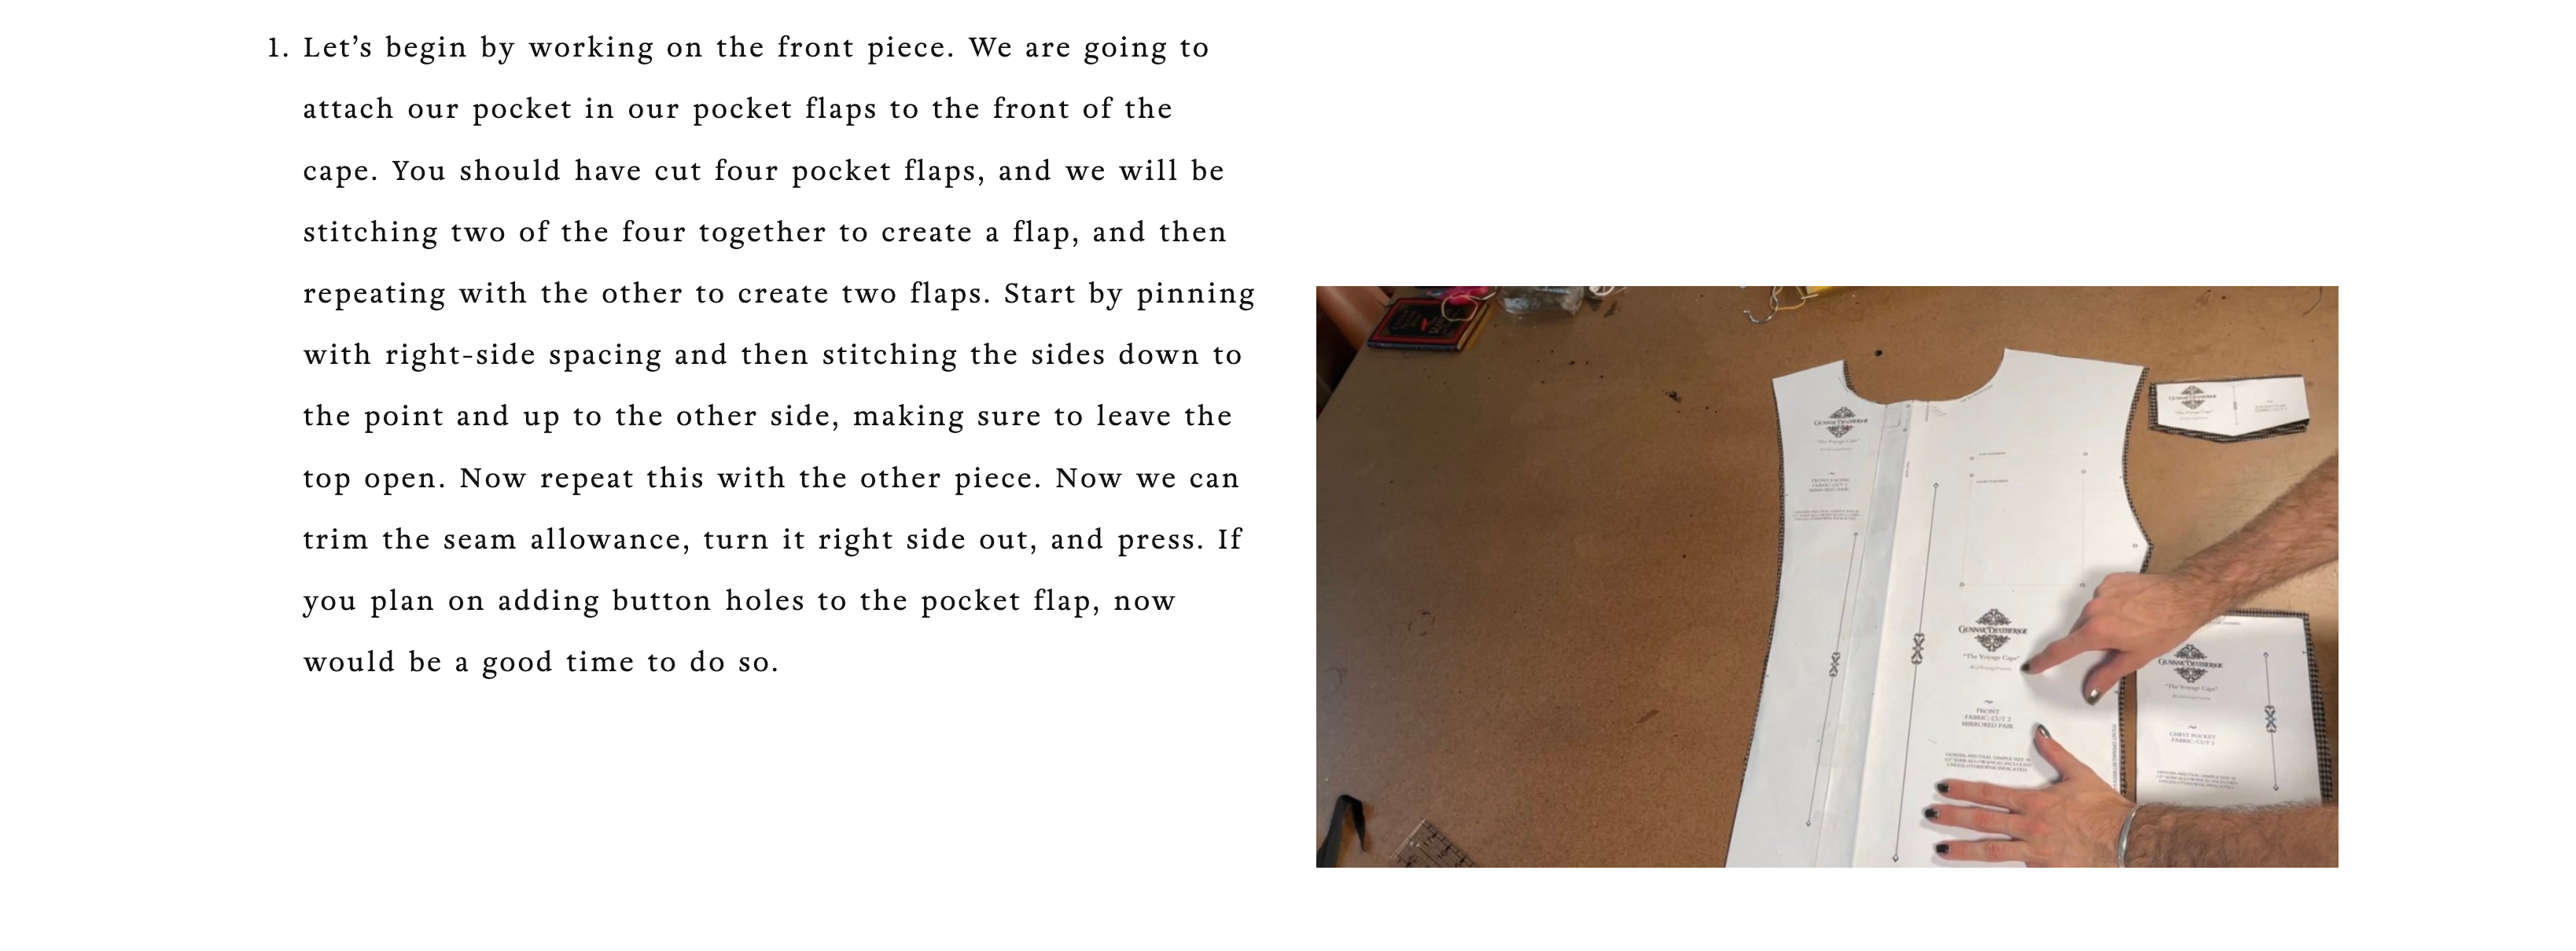
Hello and welcome to the Voyage Cape!
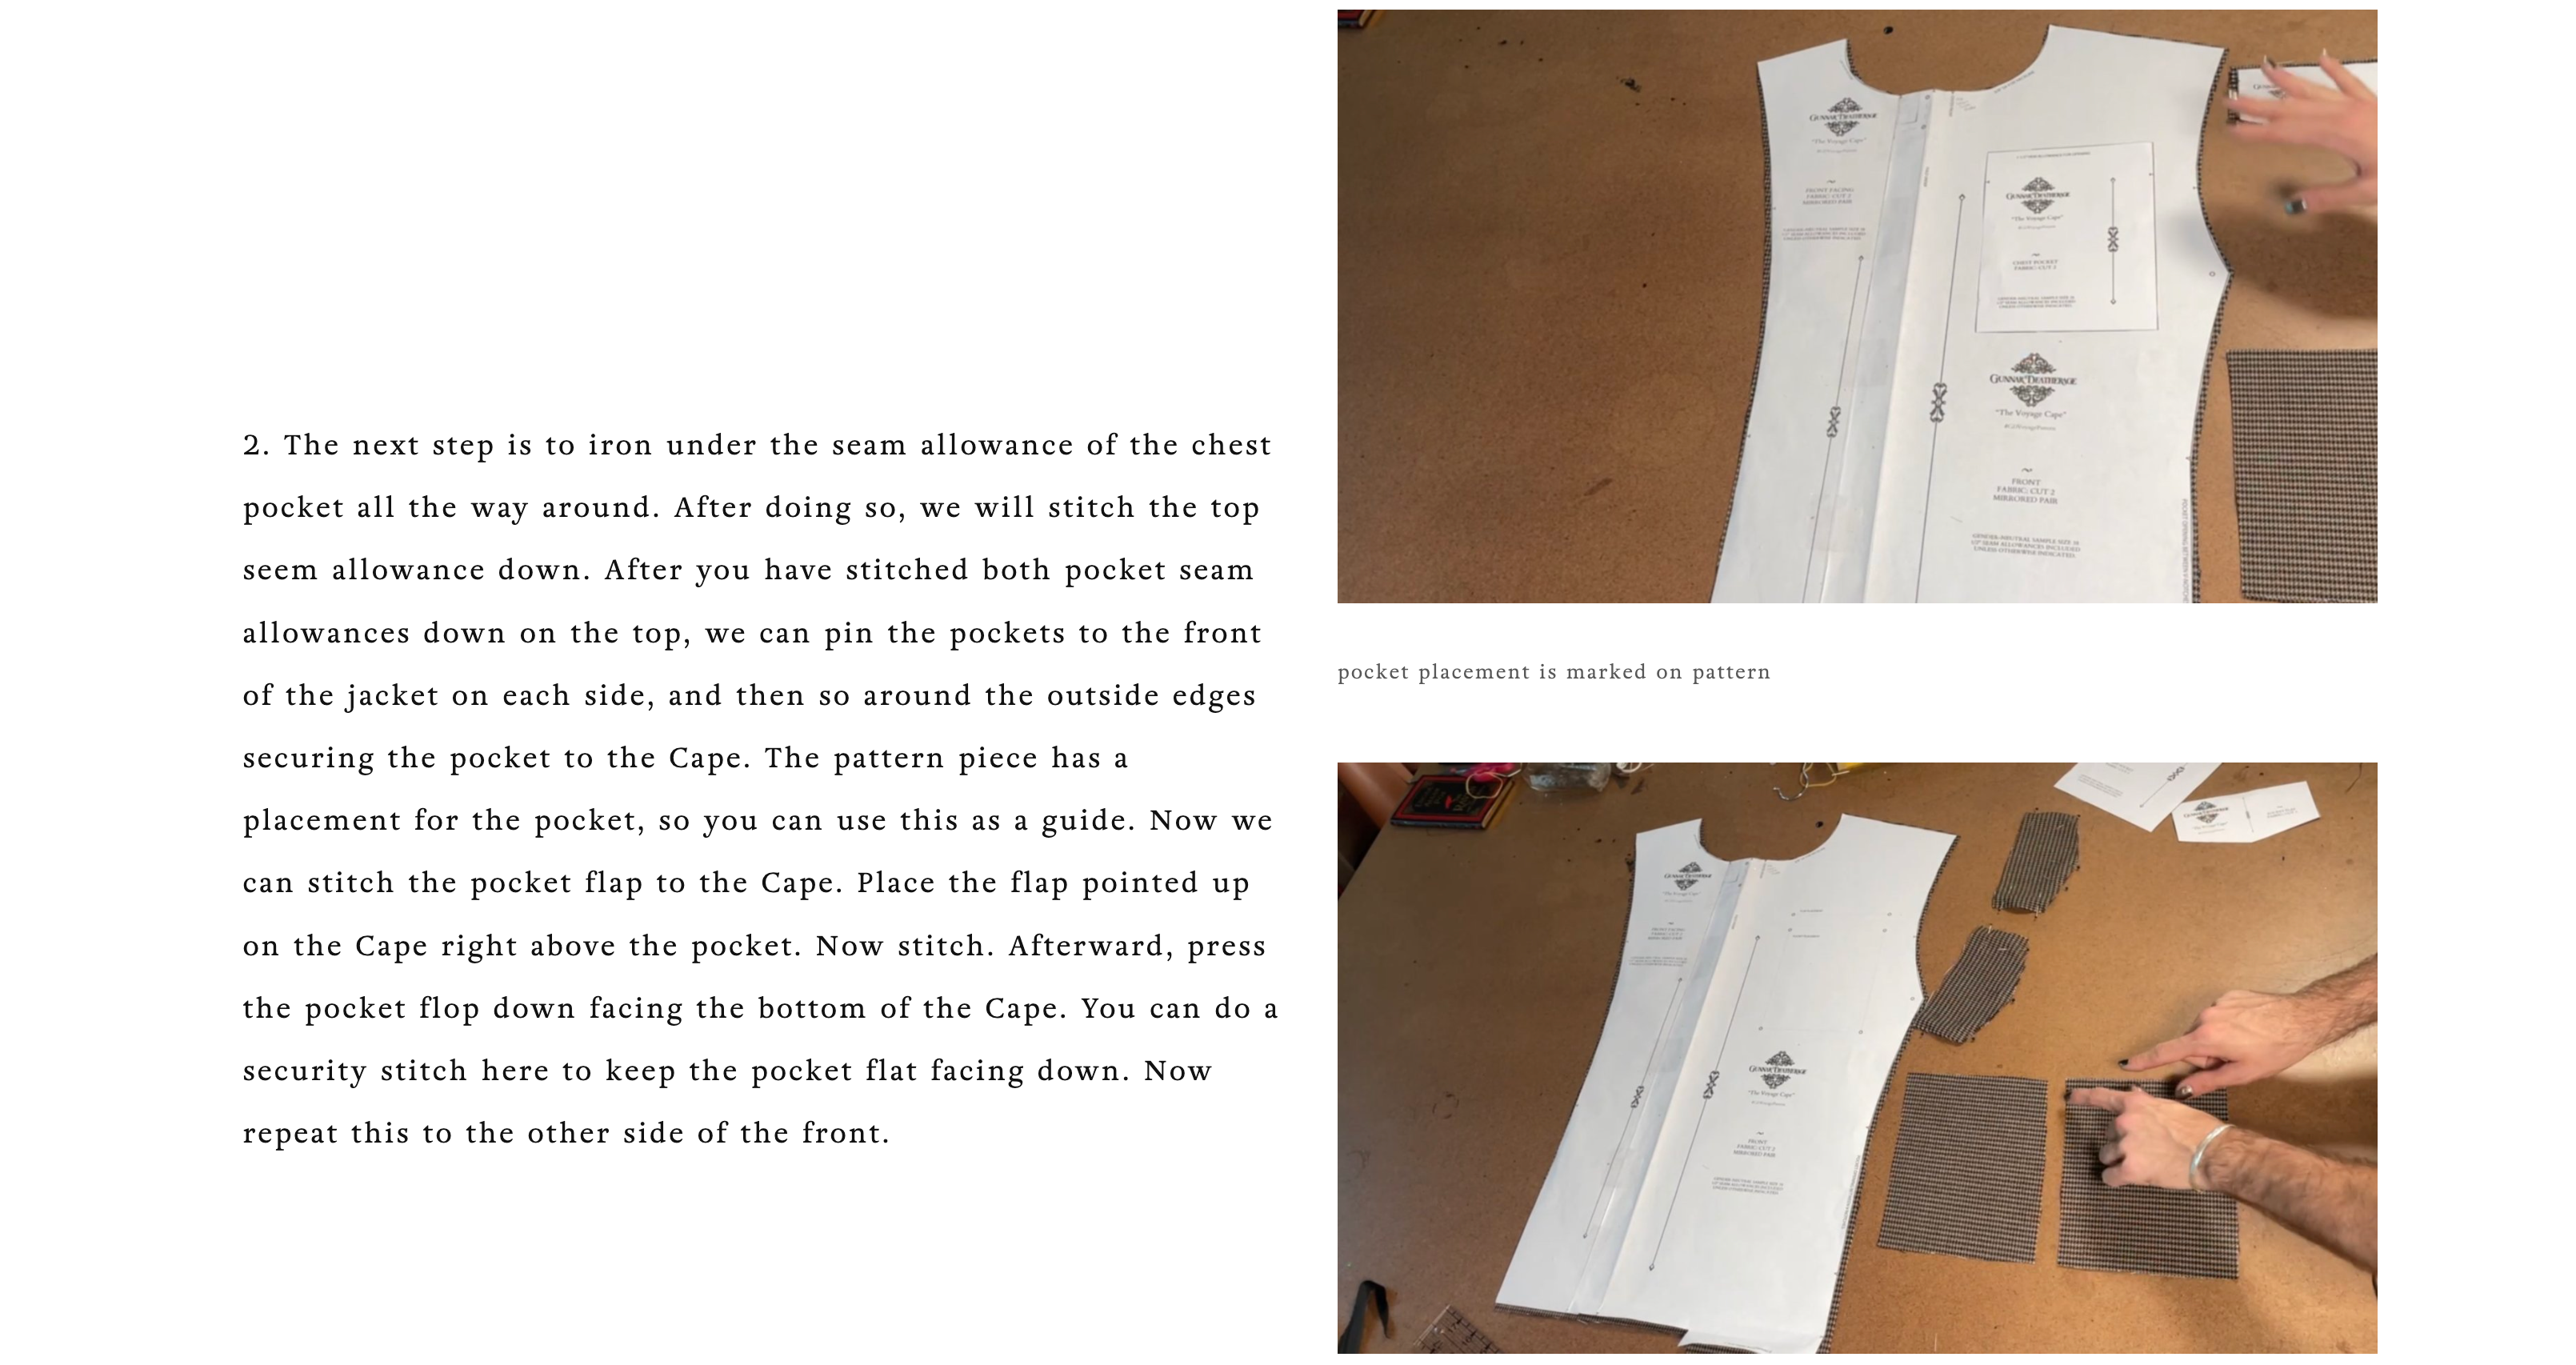
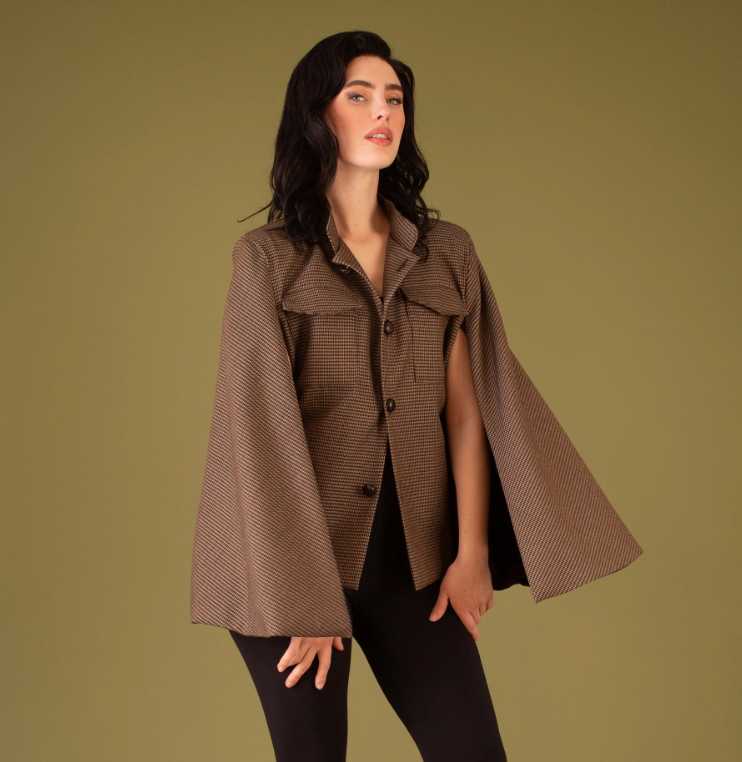
This is the perfect project to help you usher in the fall season. With its moody, scholarly aesthetic, it leans into full Dark Academia vibes—or Light Academia, depending on the fabrics you choose.
I’d classify this as an intermediate-level pattern—not overly complicated, but with plenty of steps to keep things interesting. The tutorial video is on the longer side, but we’ve divided it into chapters so you can easily jump to the sections you need. If you prefer written guidance, you’ll find detailed directions below!
This cape shines when made with heavier fabrics. Think wool, coating, or even structured synthetics with some weight—anything that would work well for a trench coat or blazer will translate beautifully here.
And as always, I highly recommend starting with a cotton muslin mock-up. It’s the best way to check your fit and make any adjustments before cutting into your final fabric.
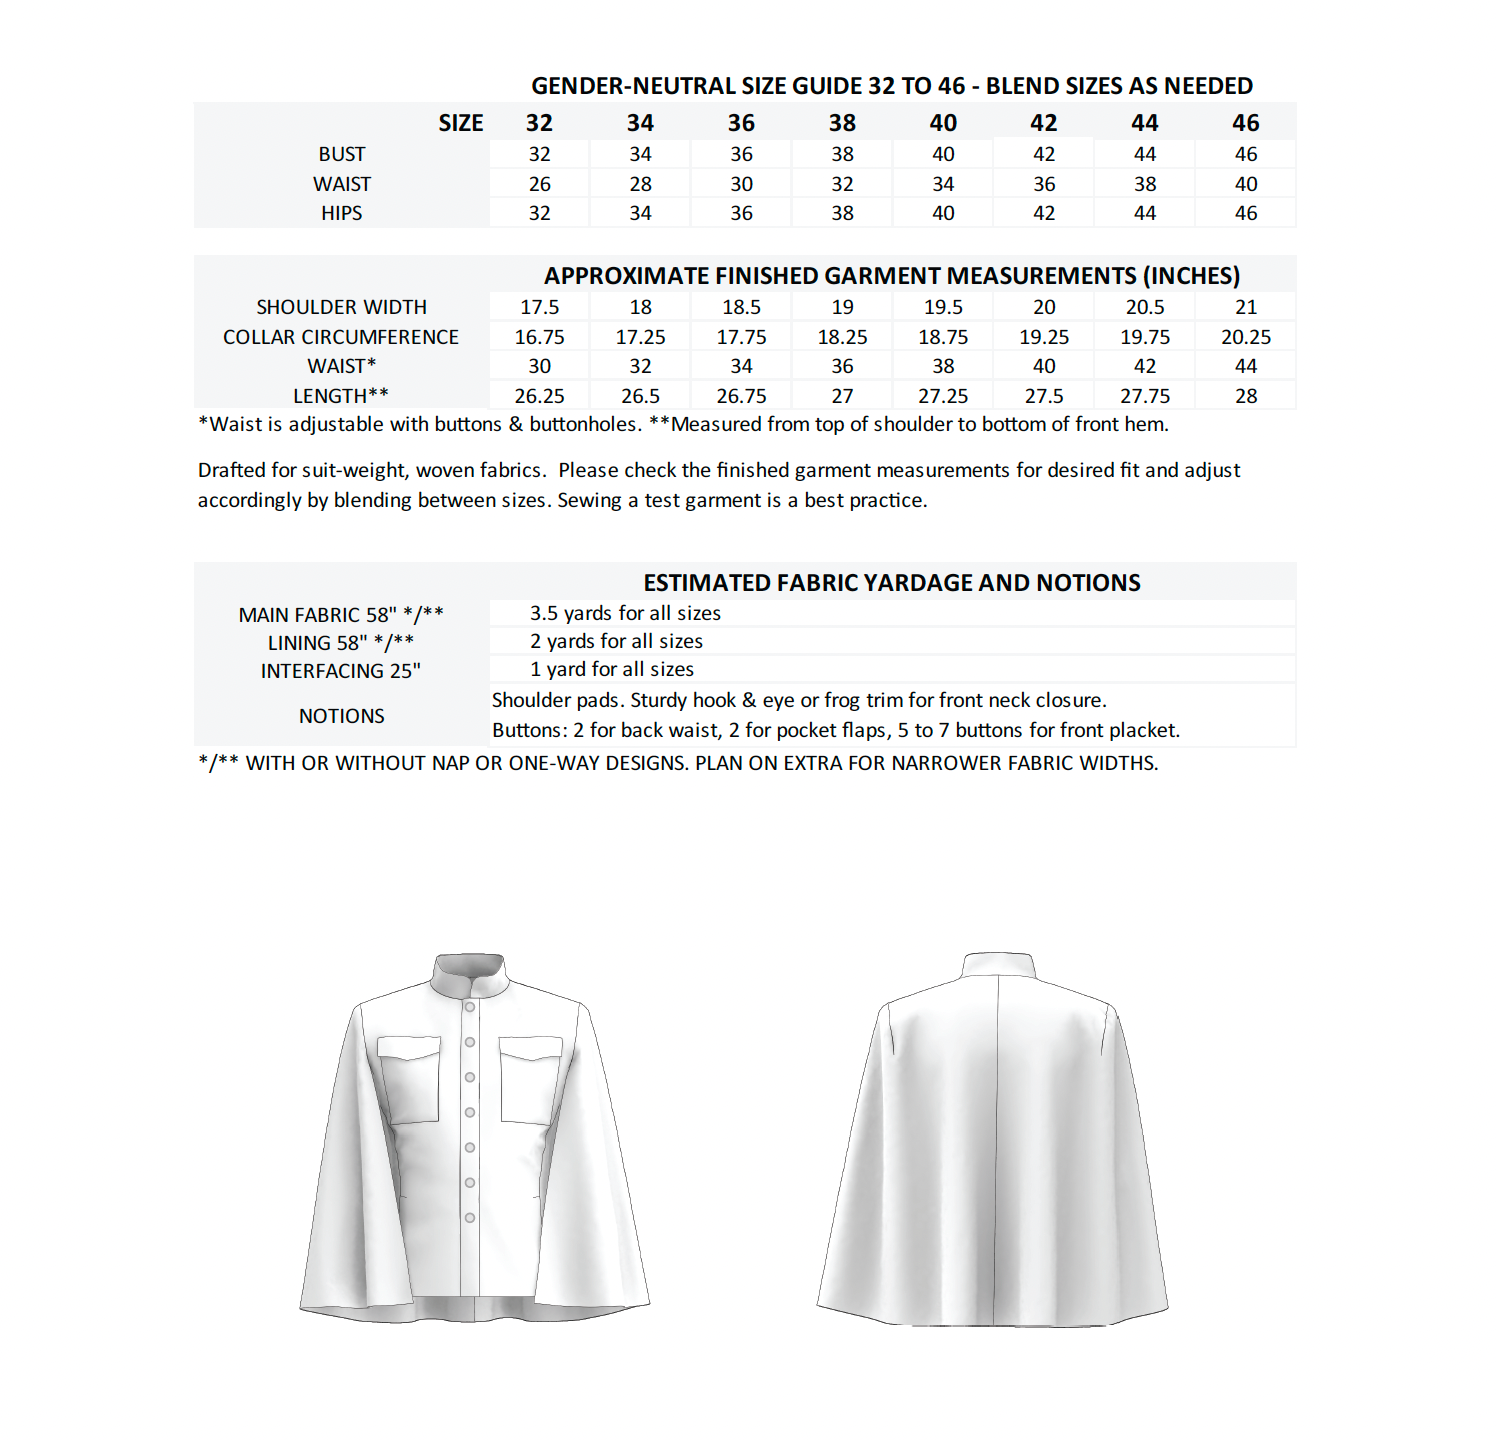
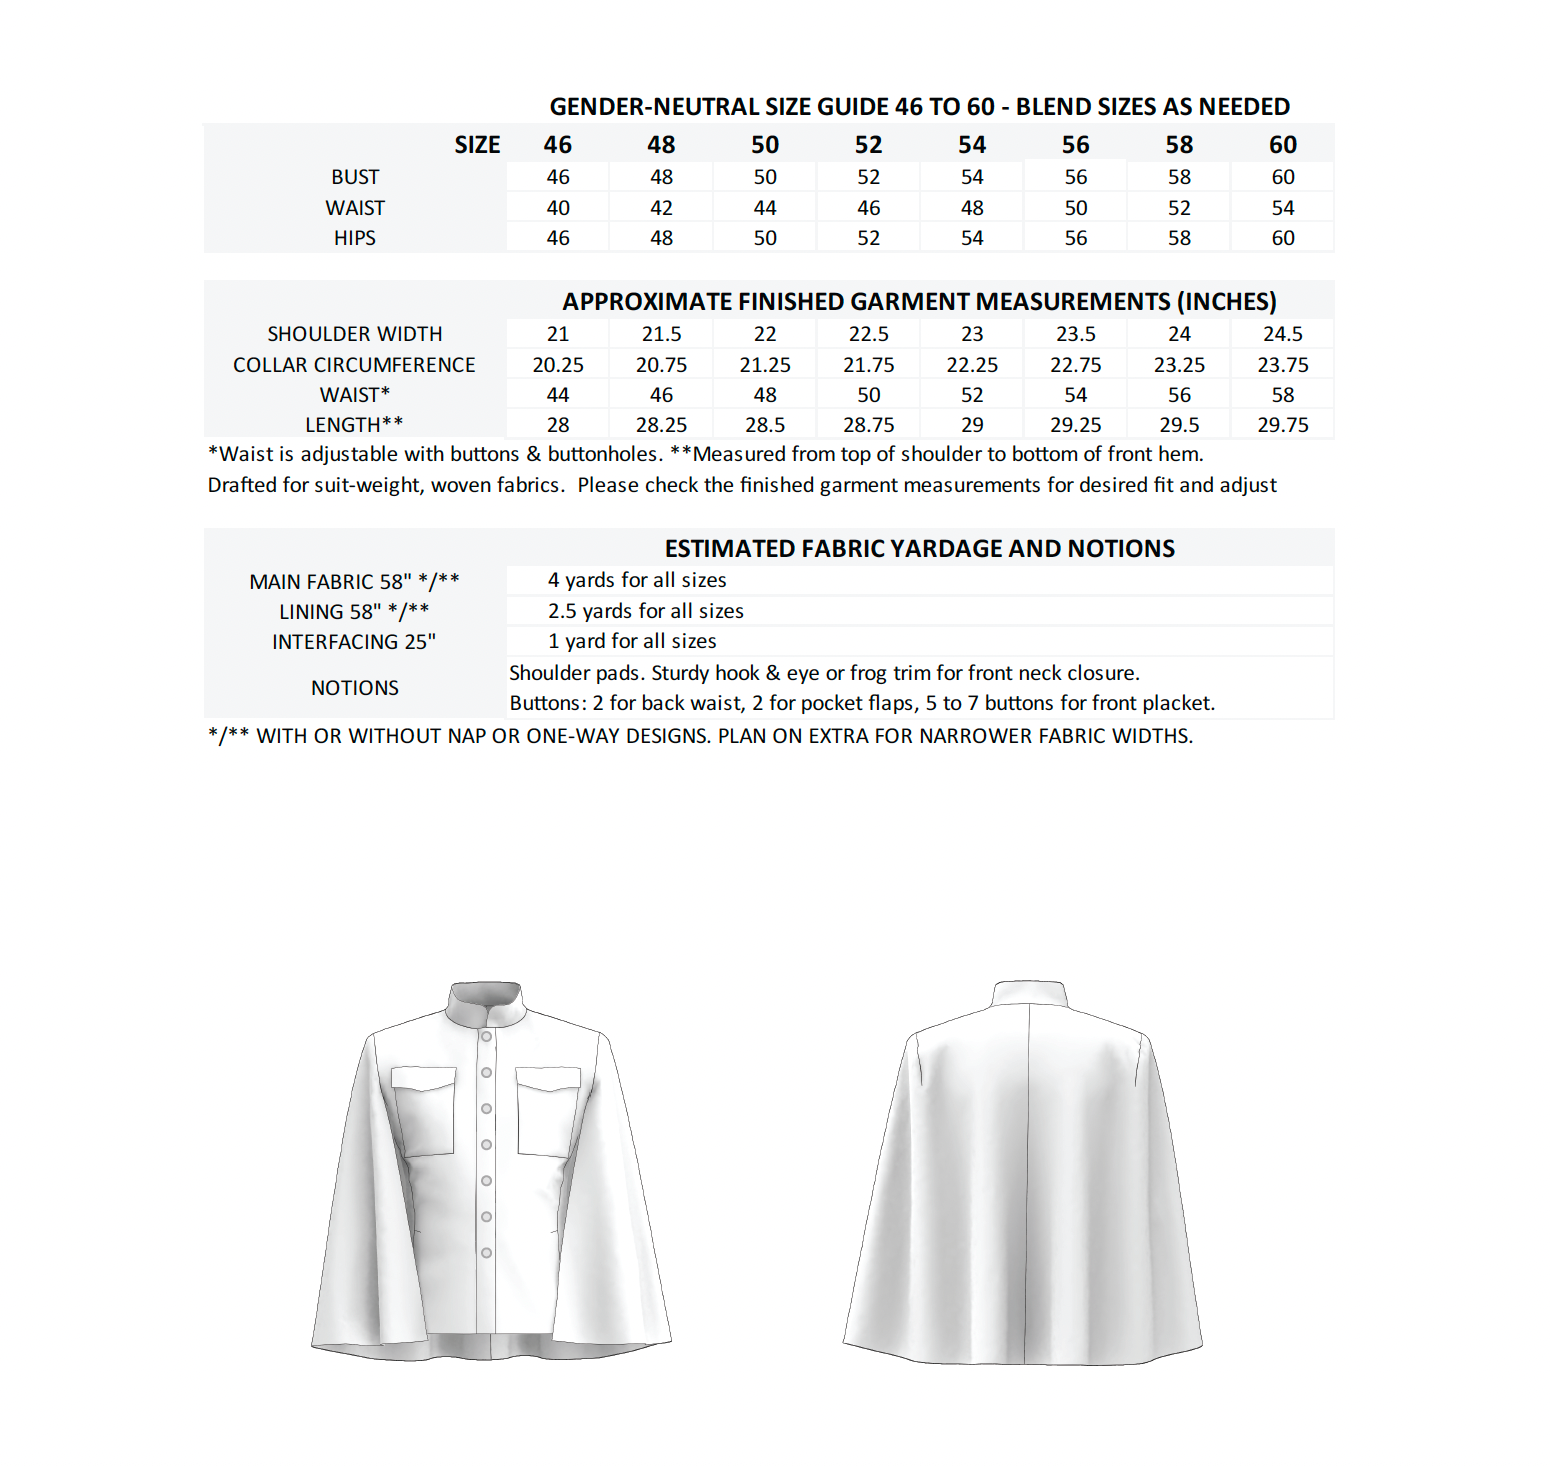
Size Charts and Yardages
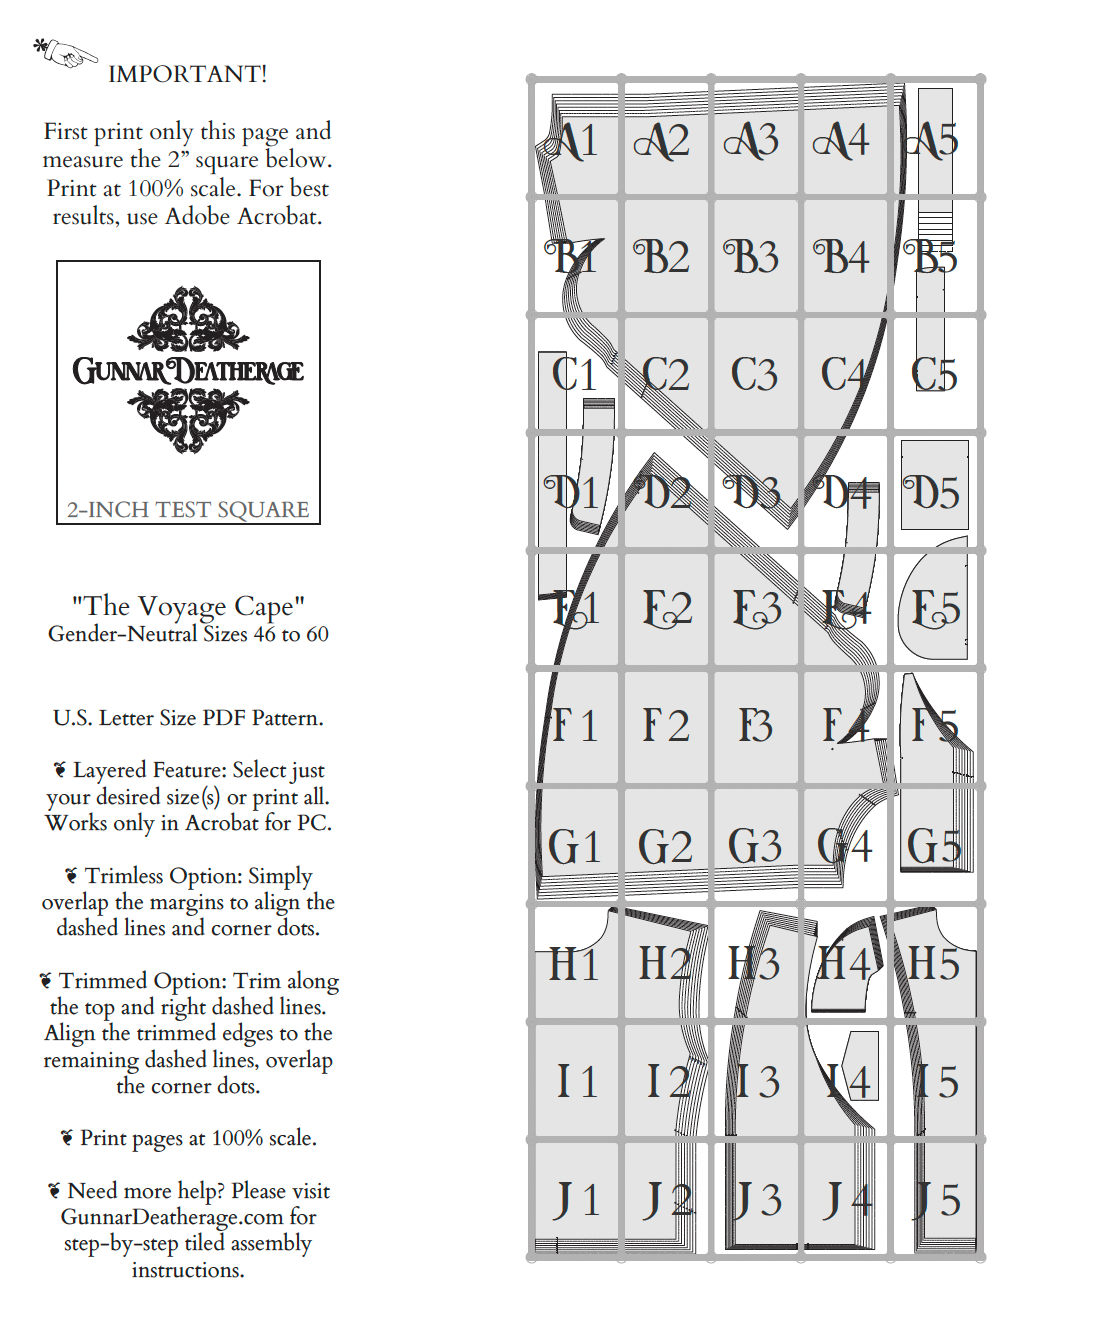
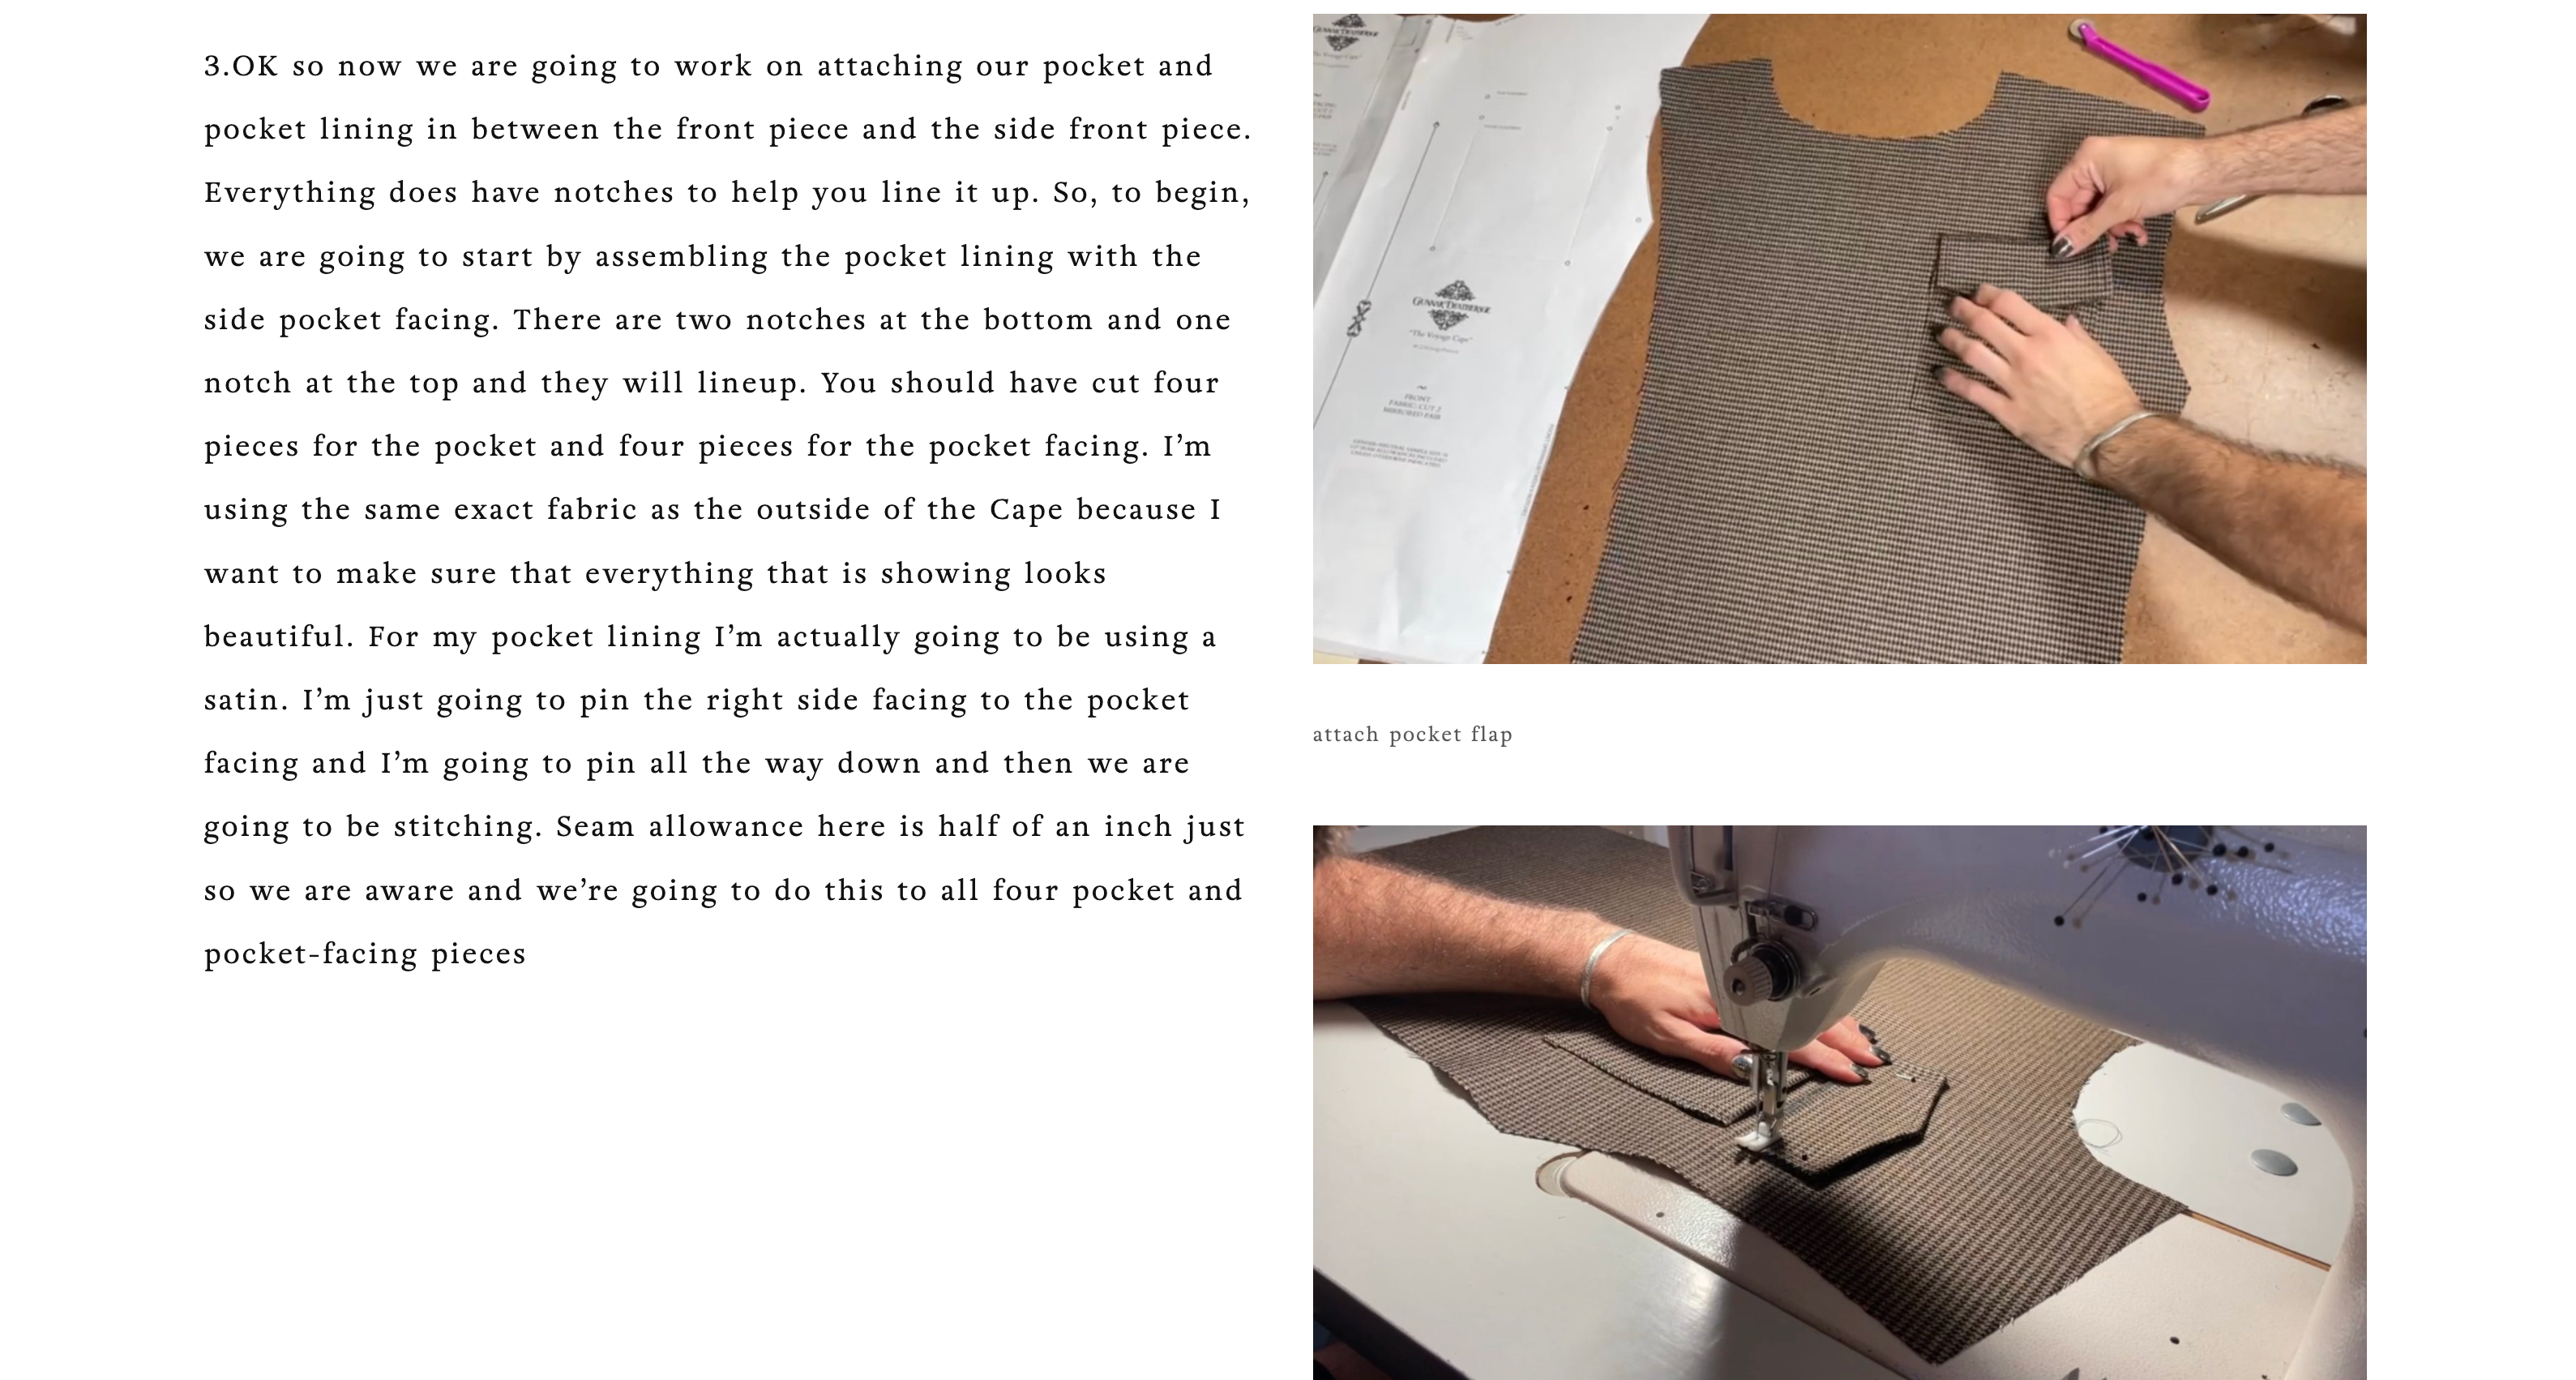
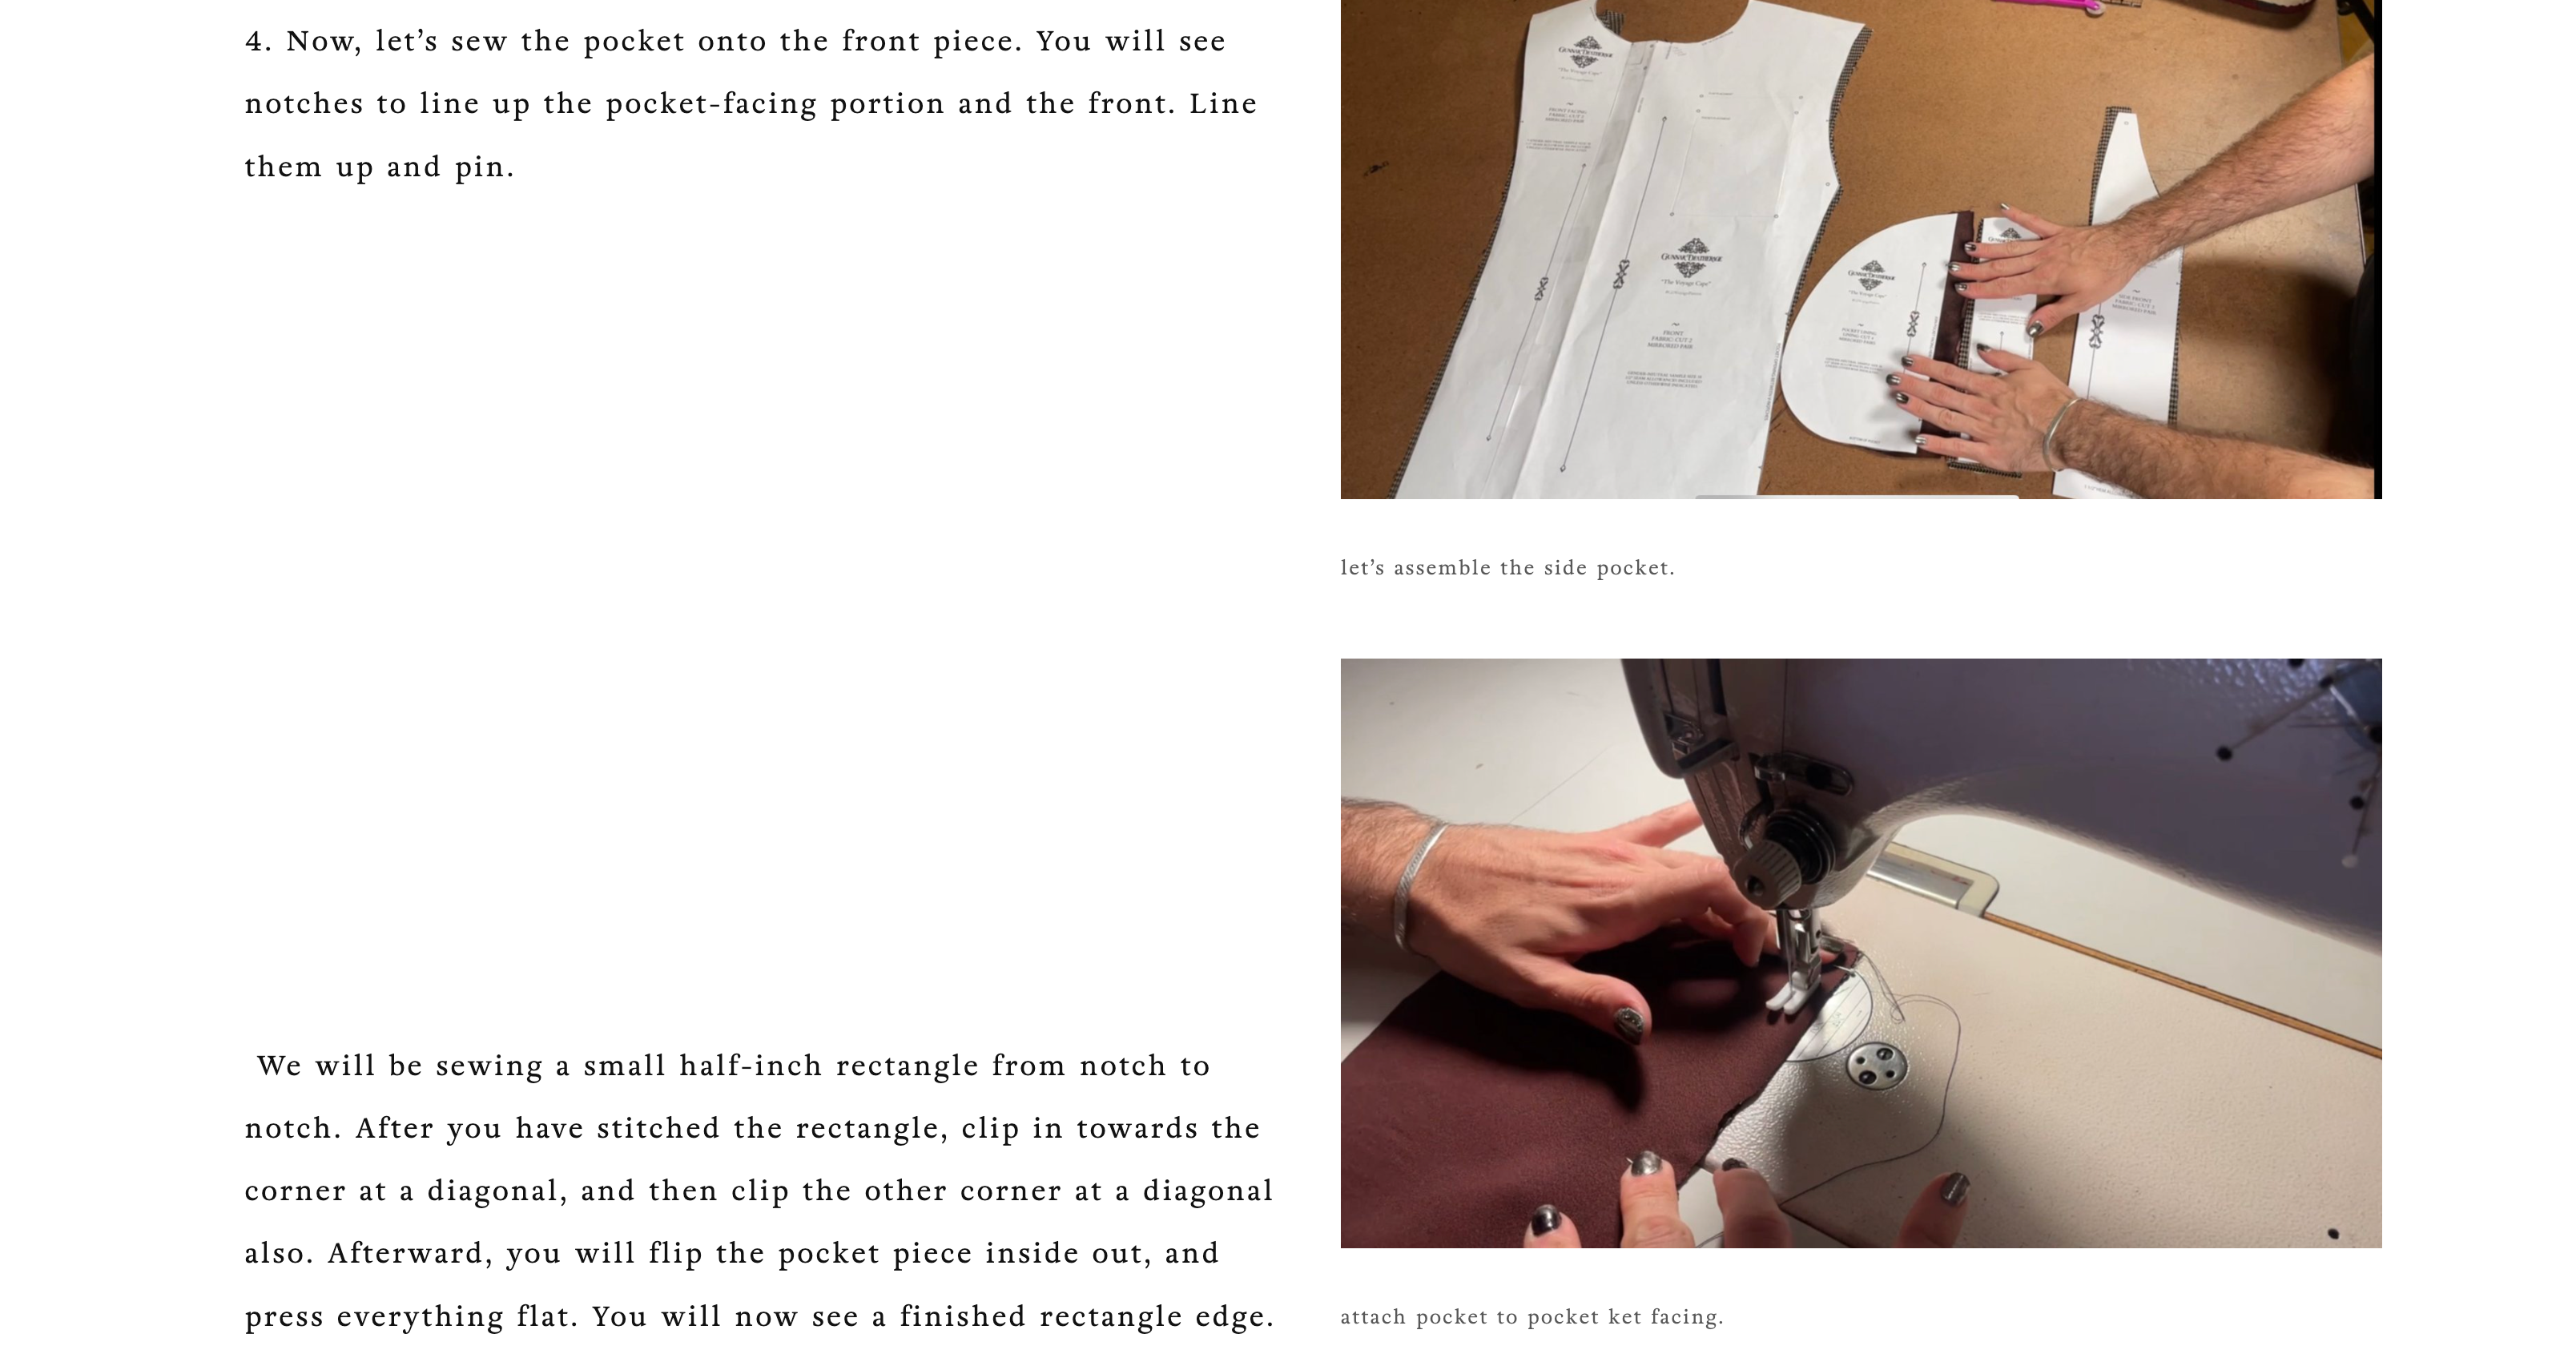
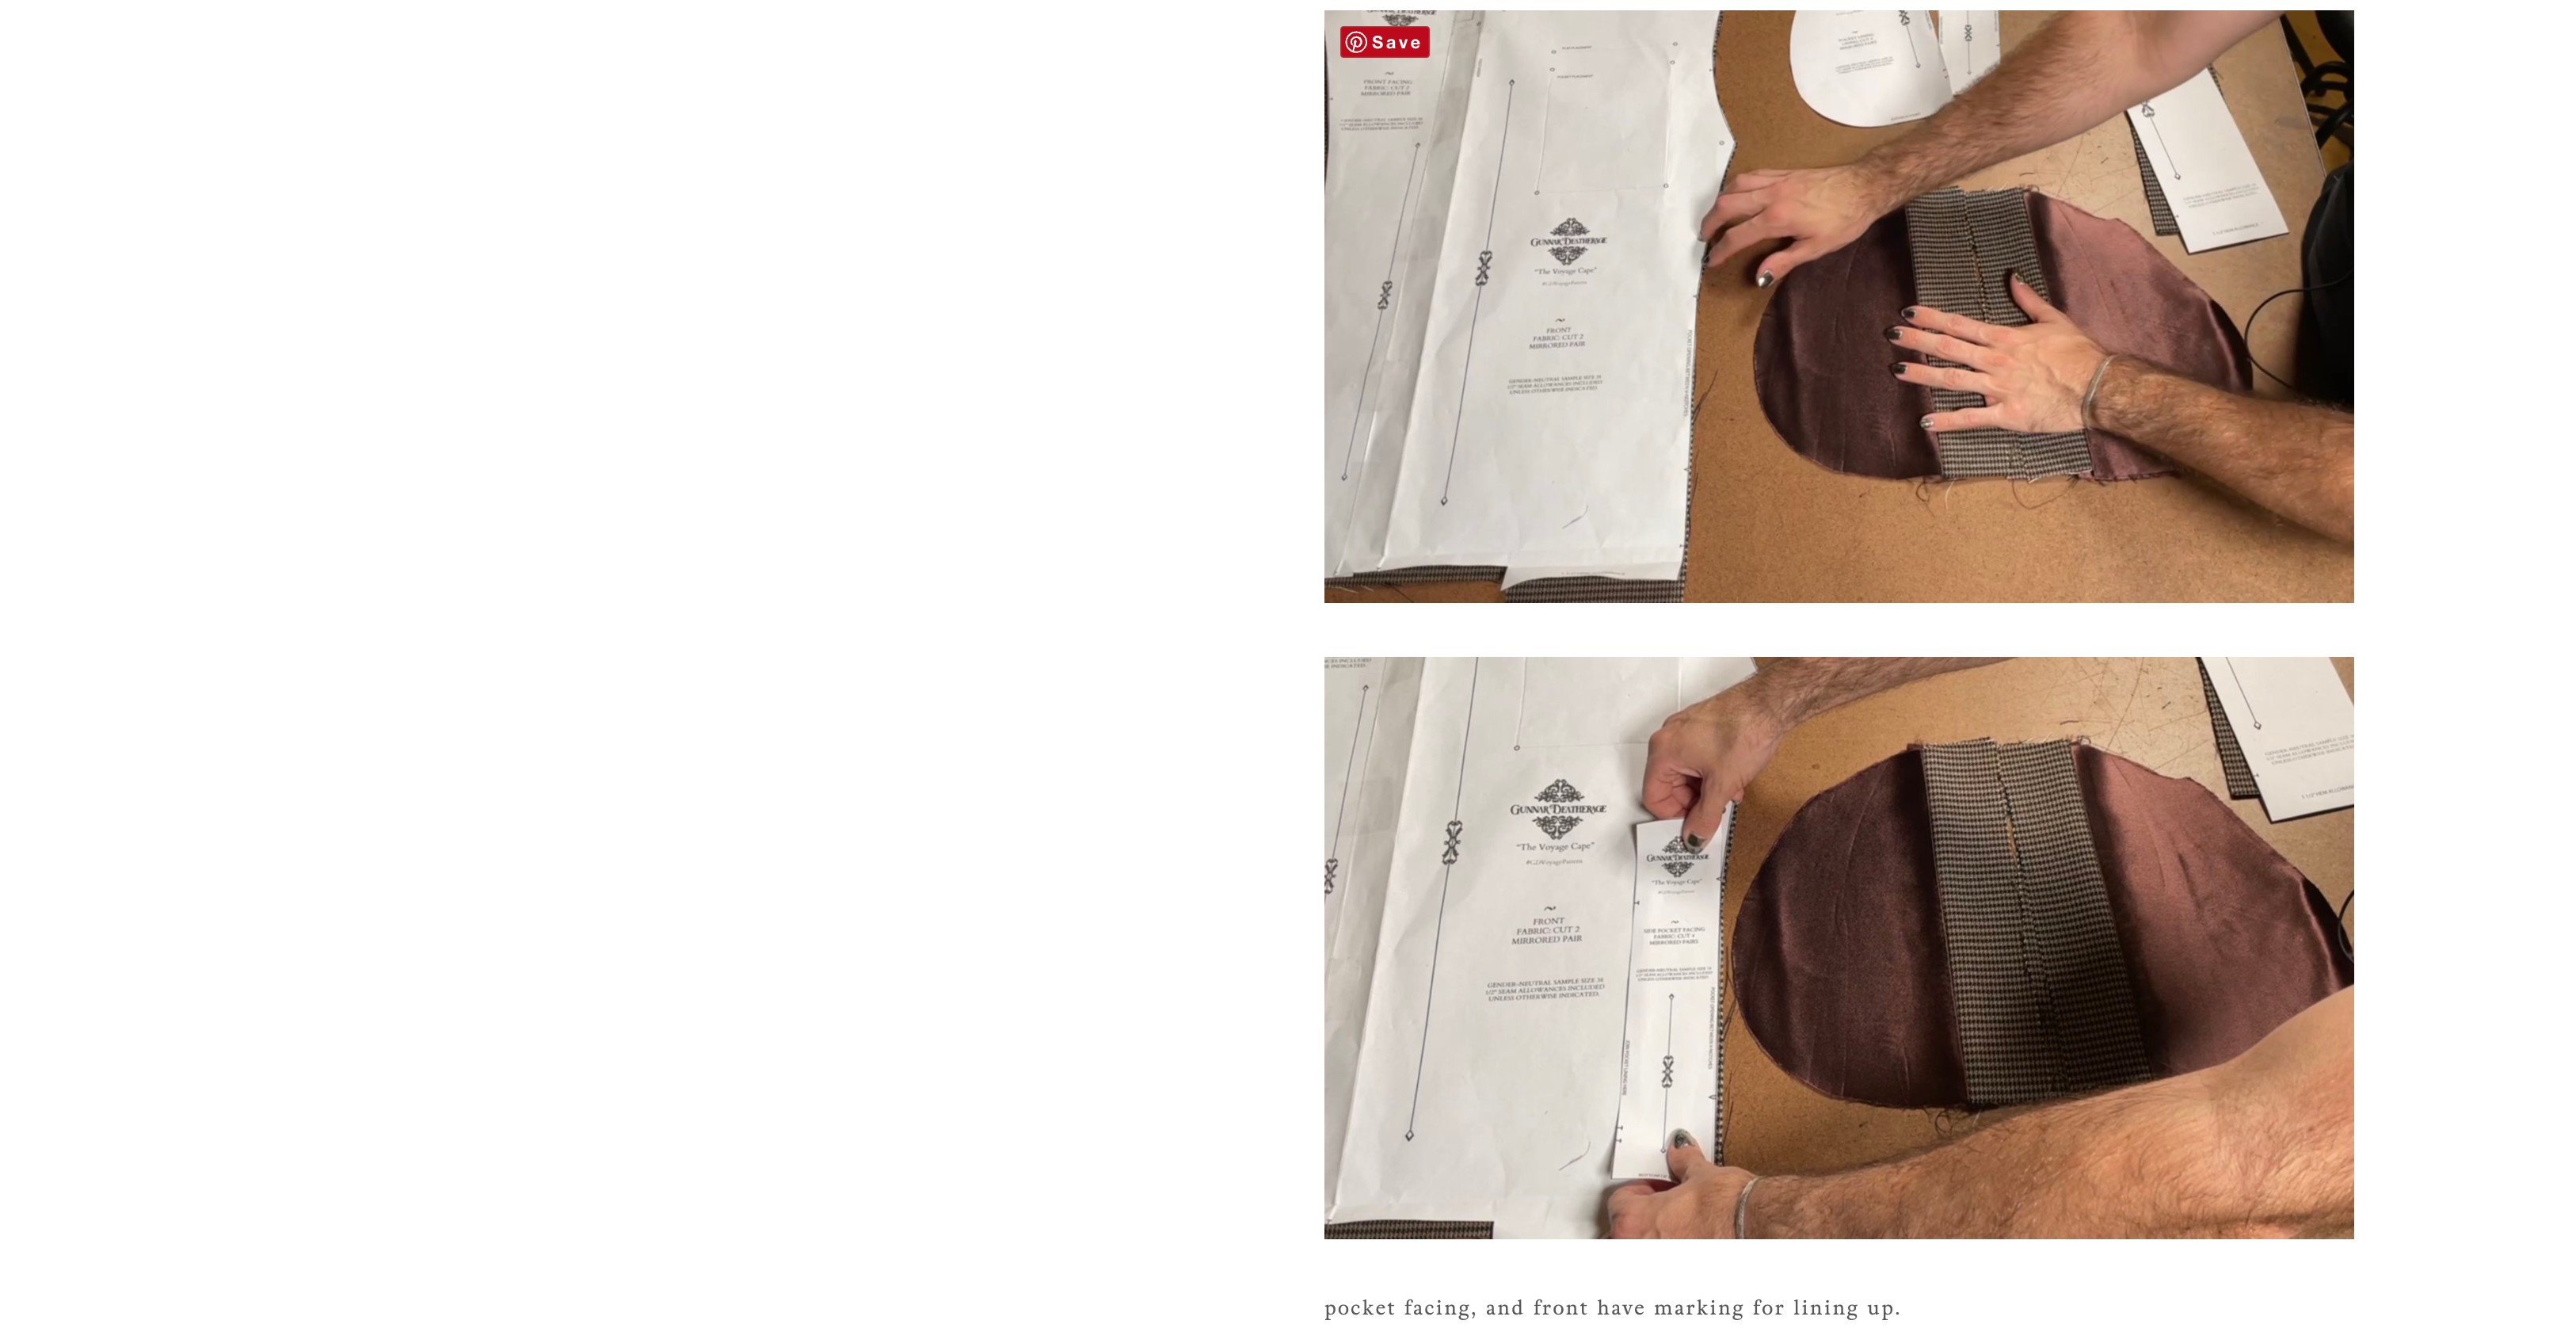
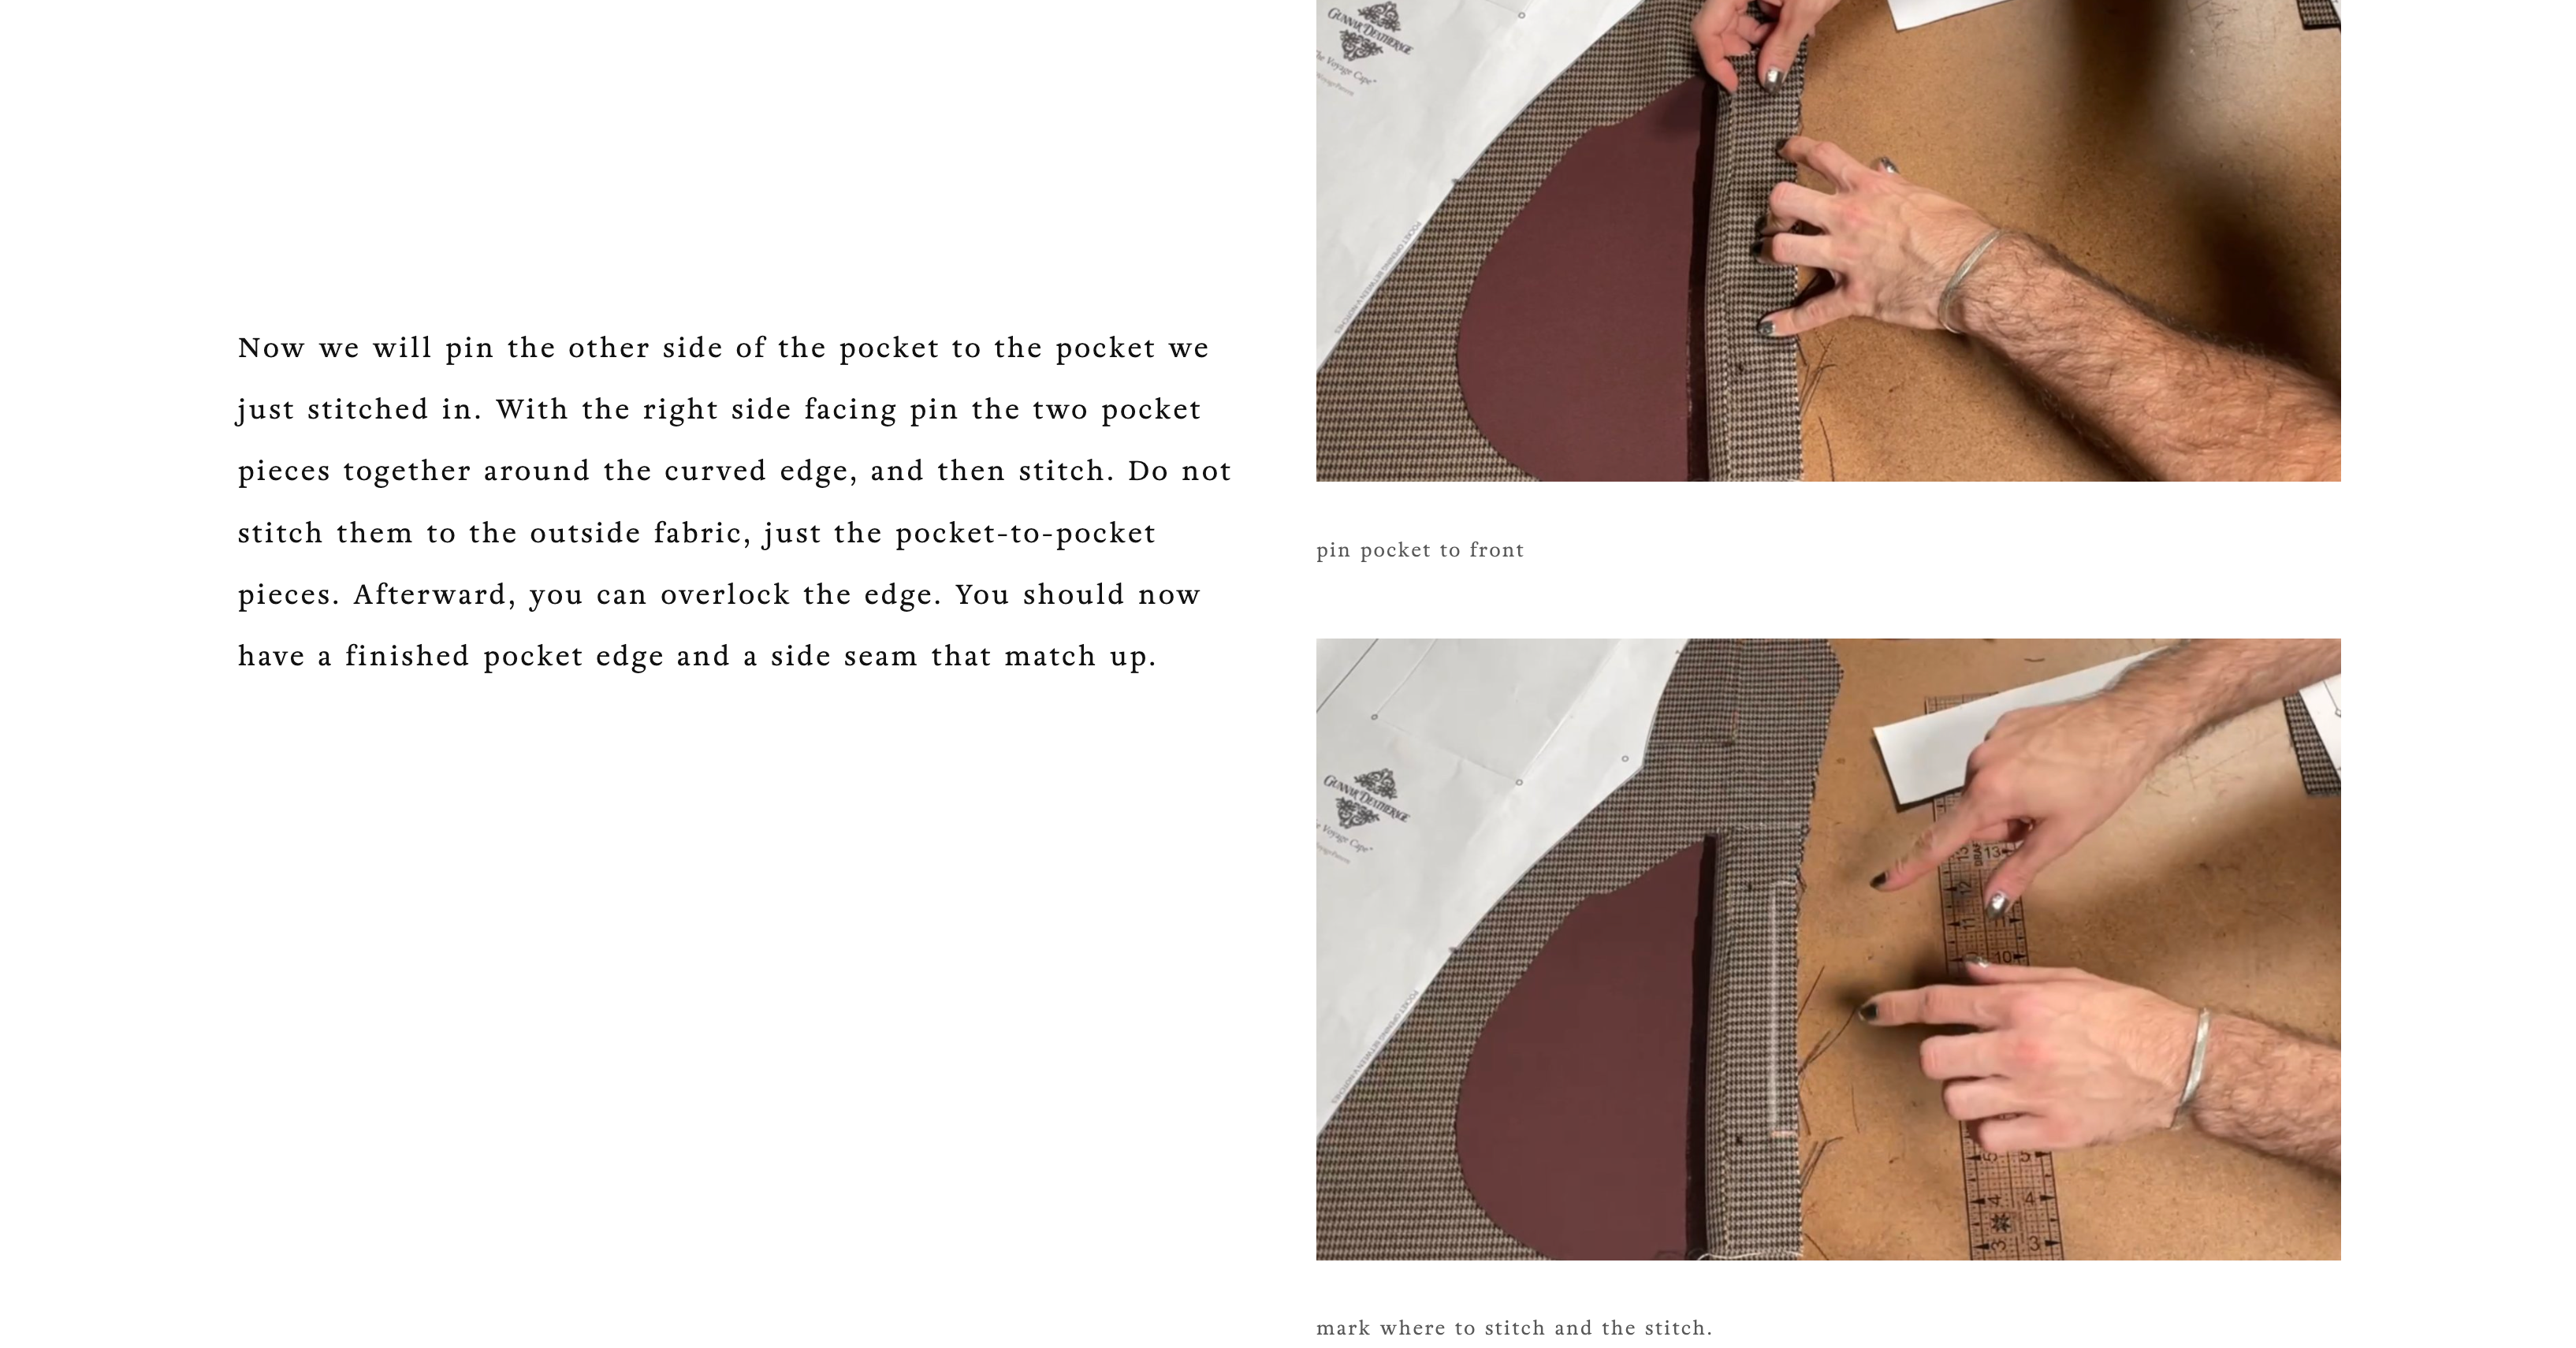
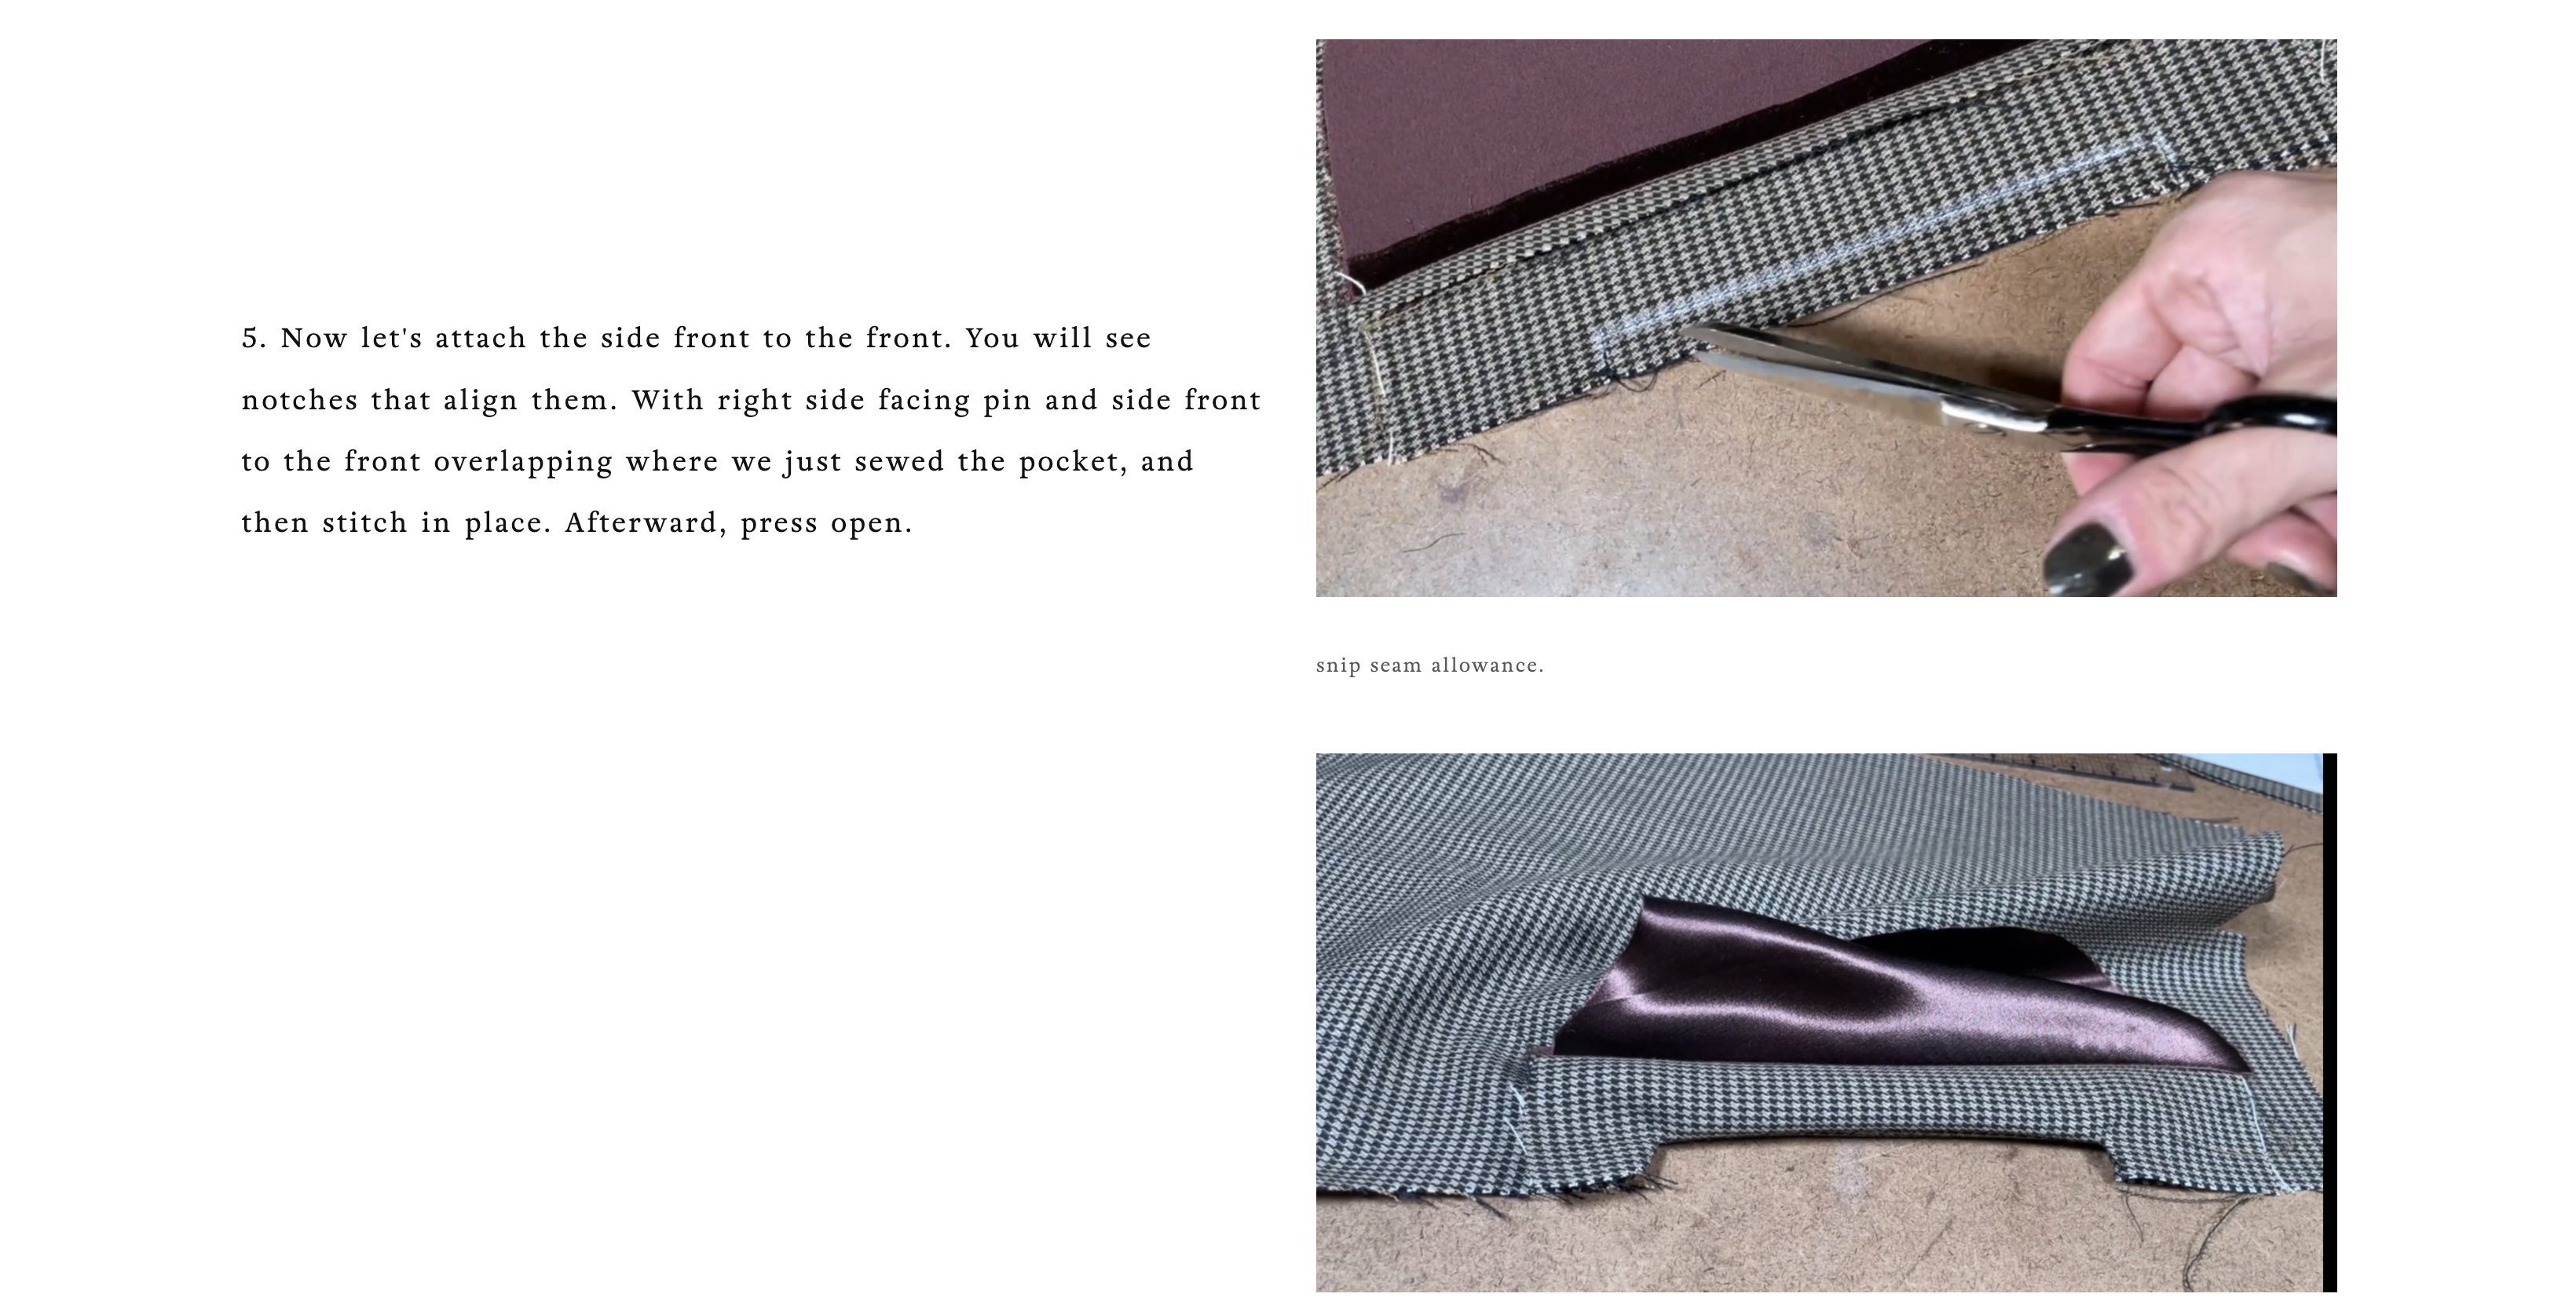
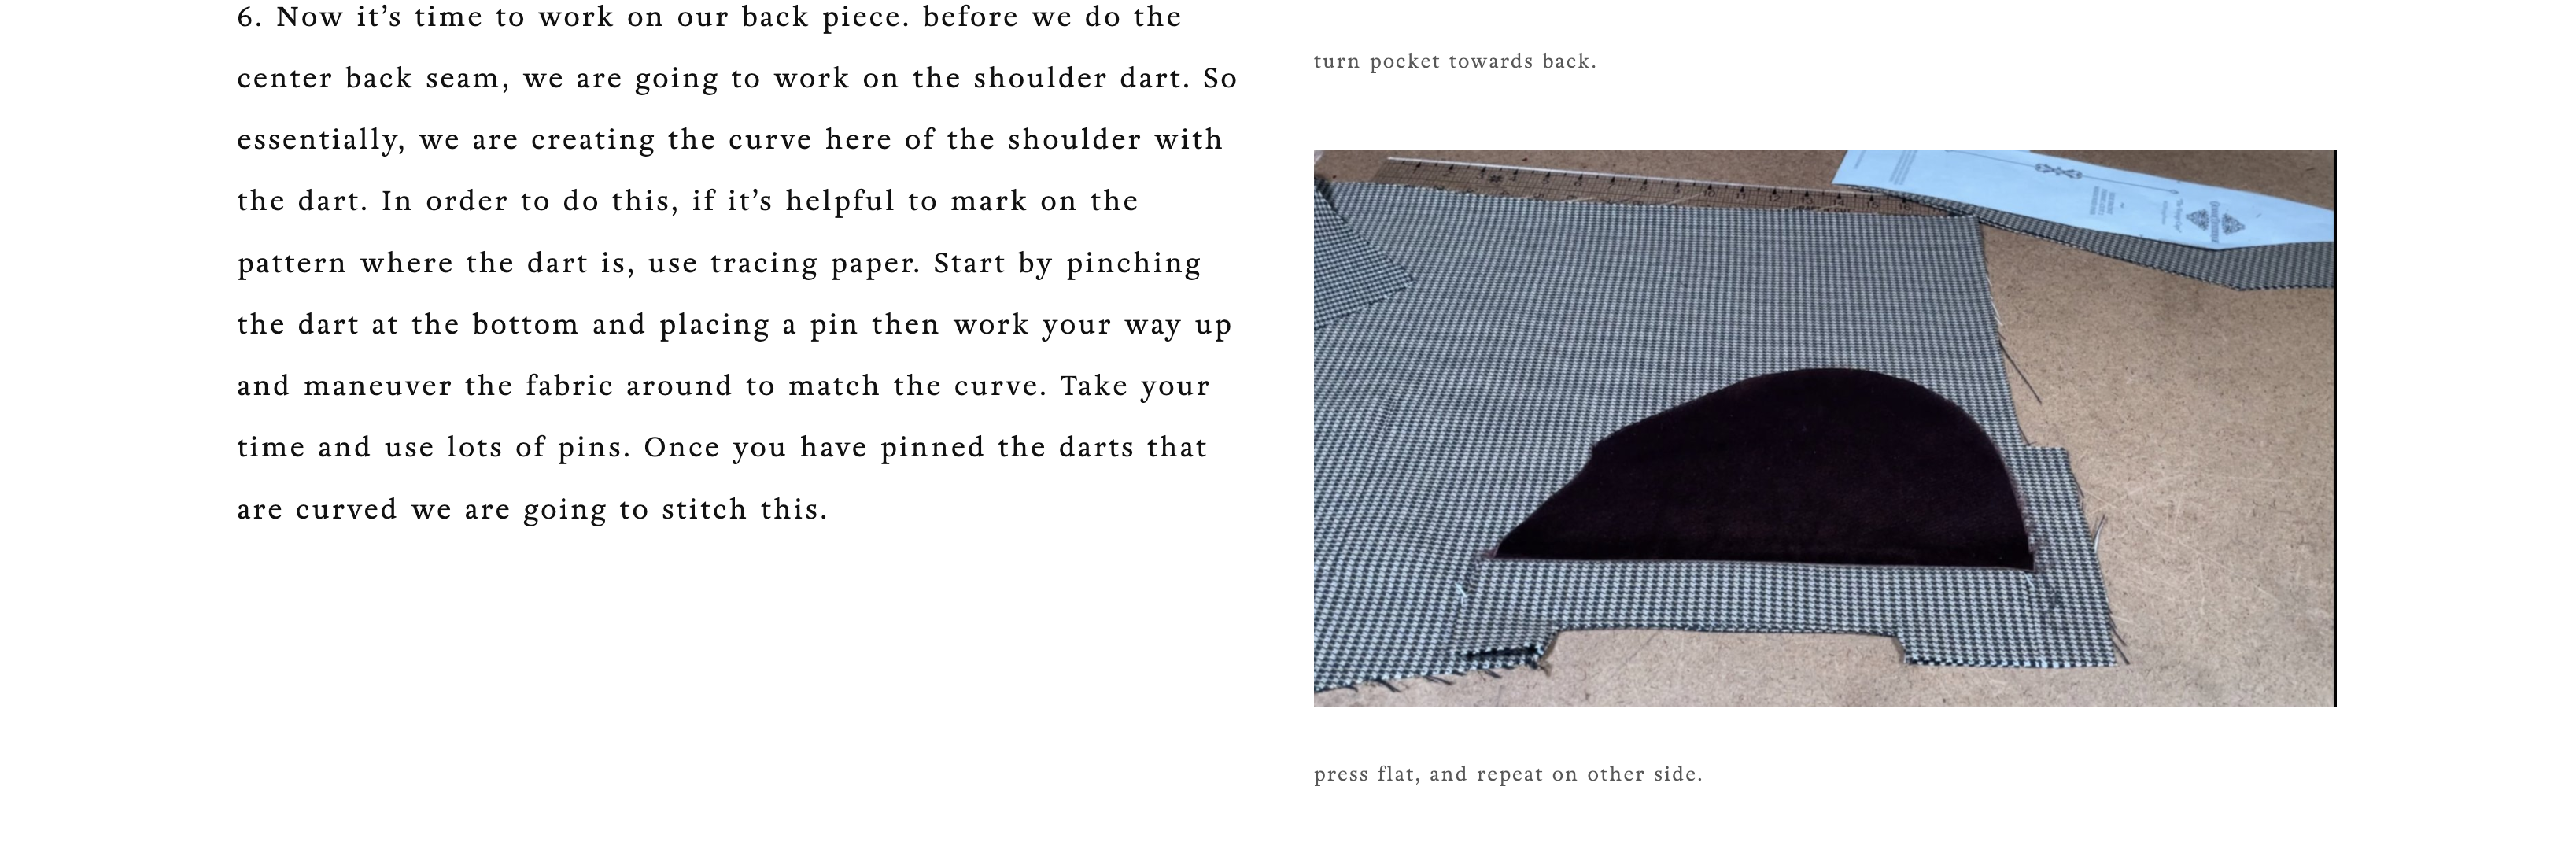
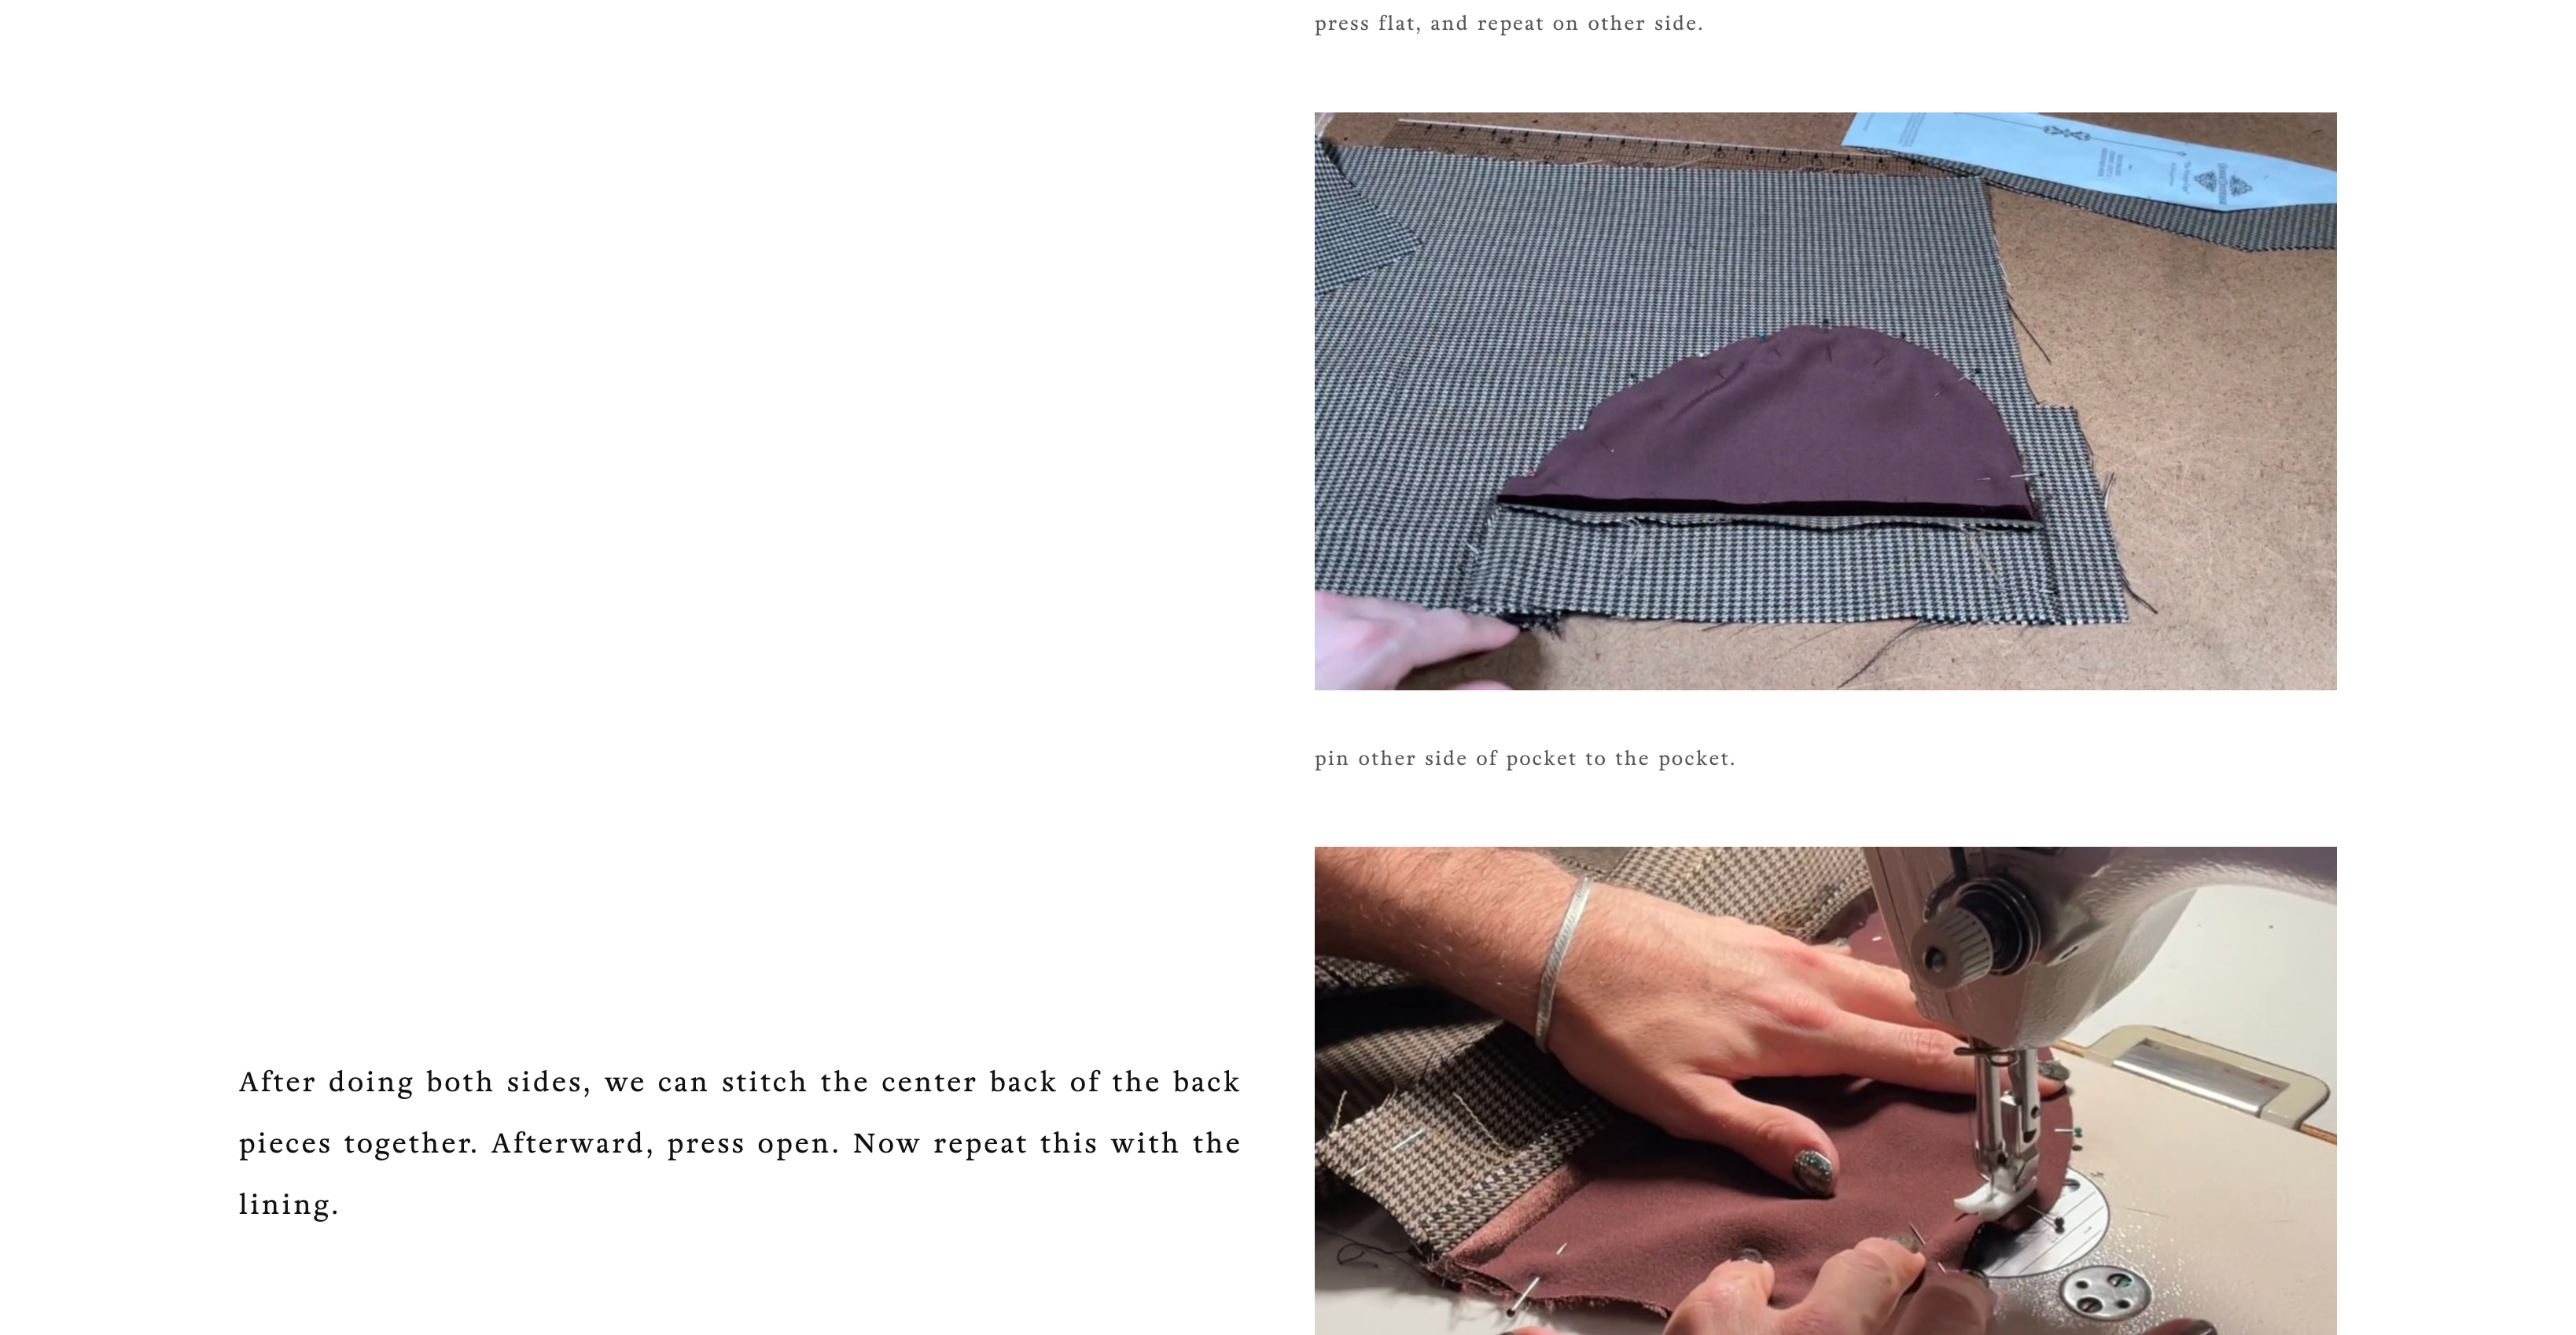
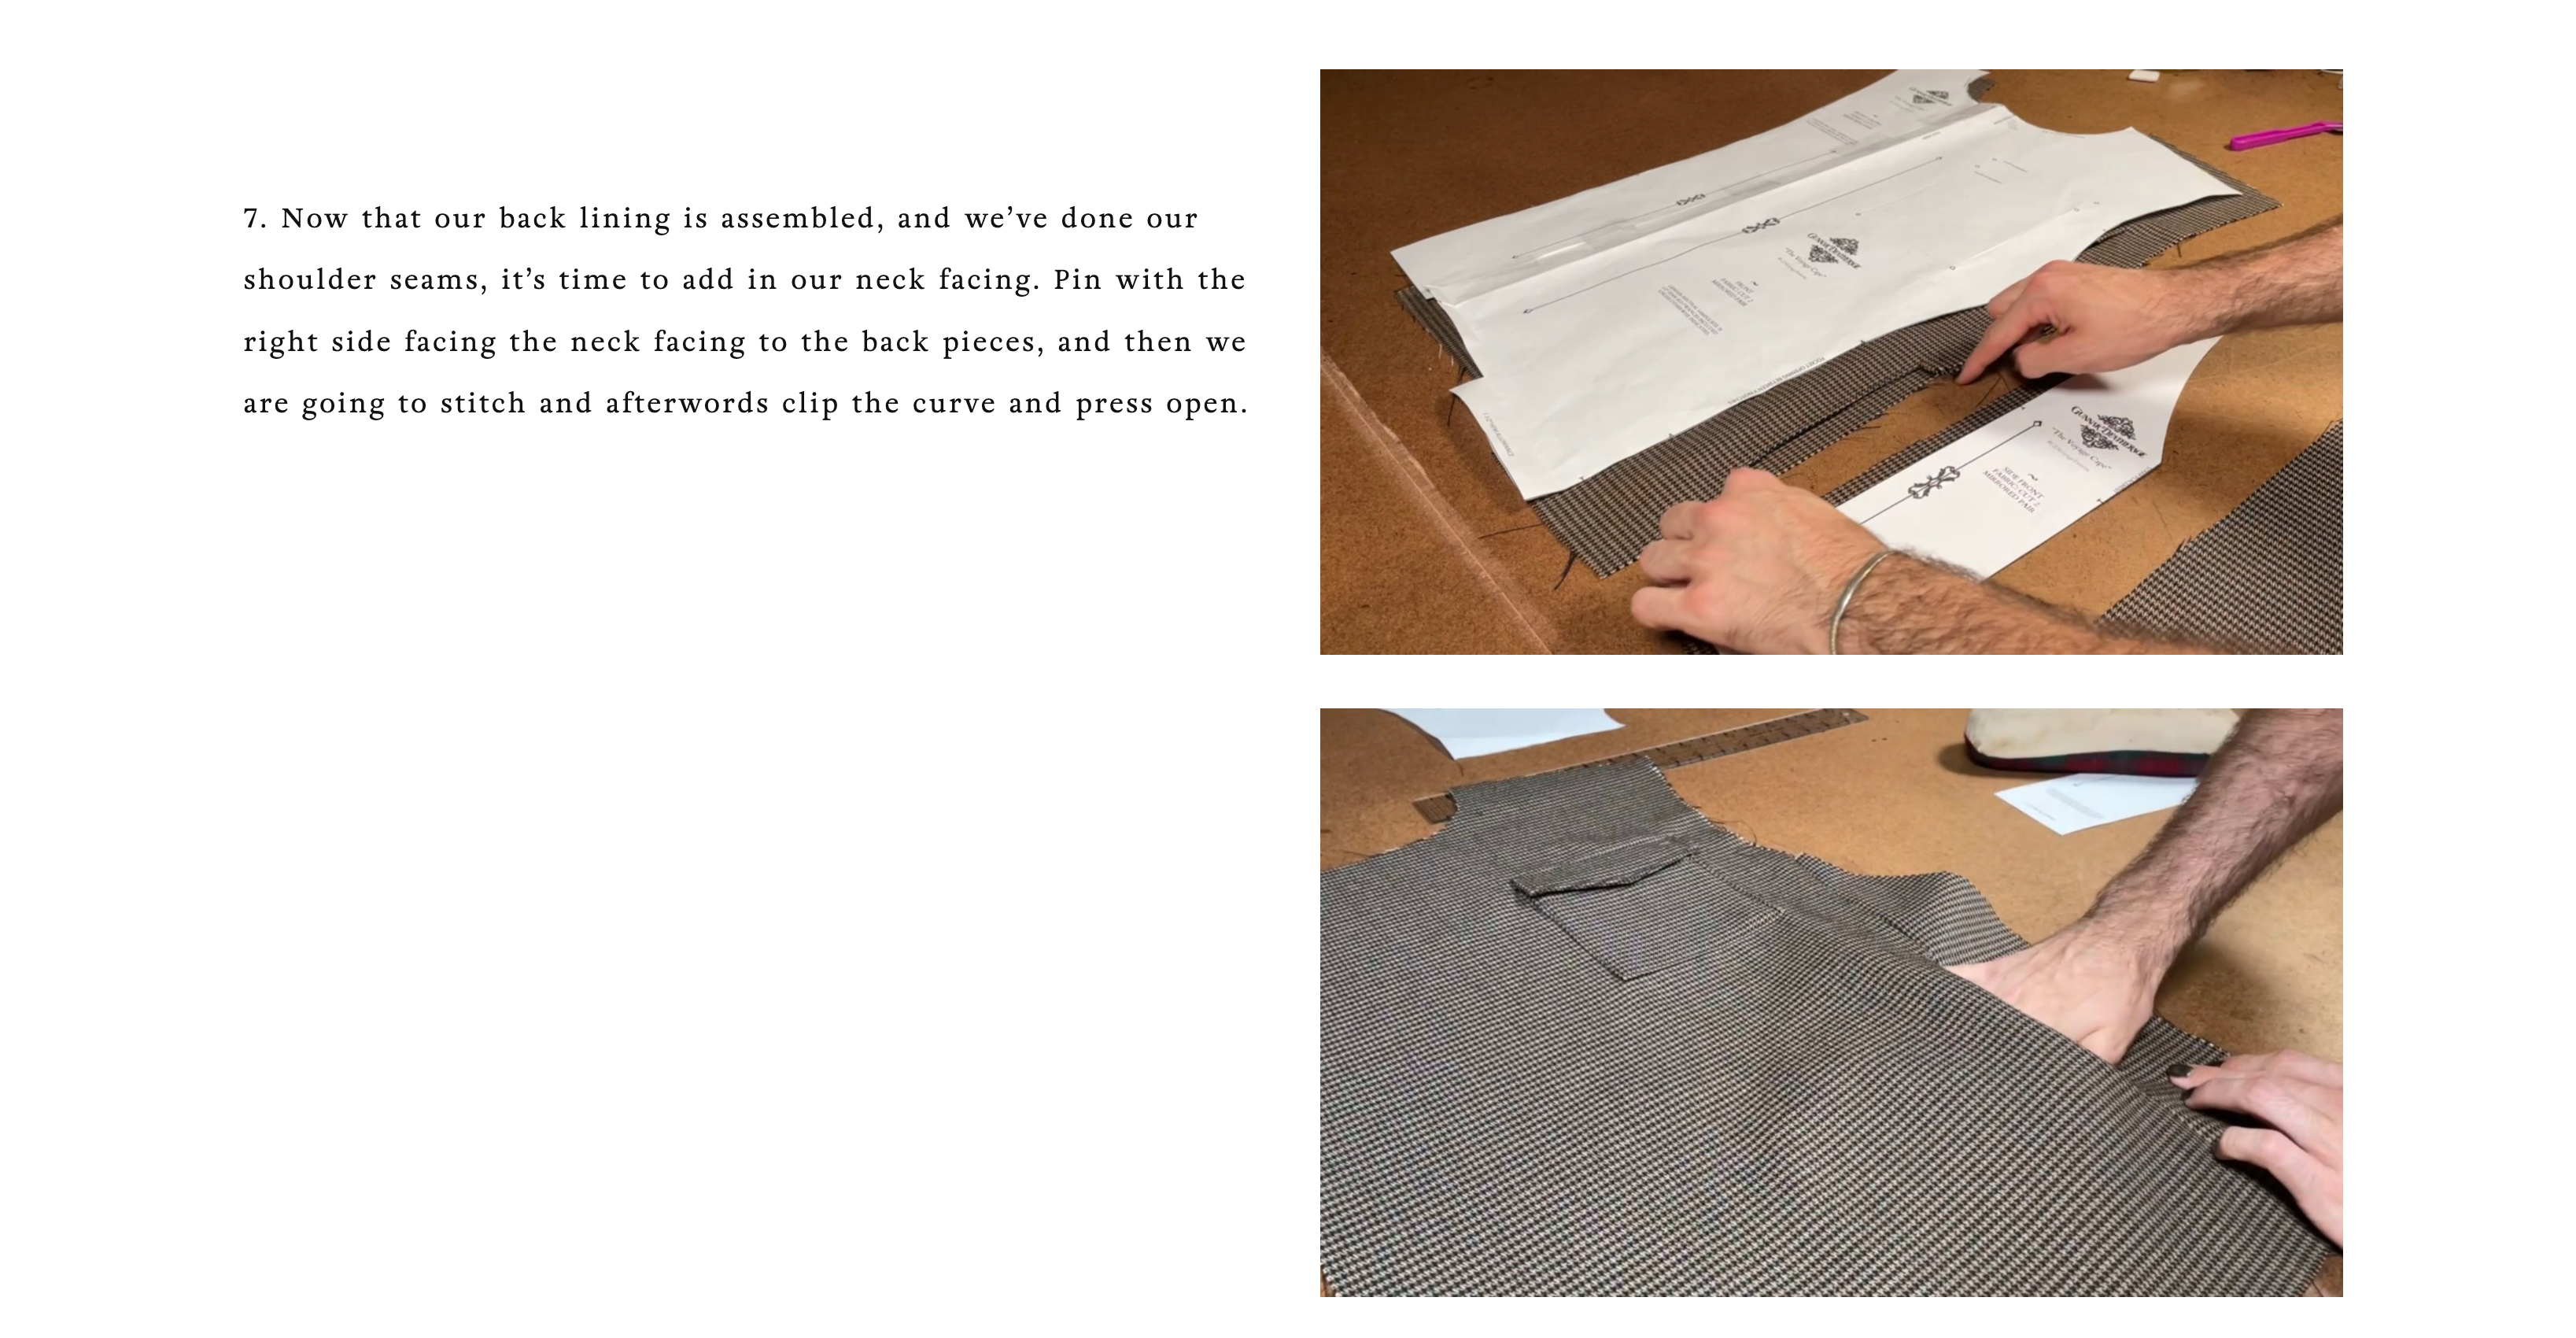
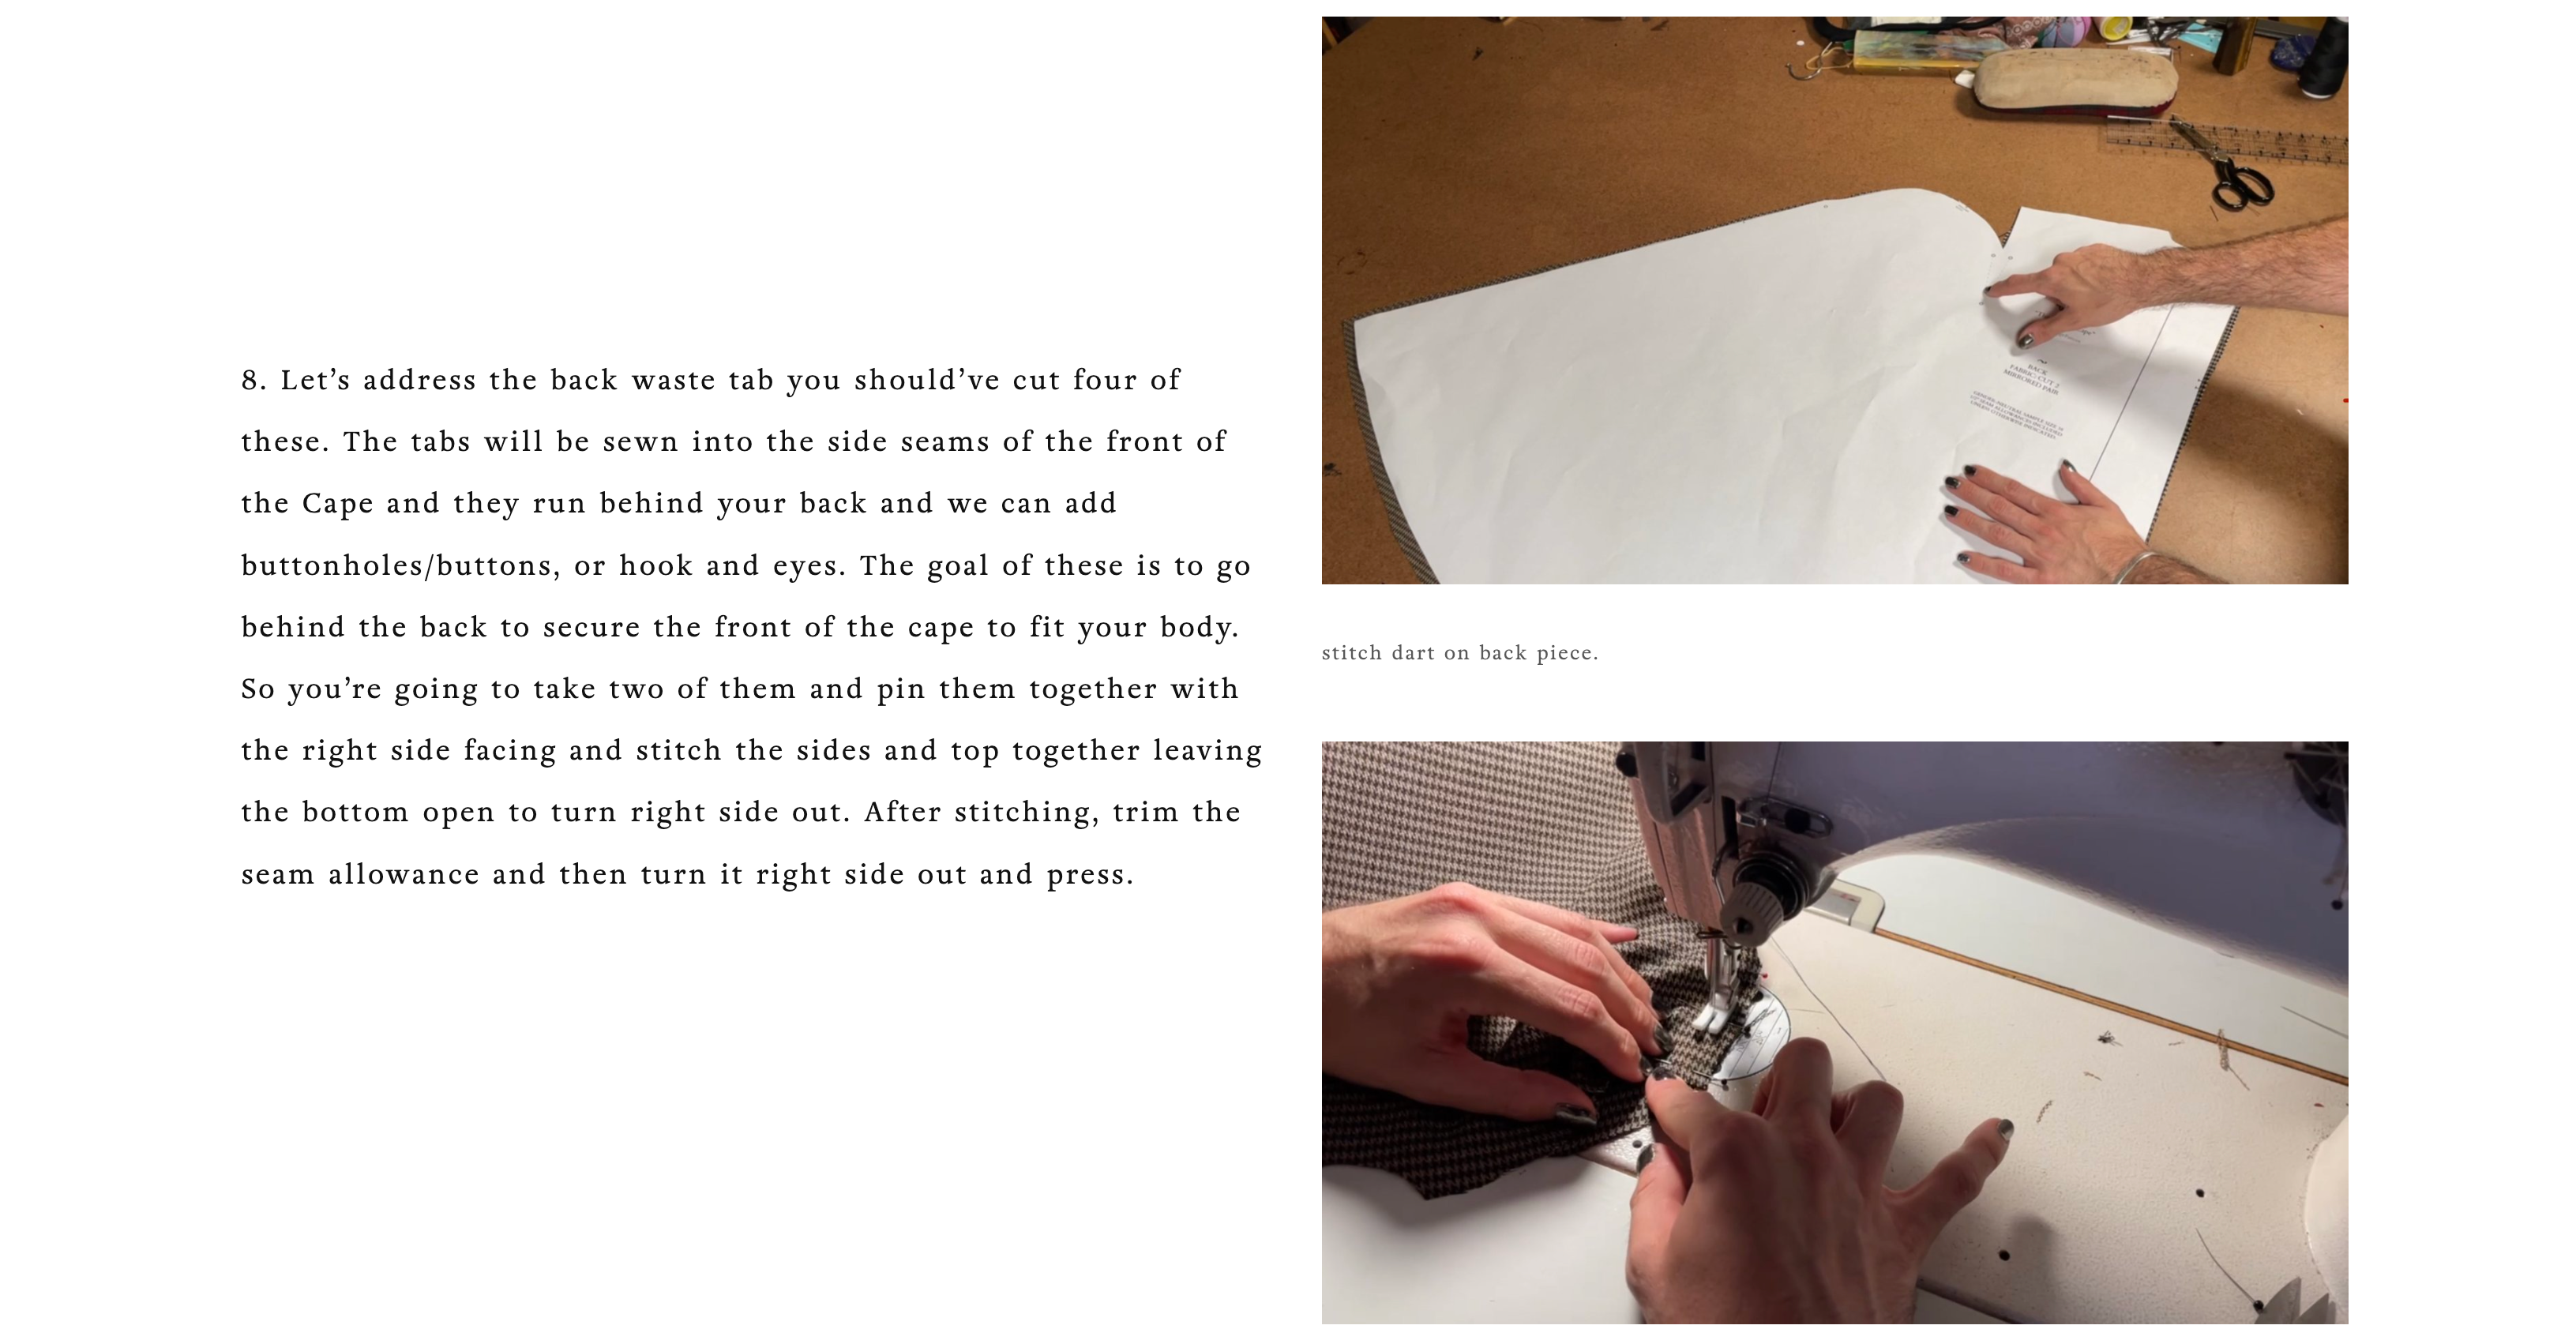
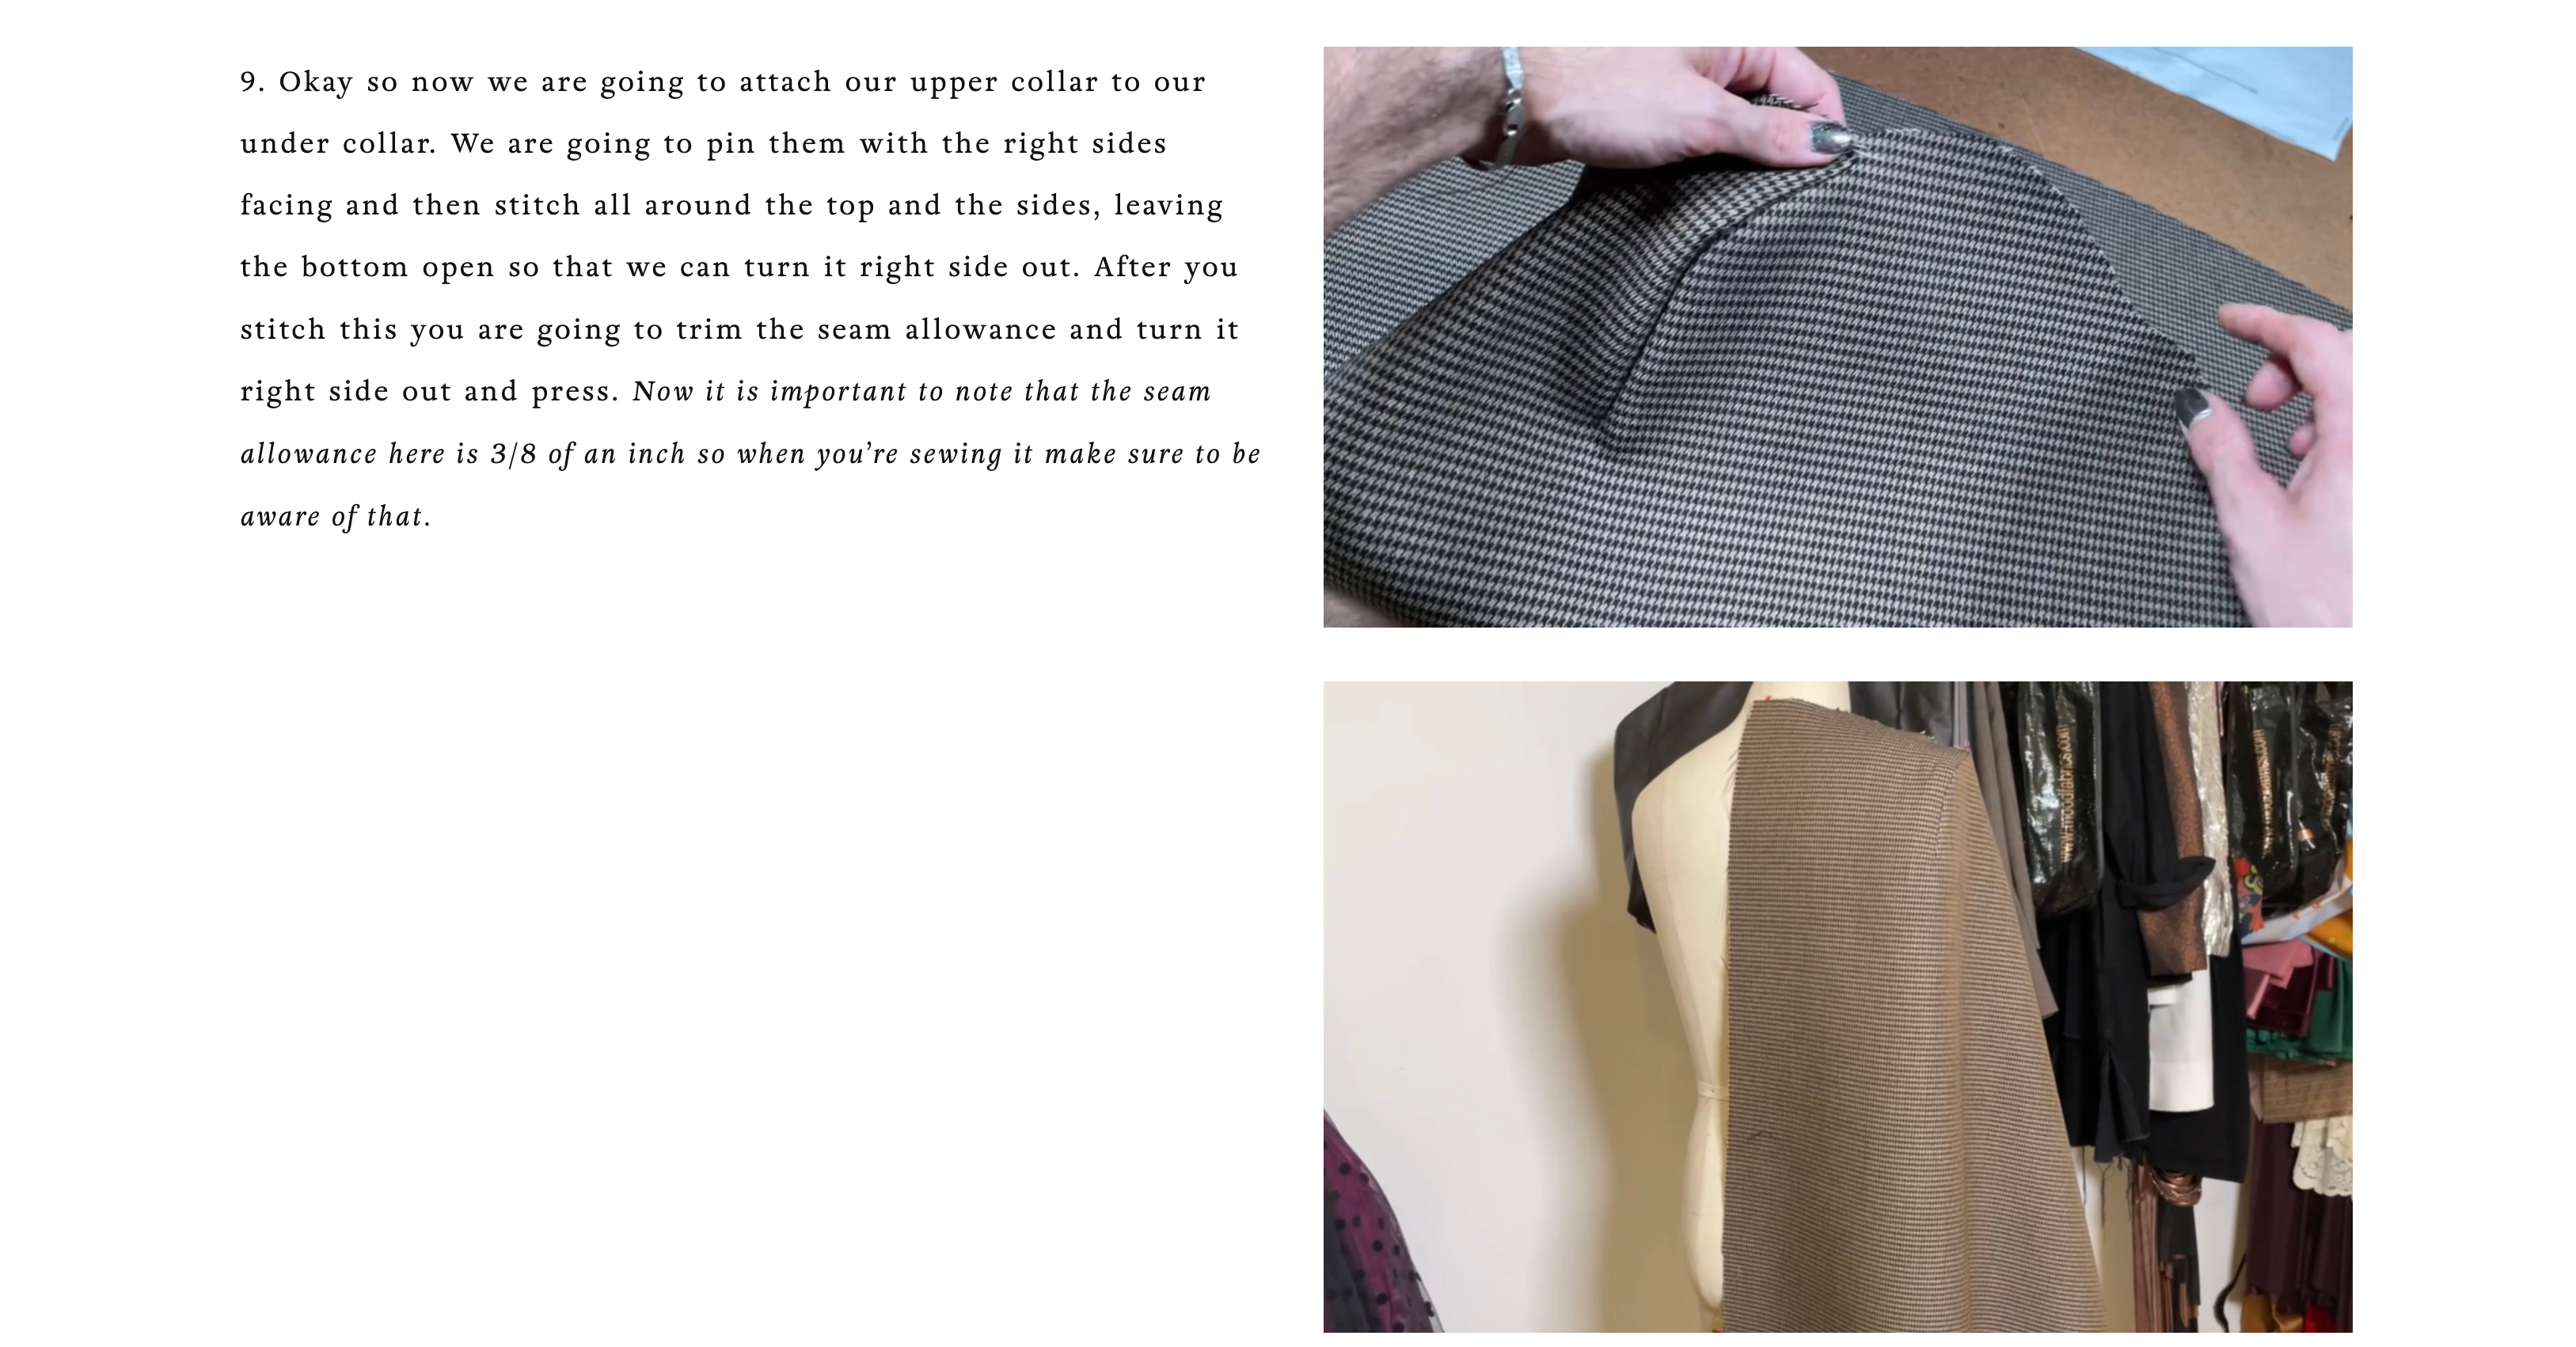
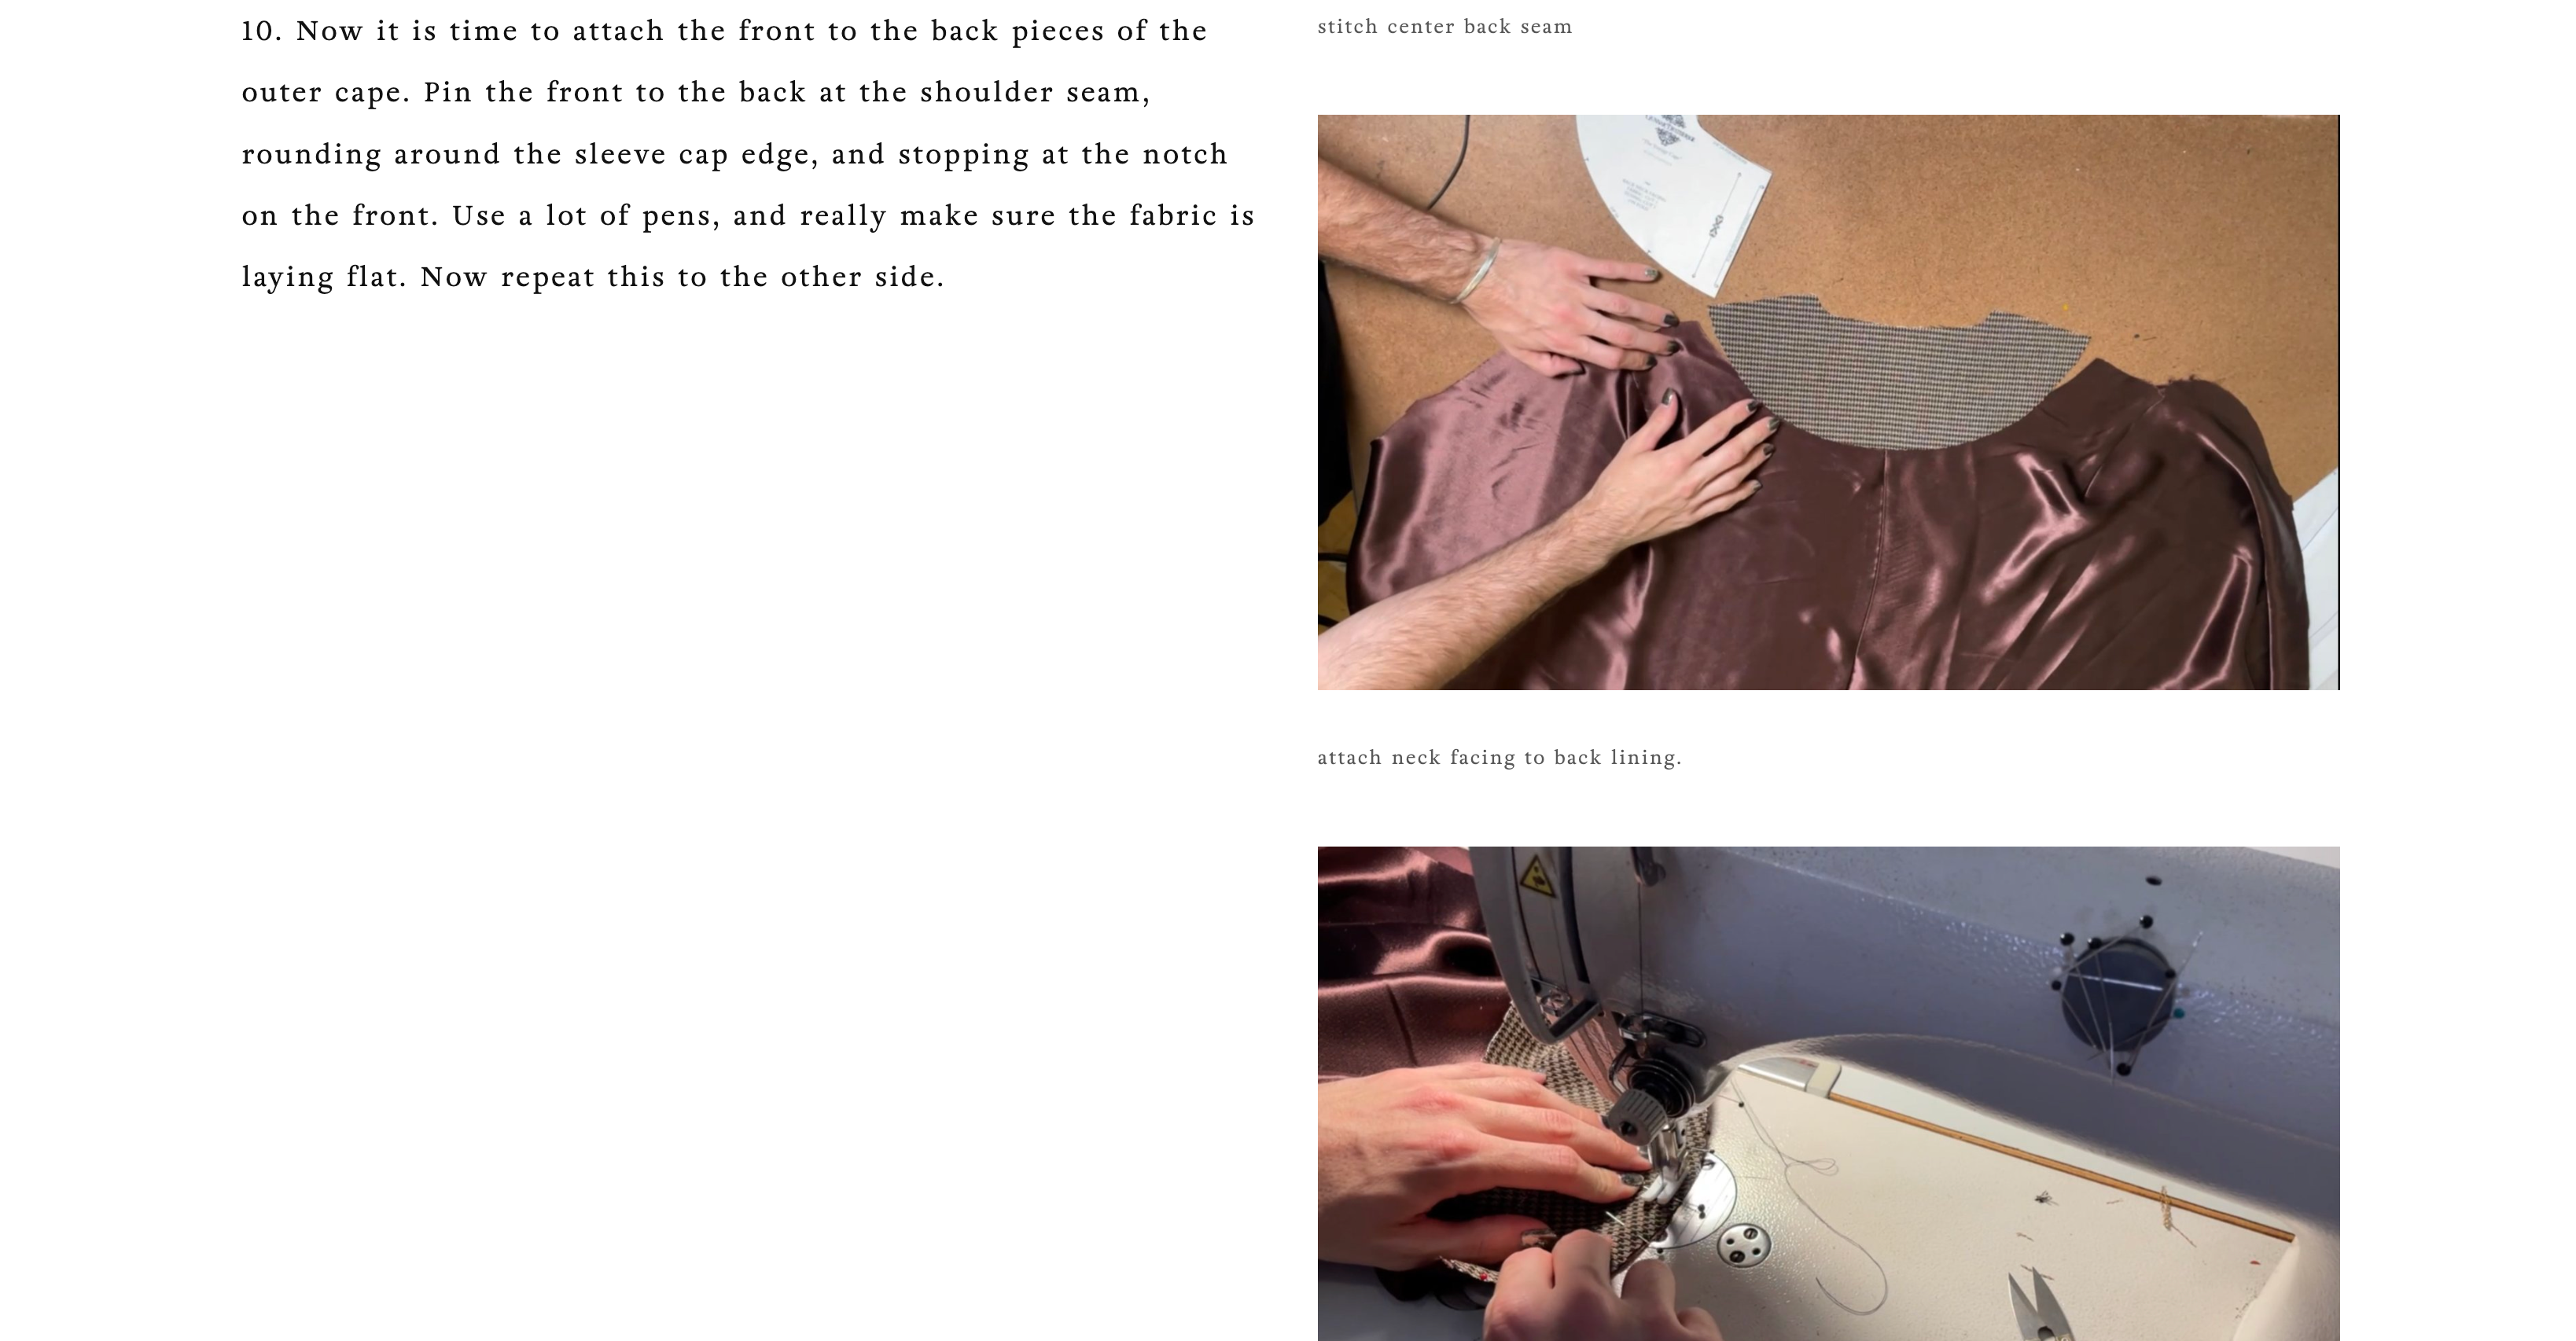
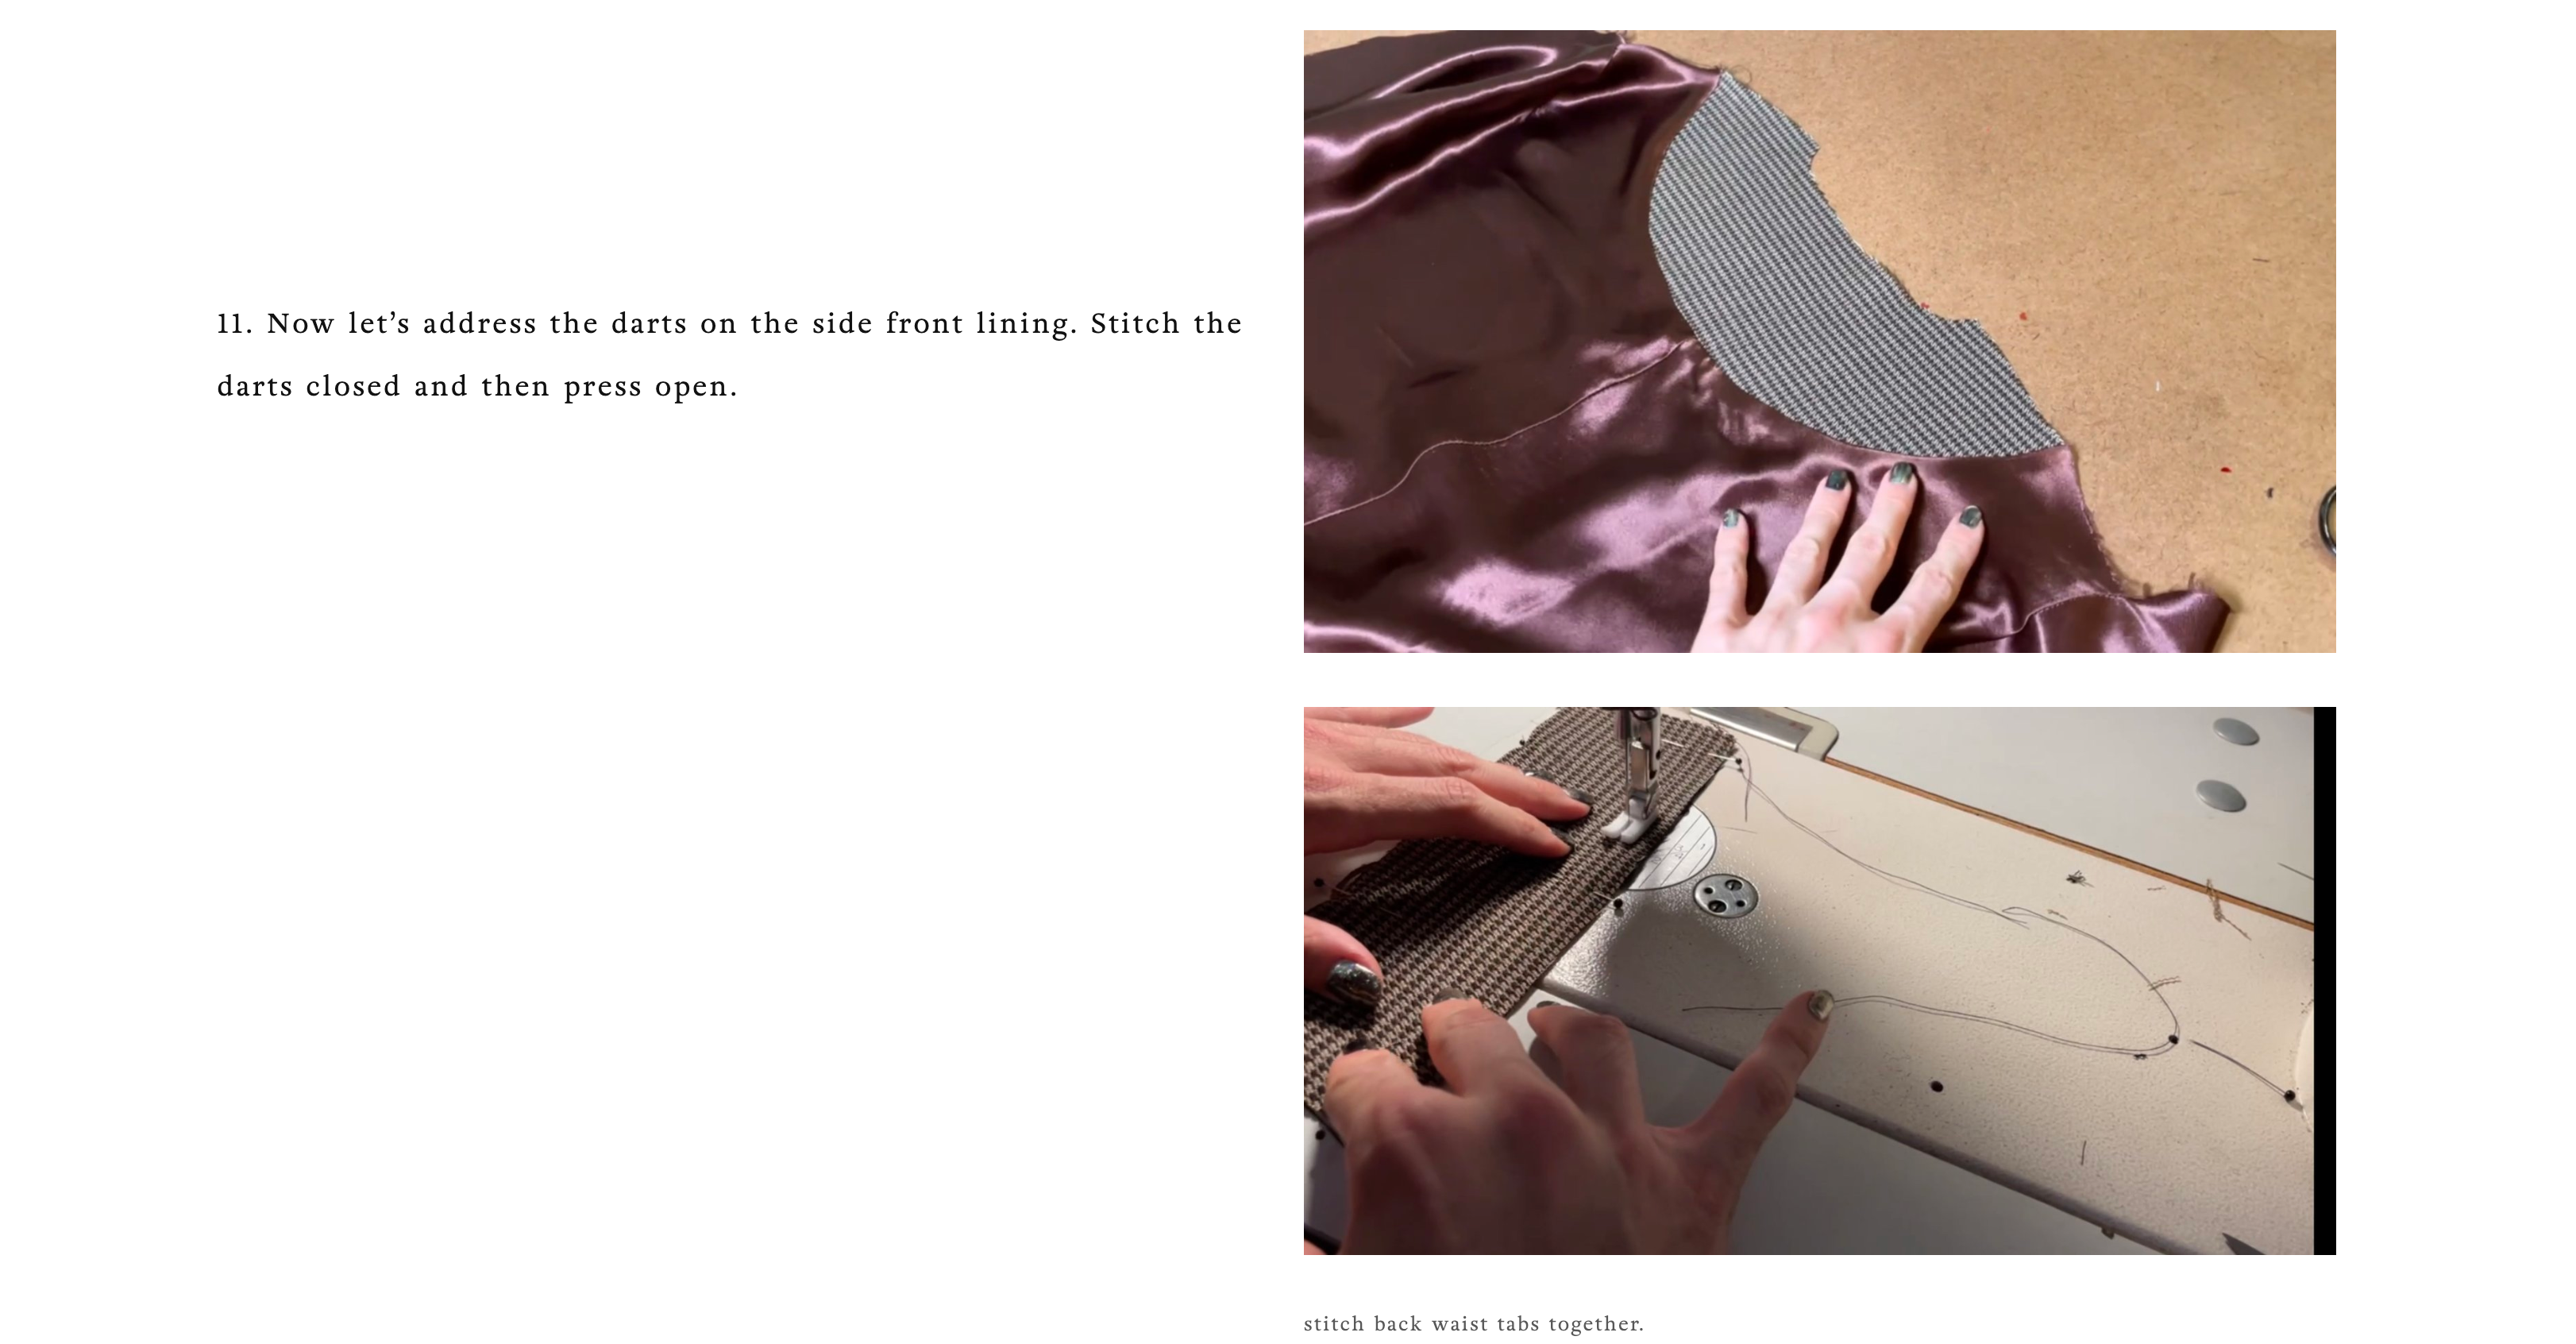
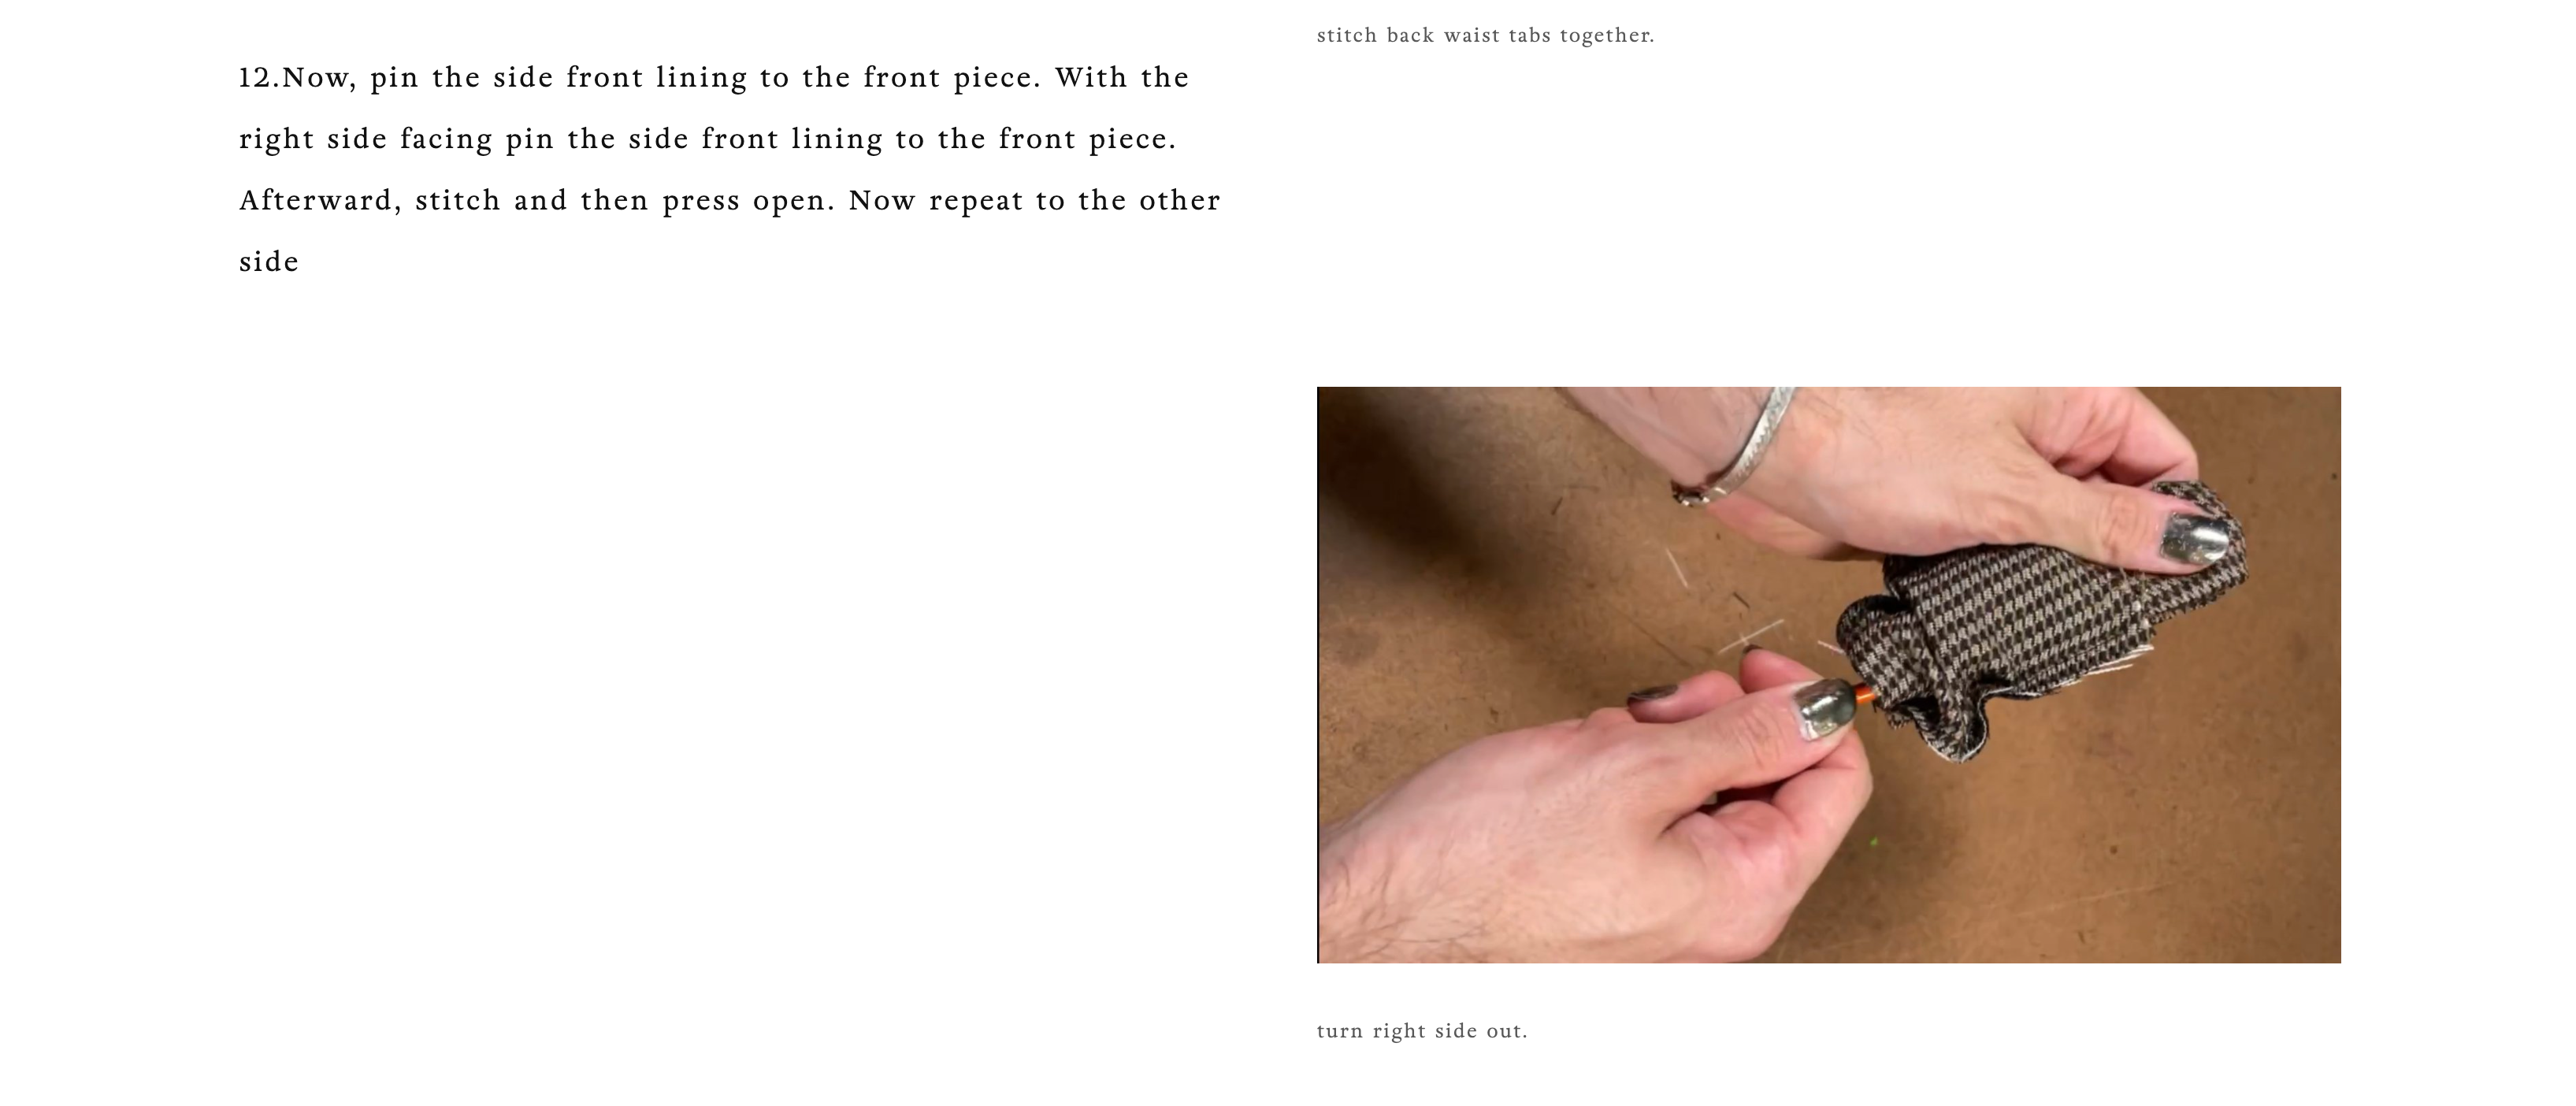
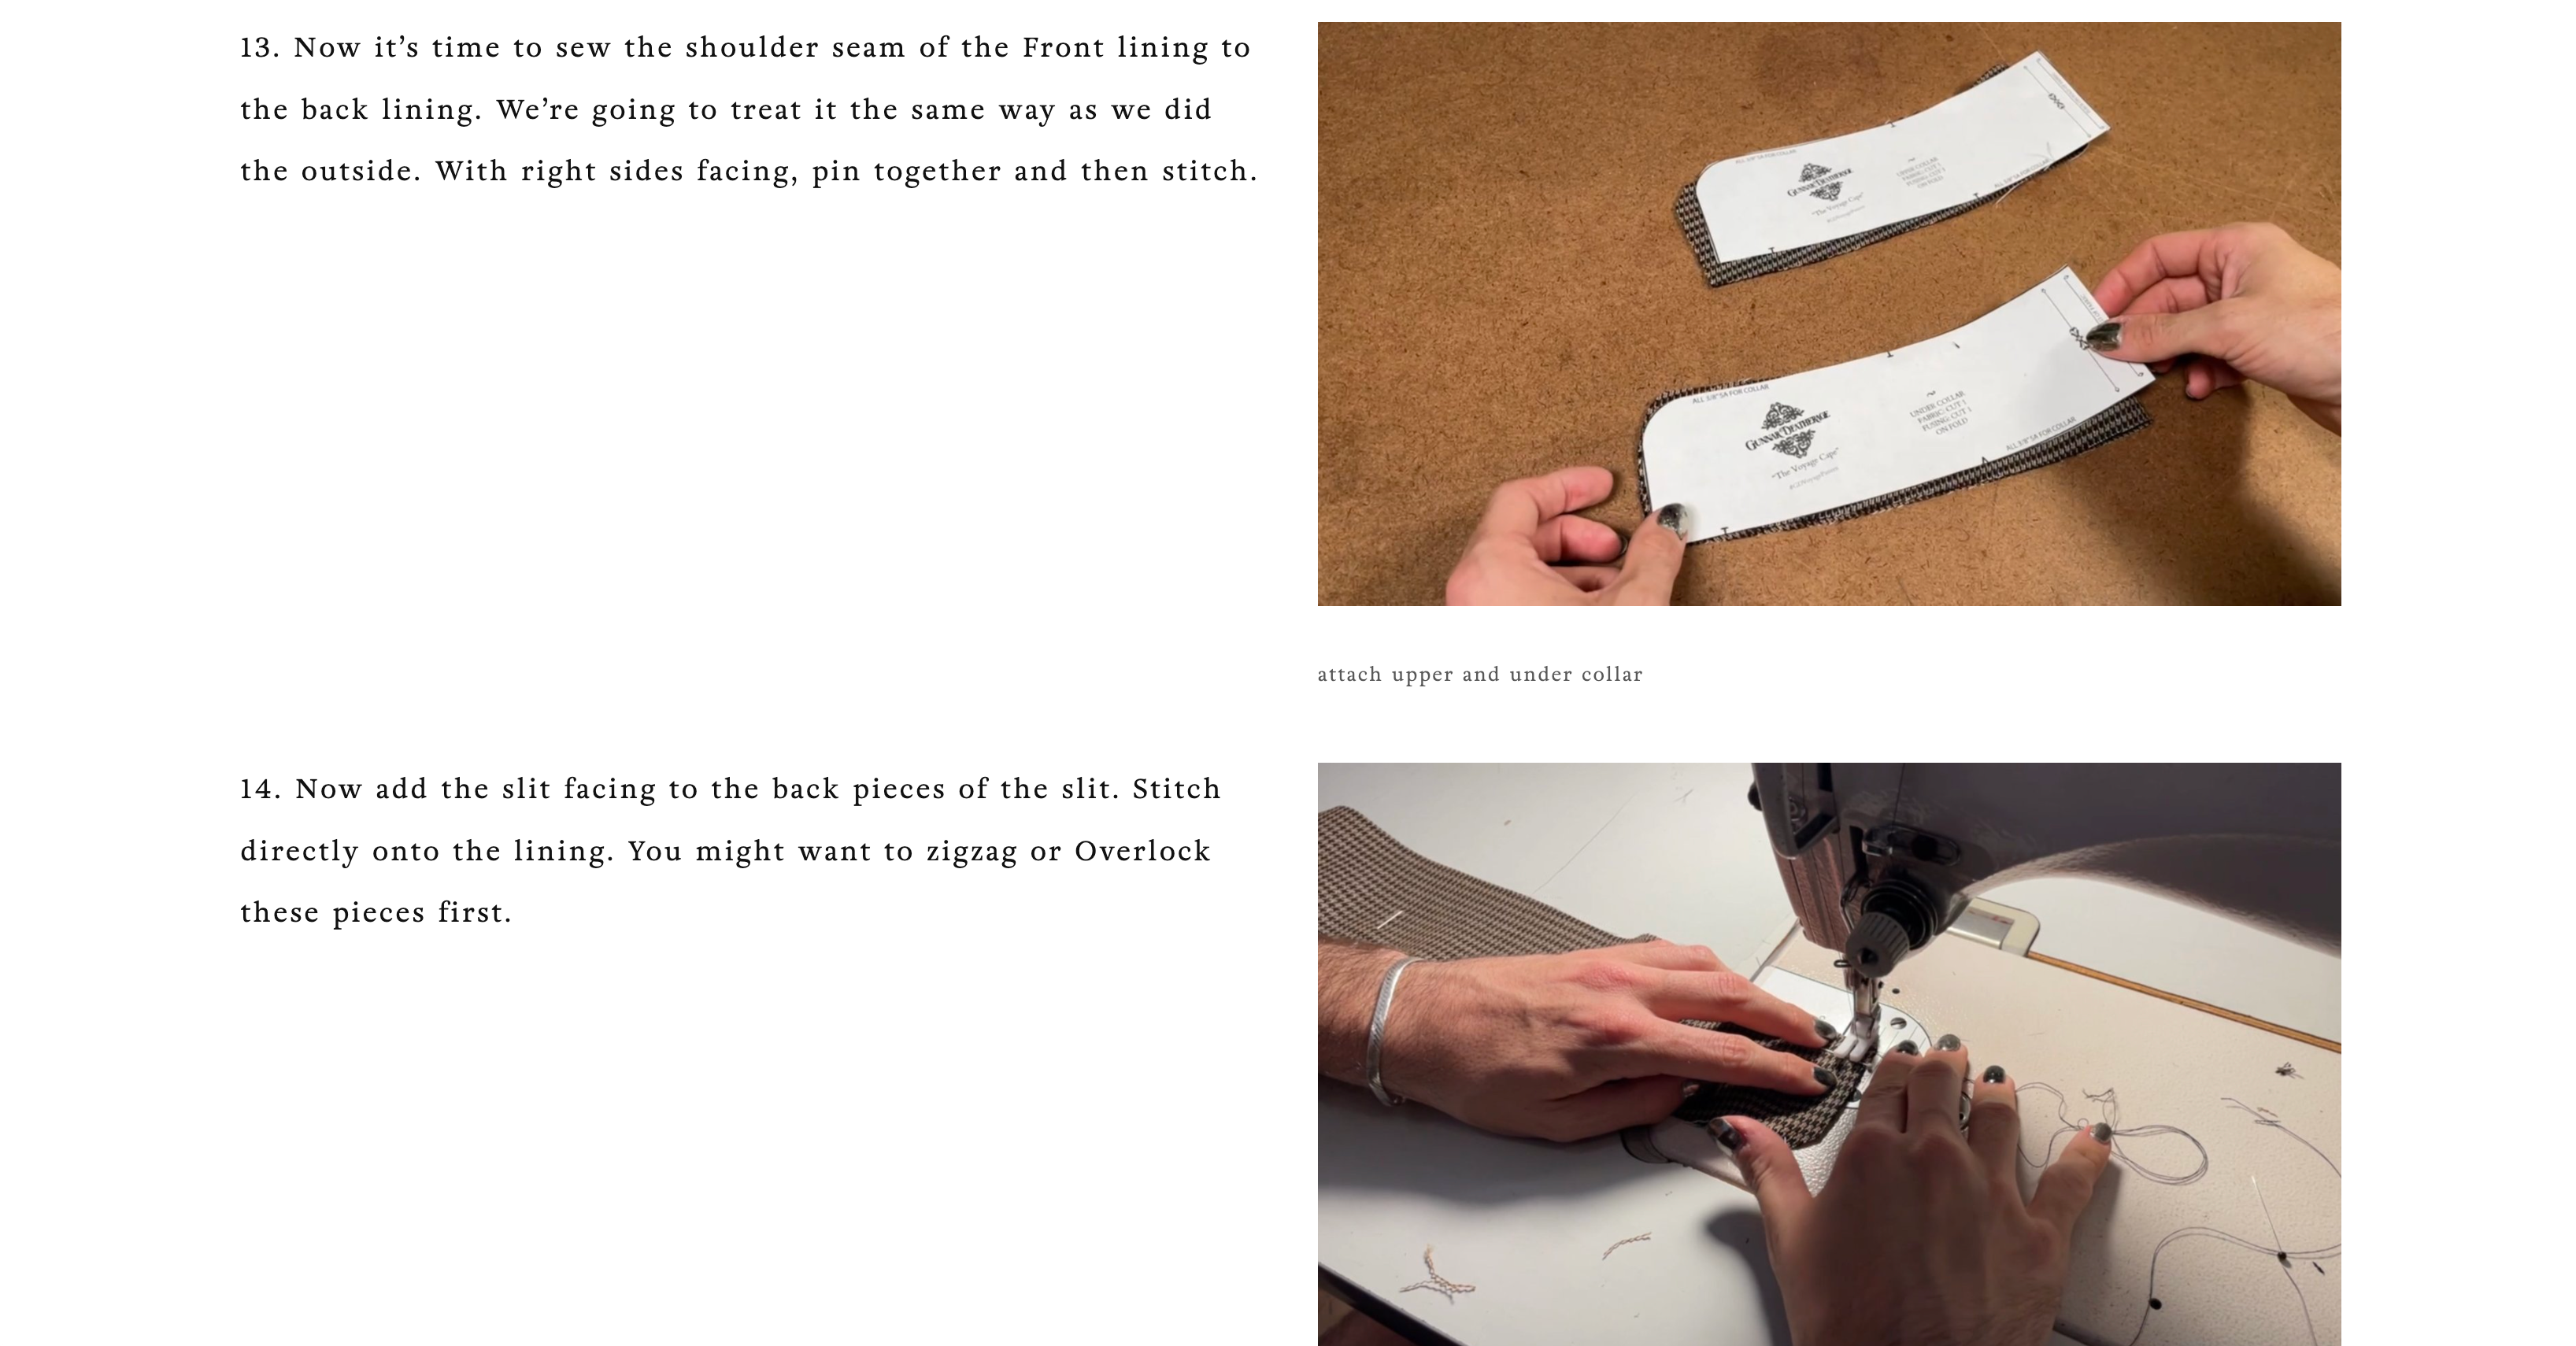
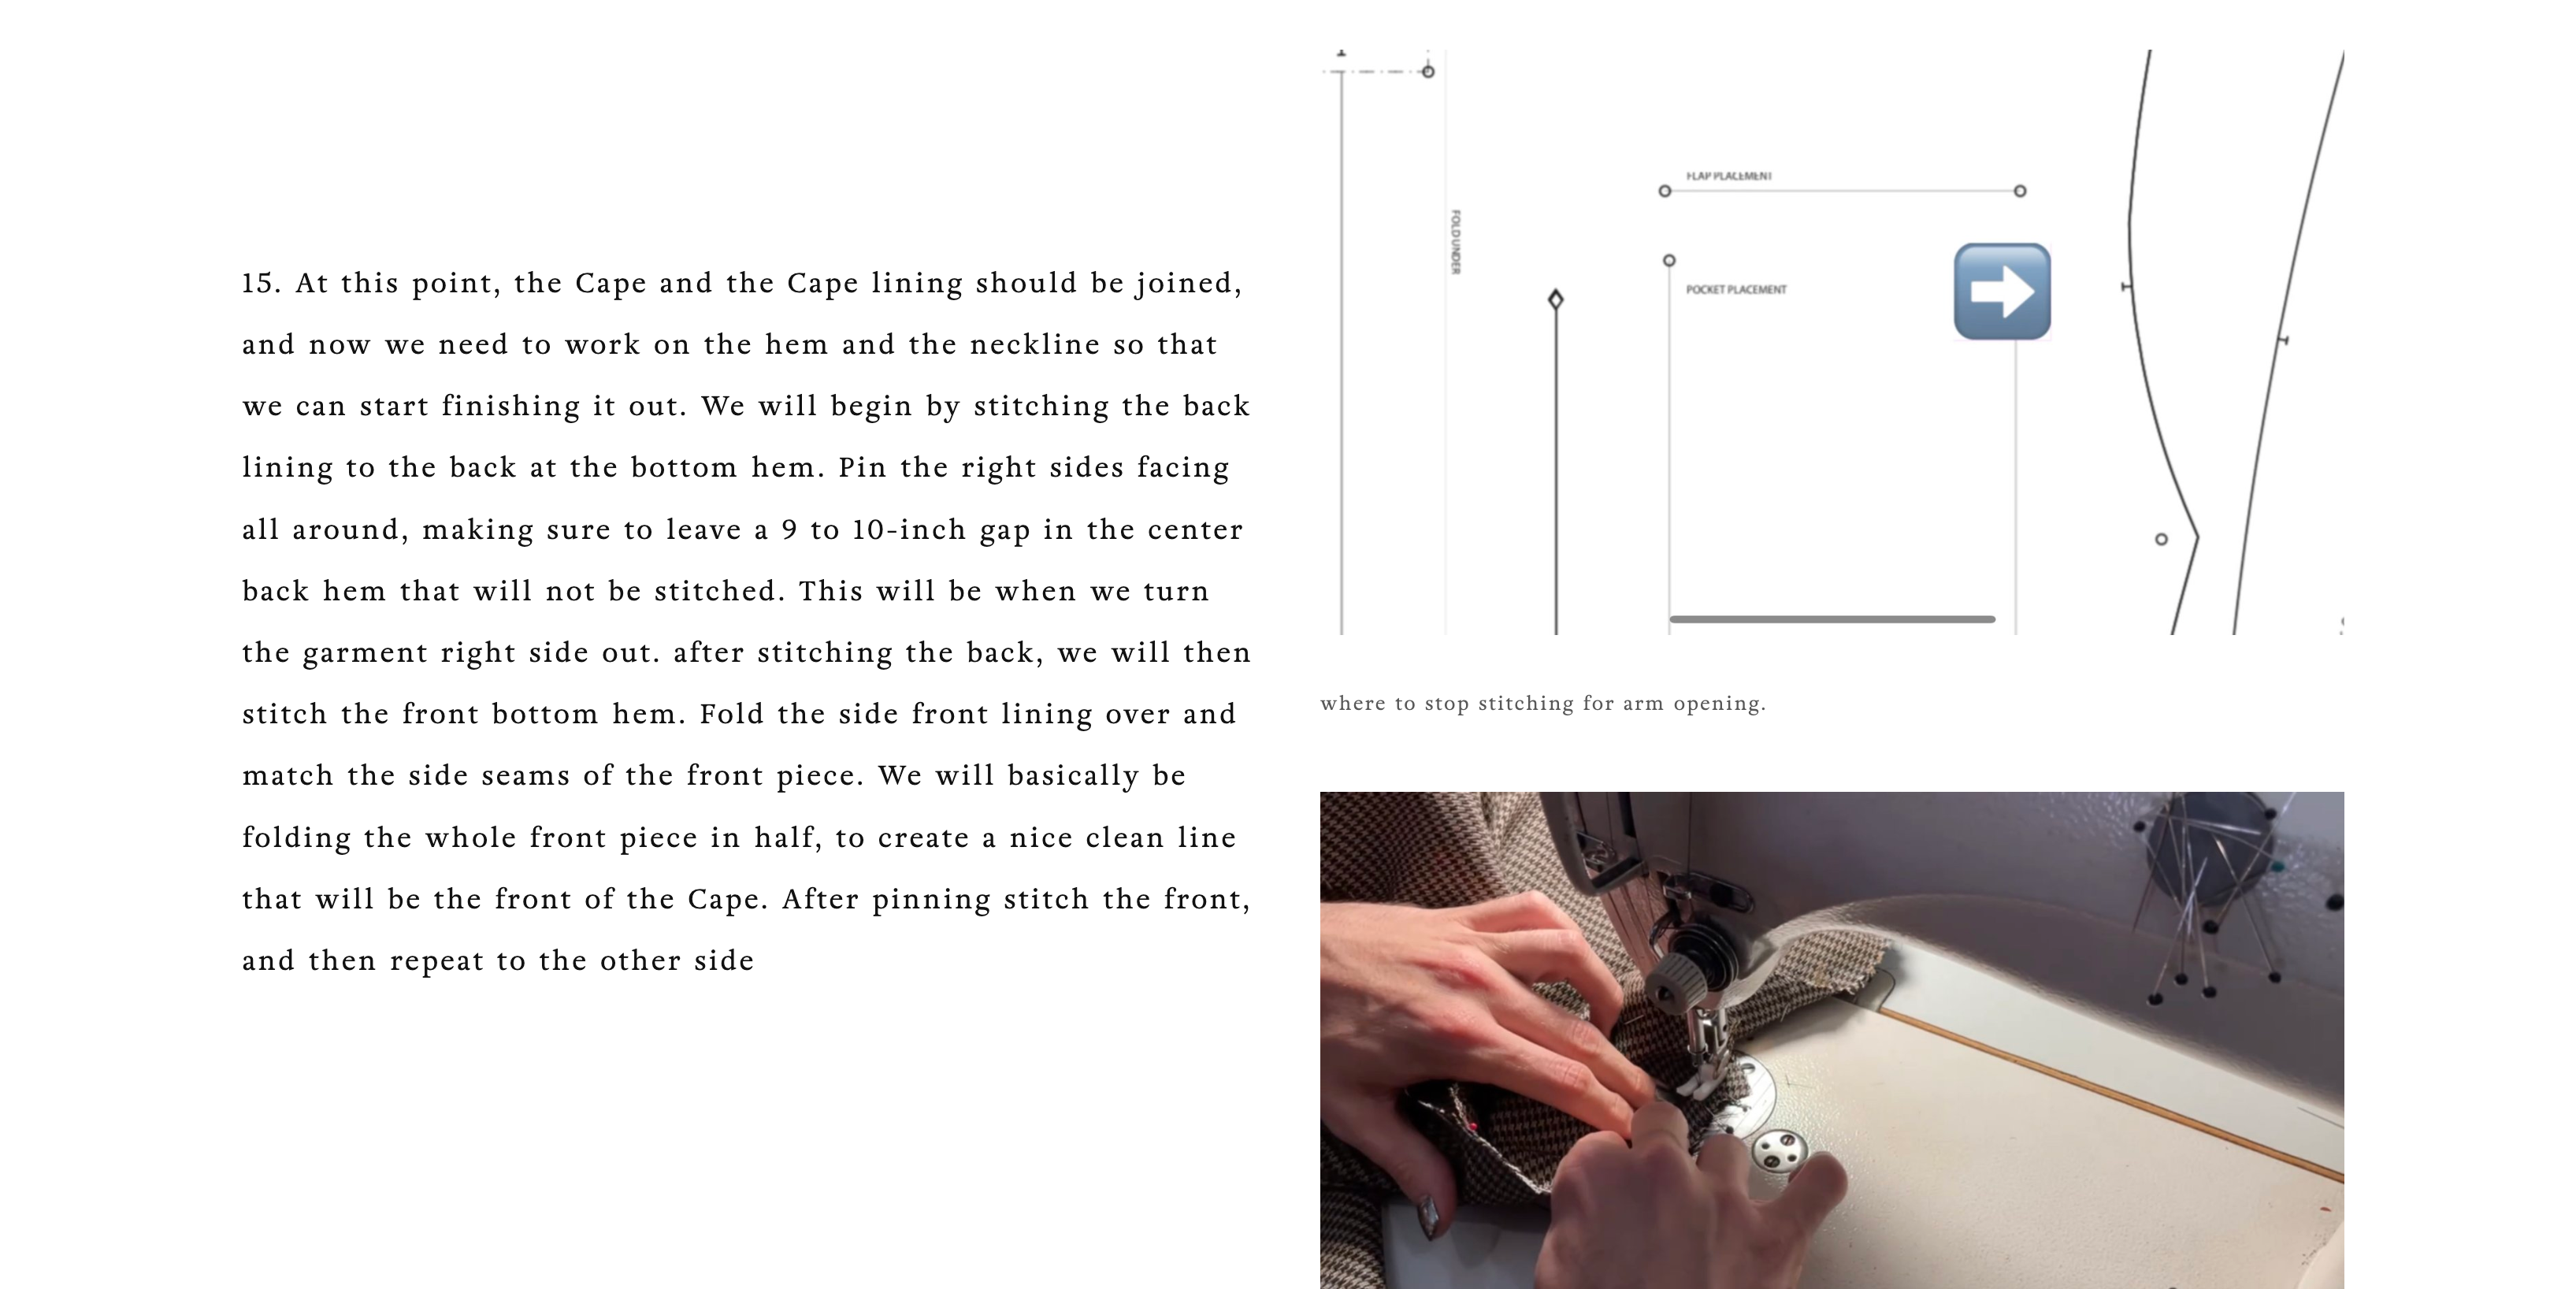
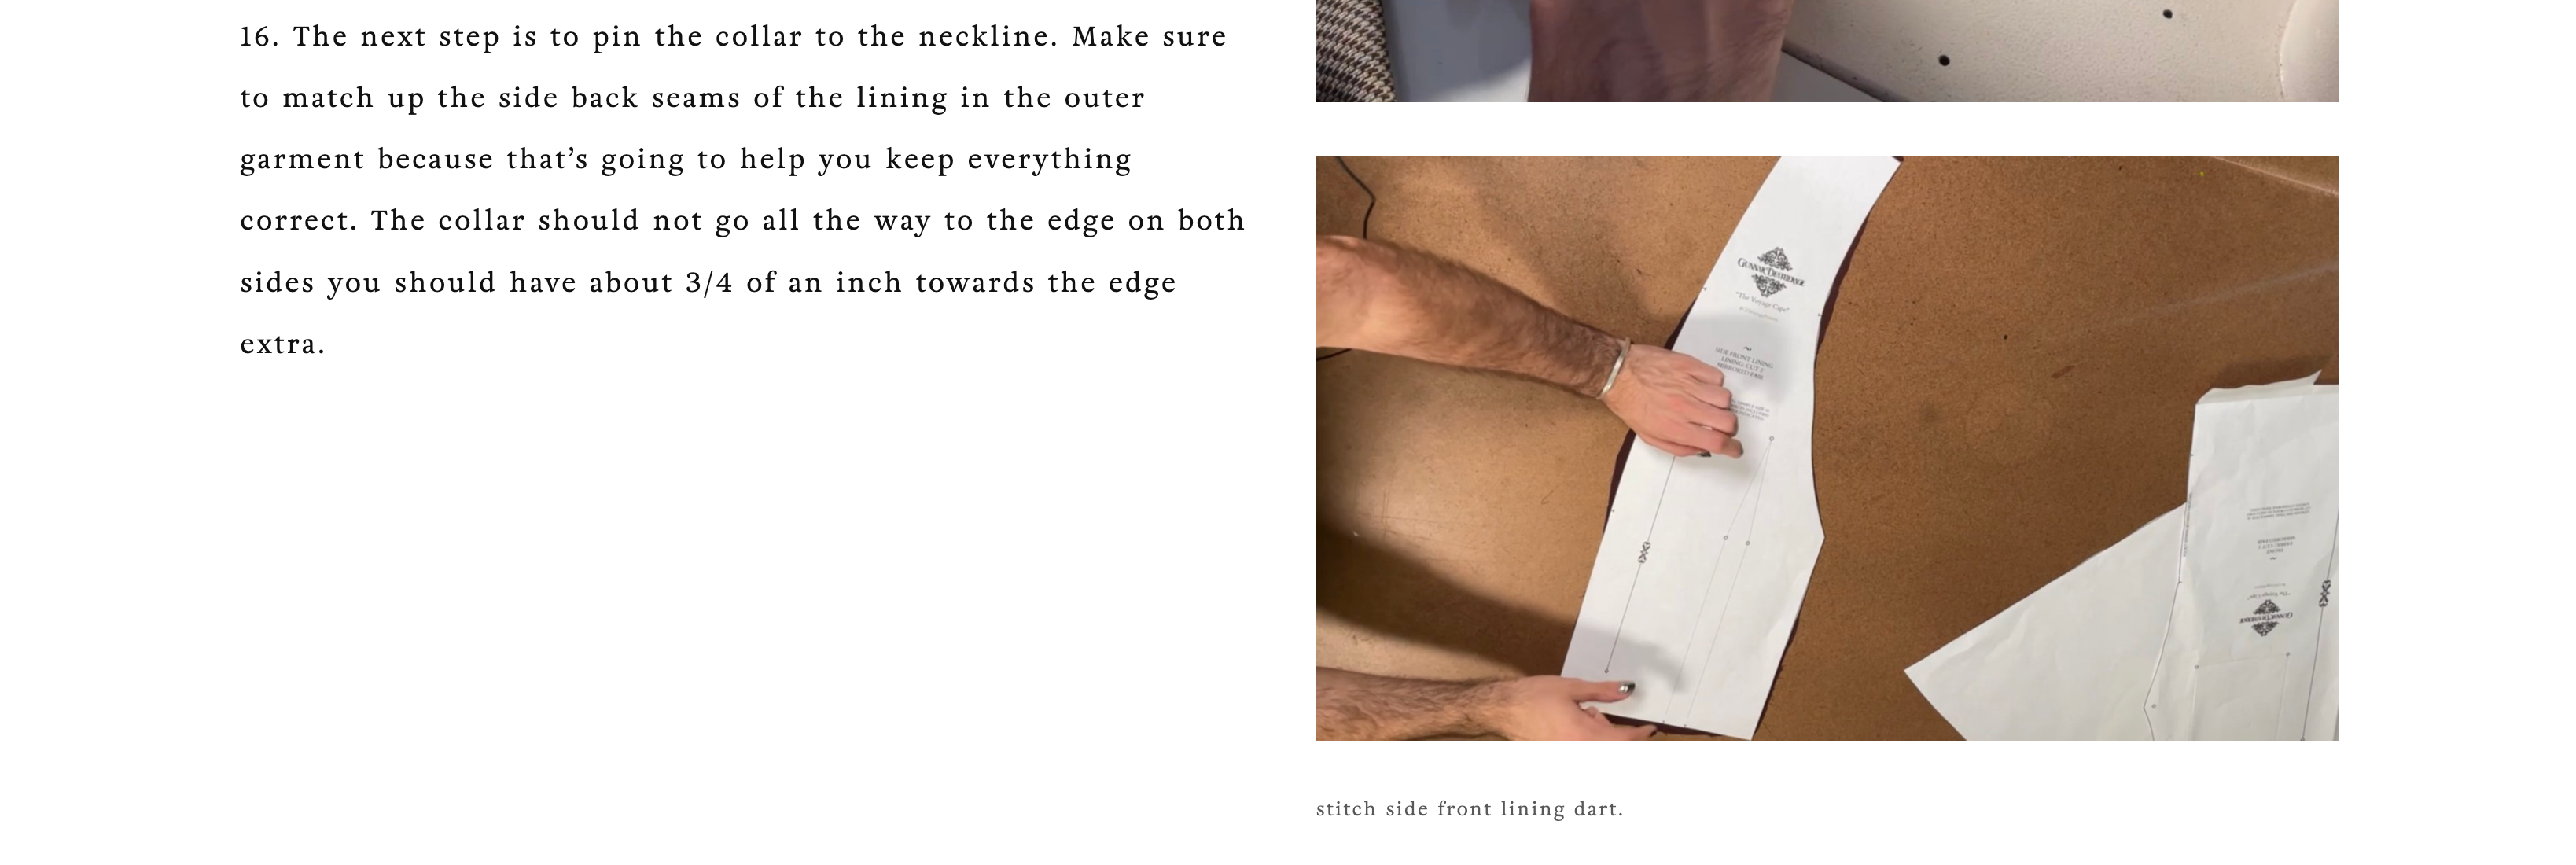
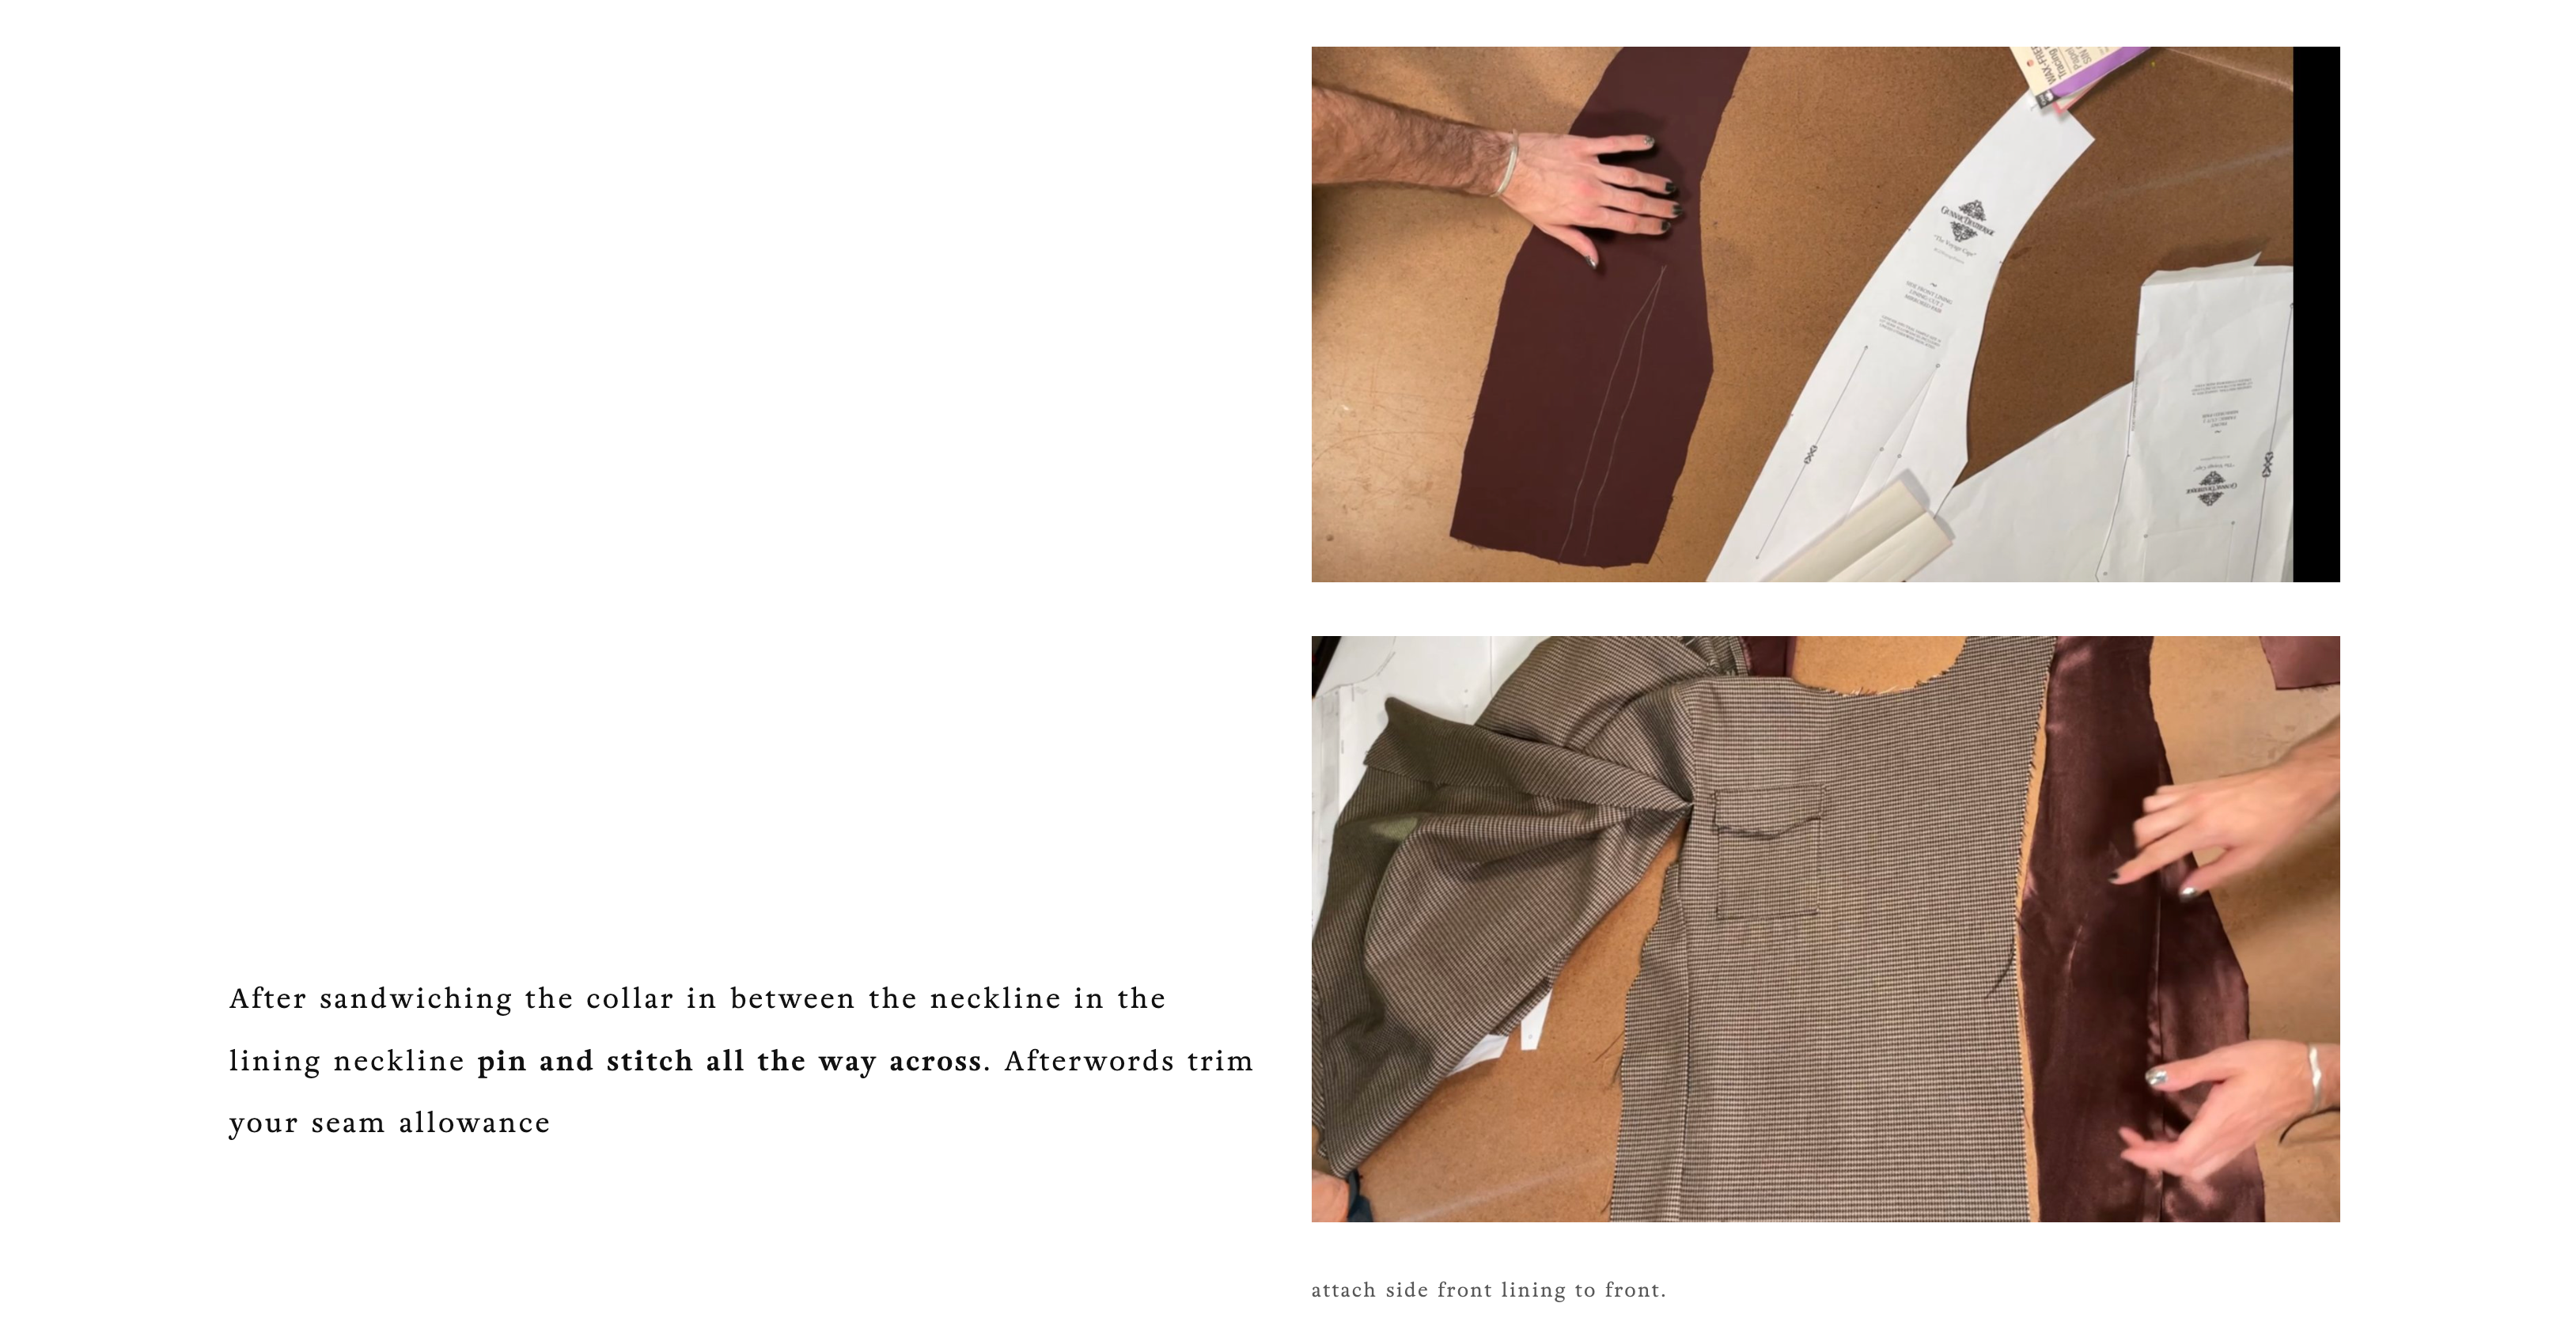
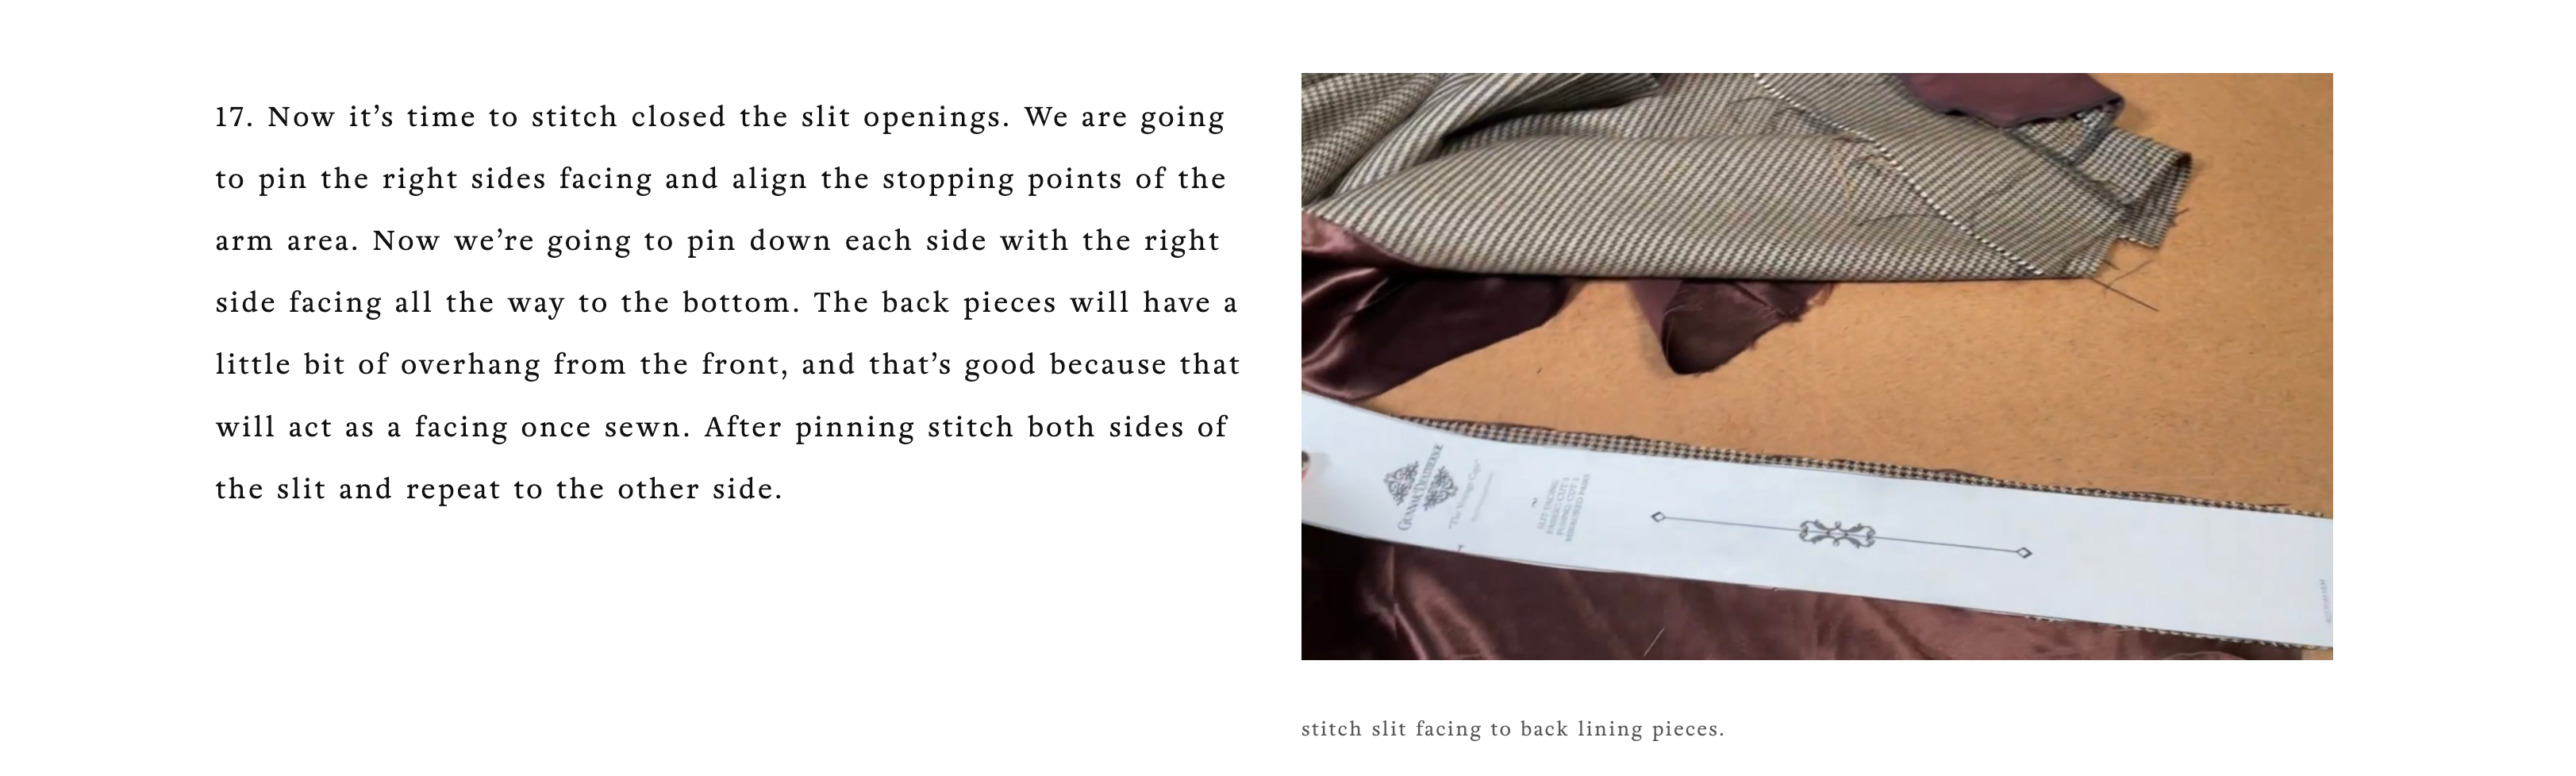
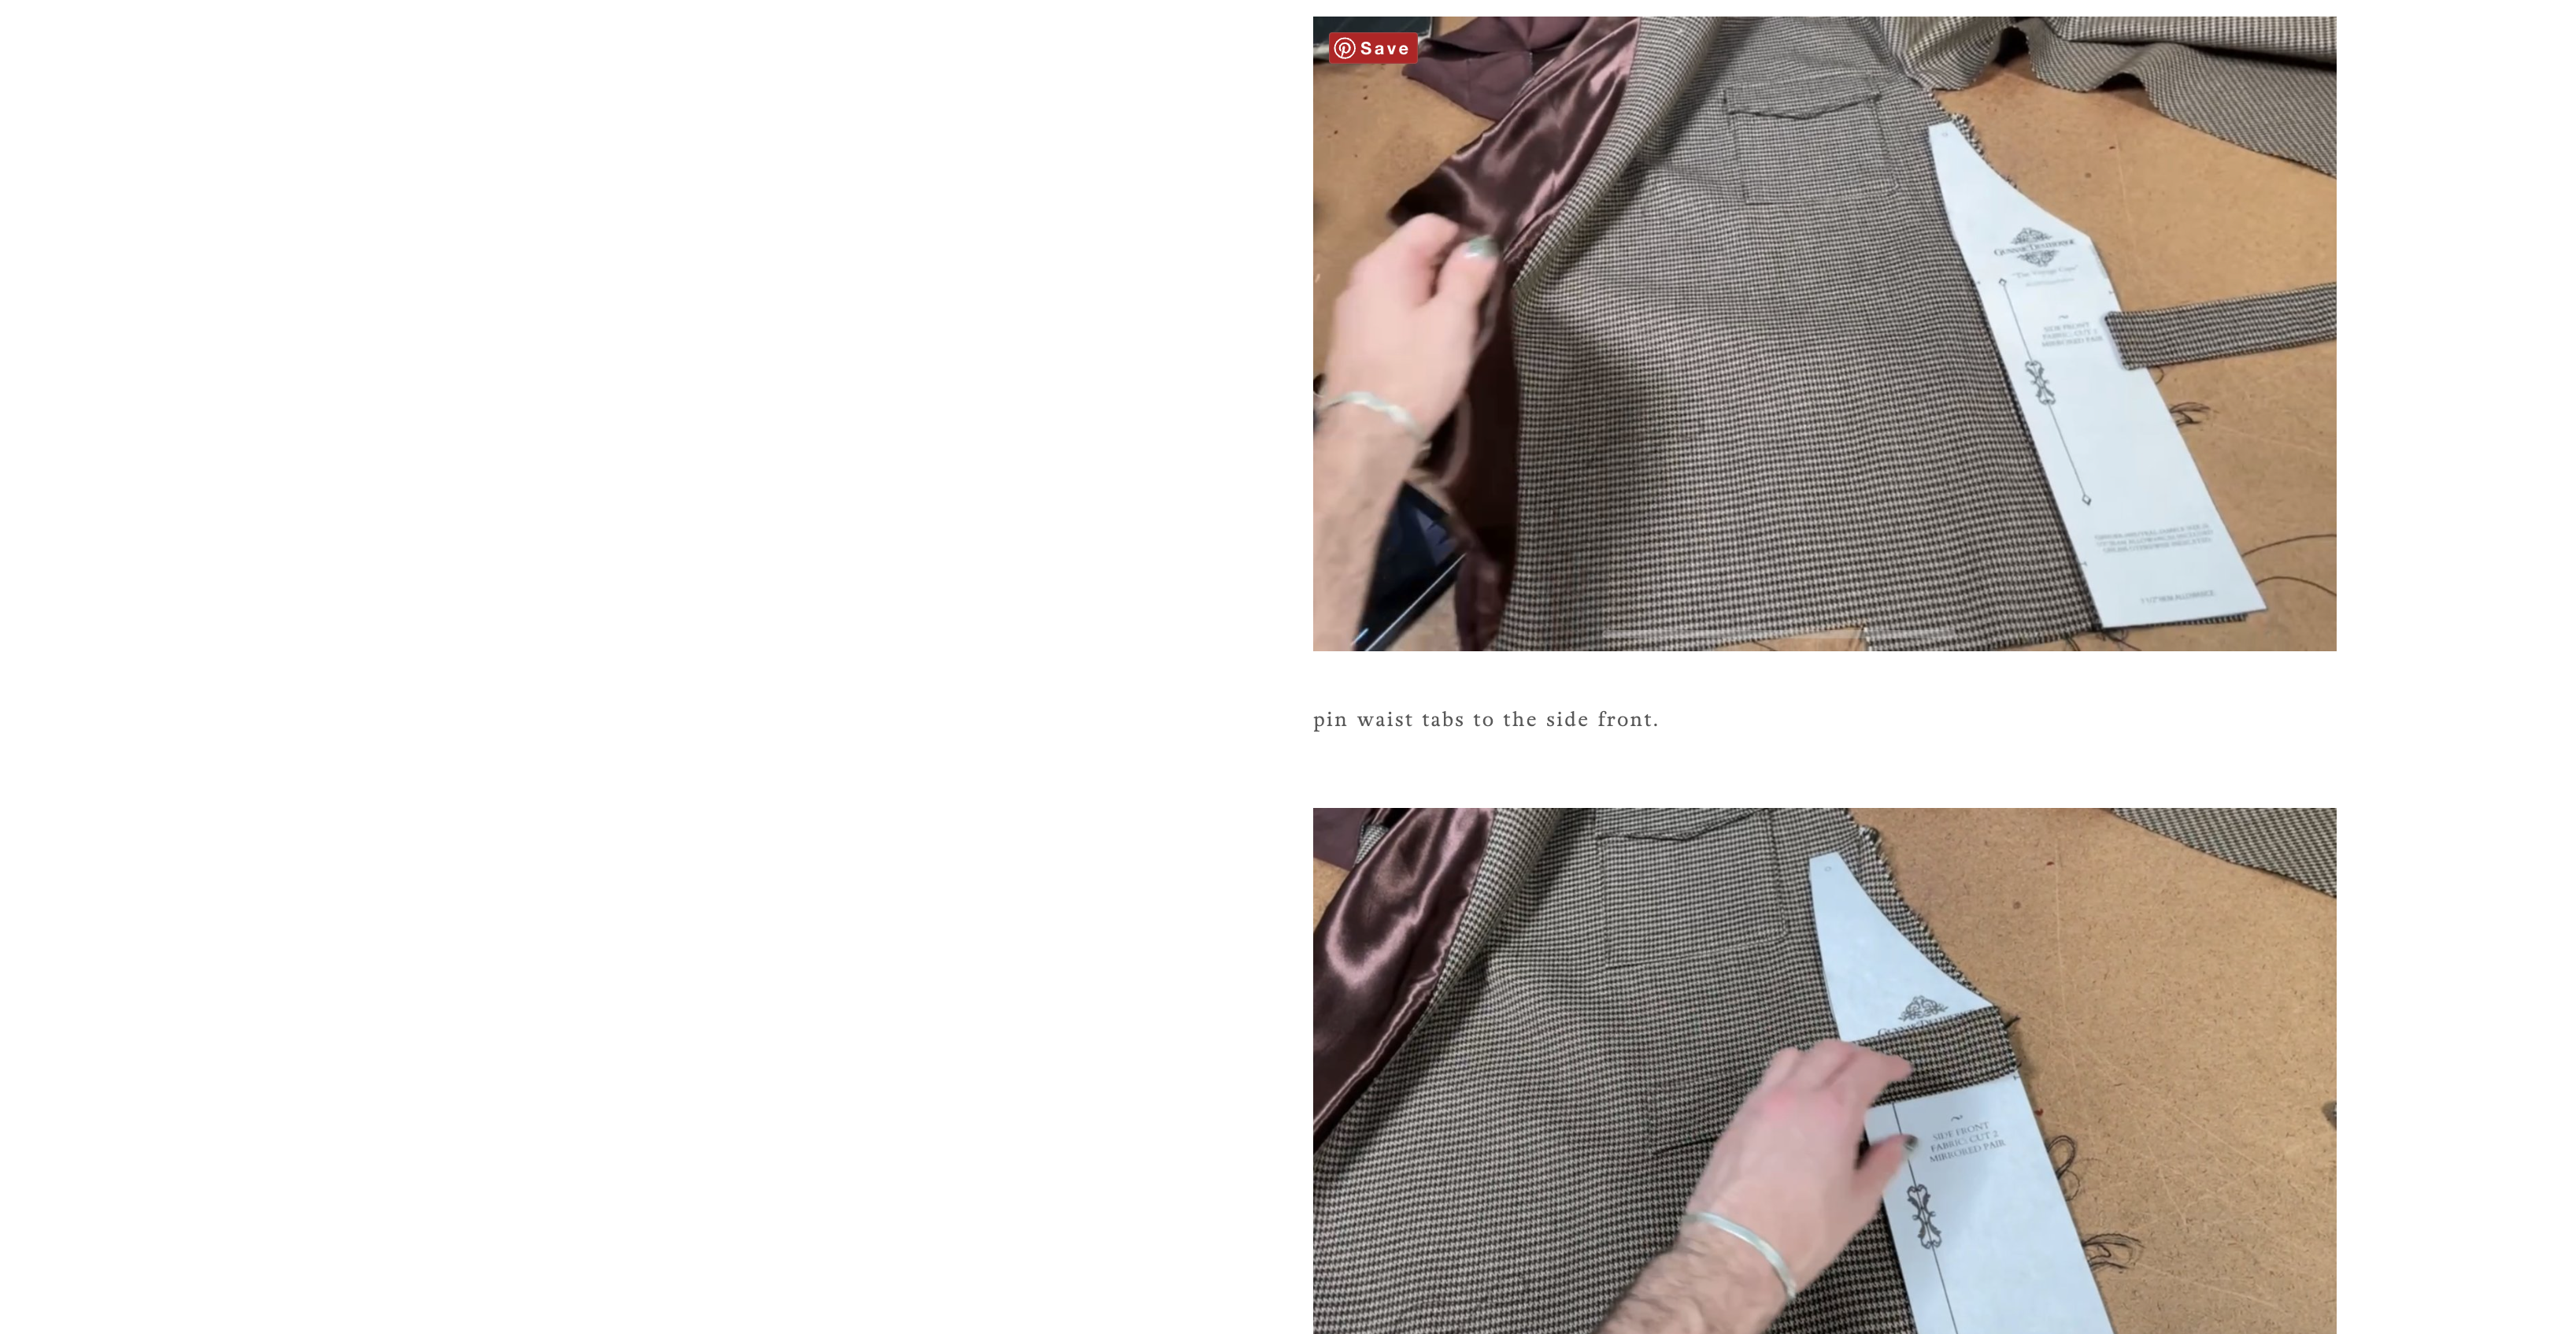
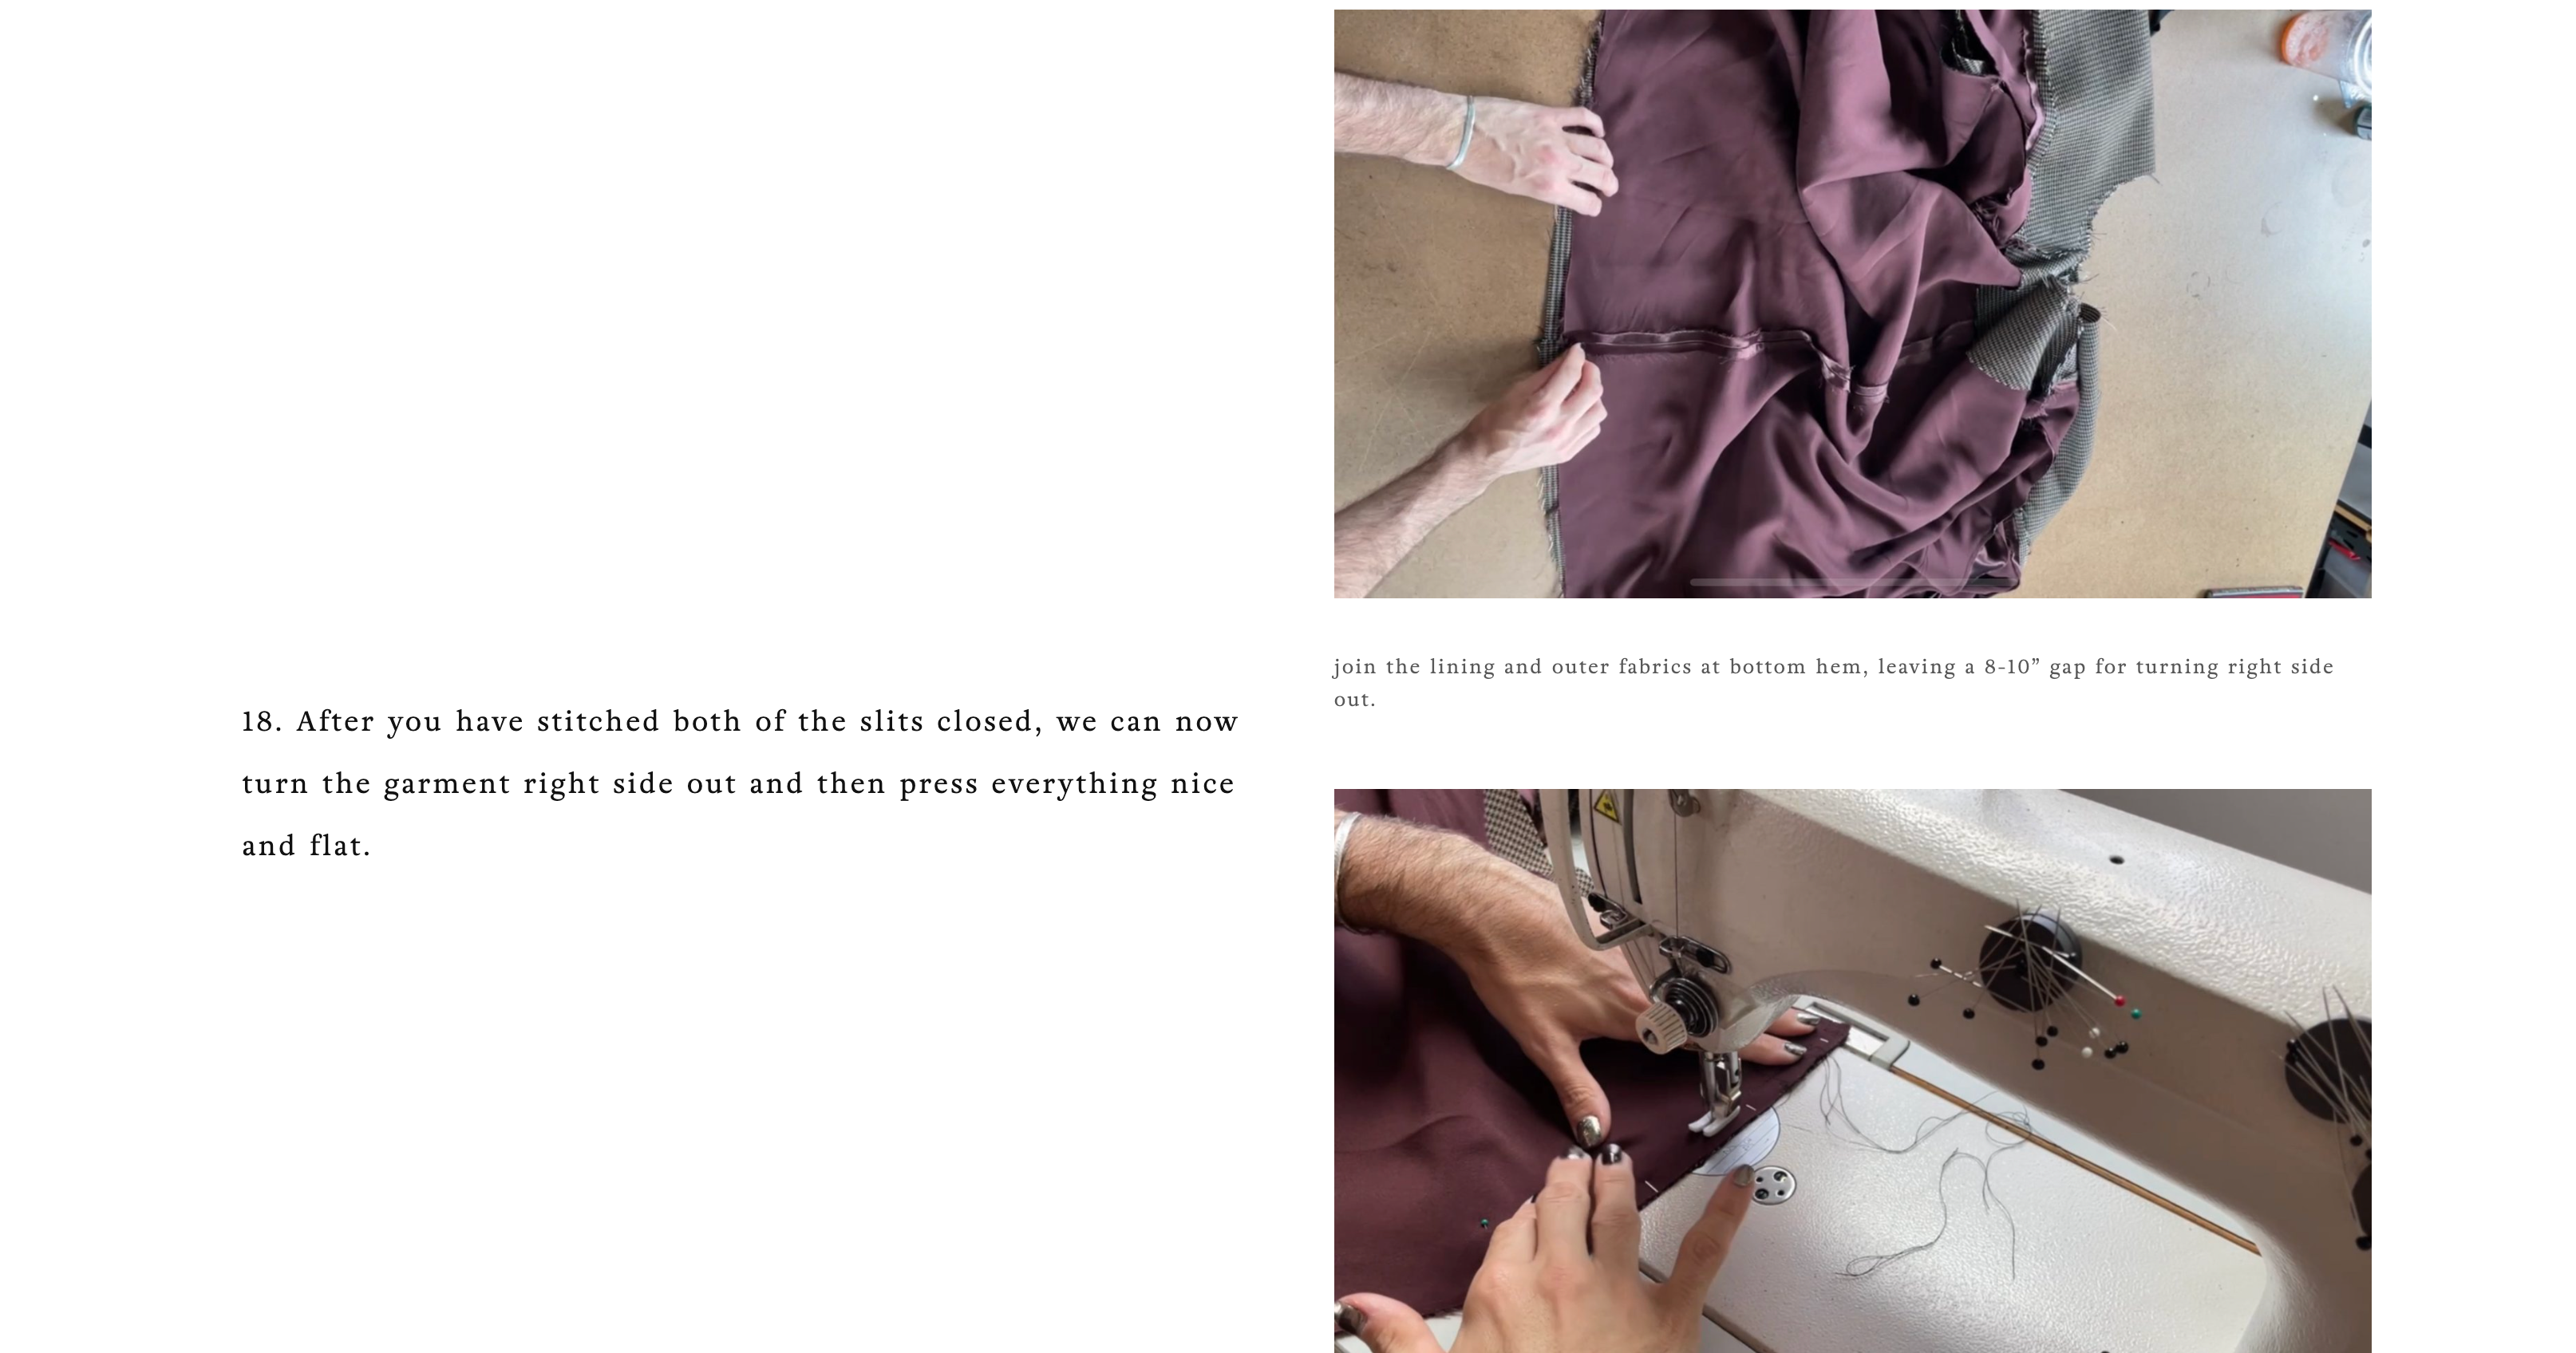
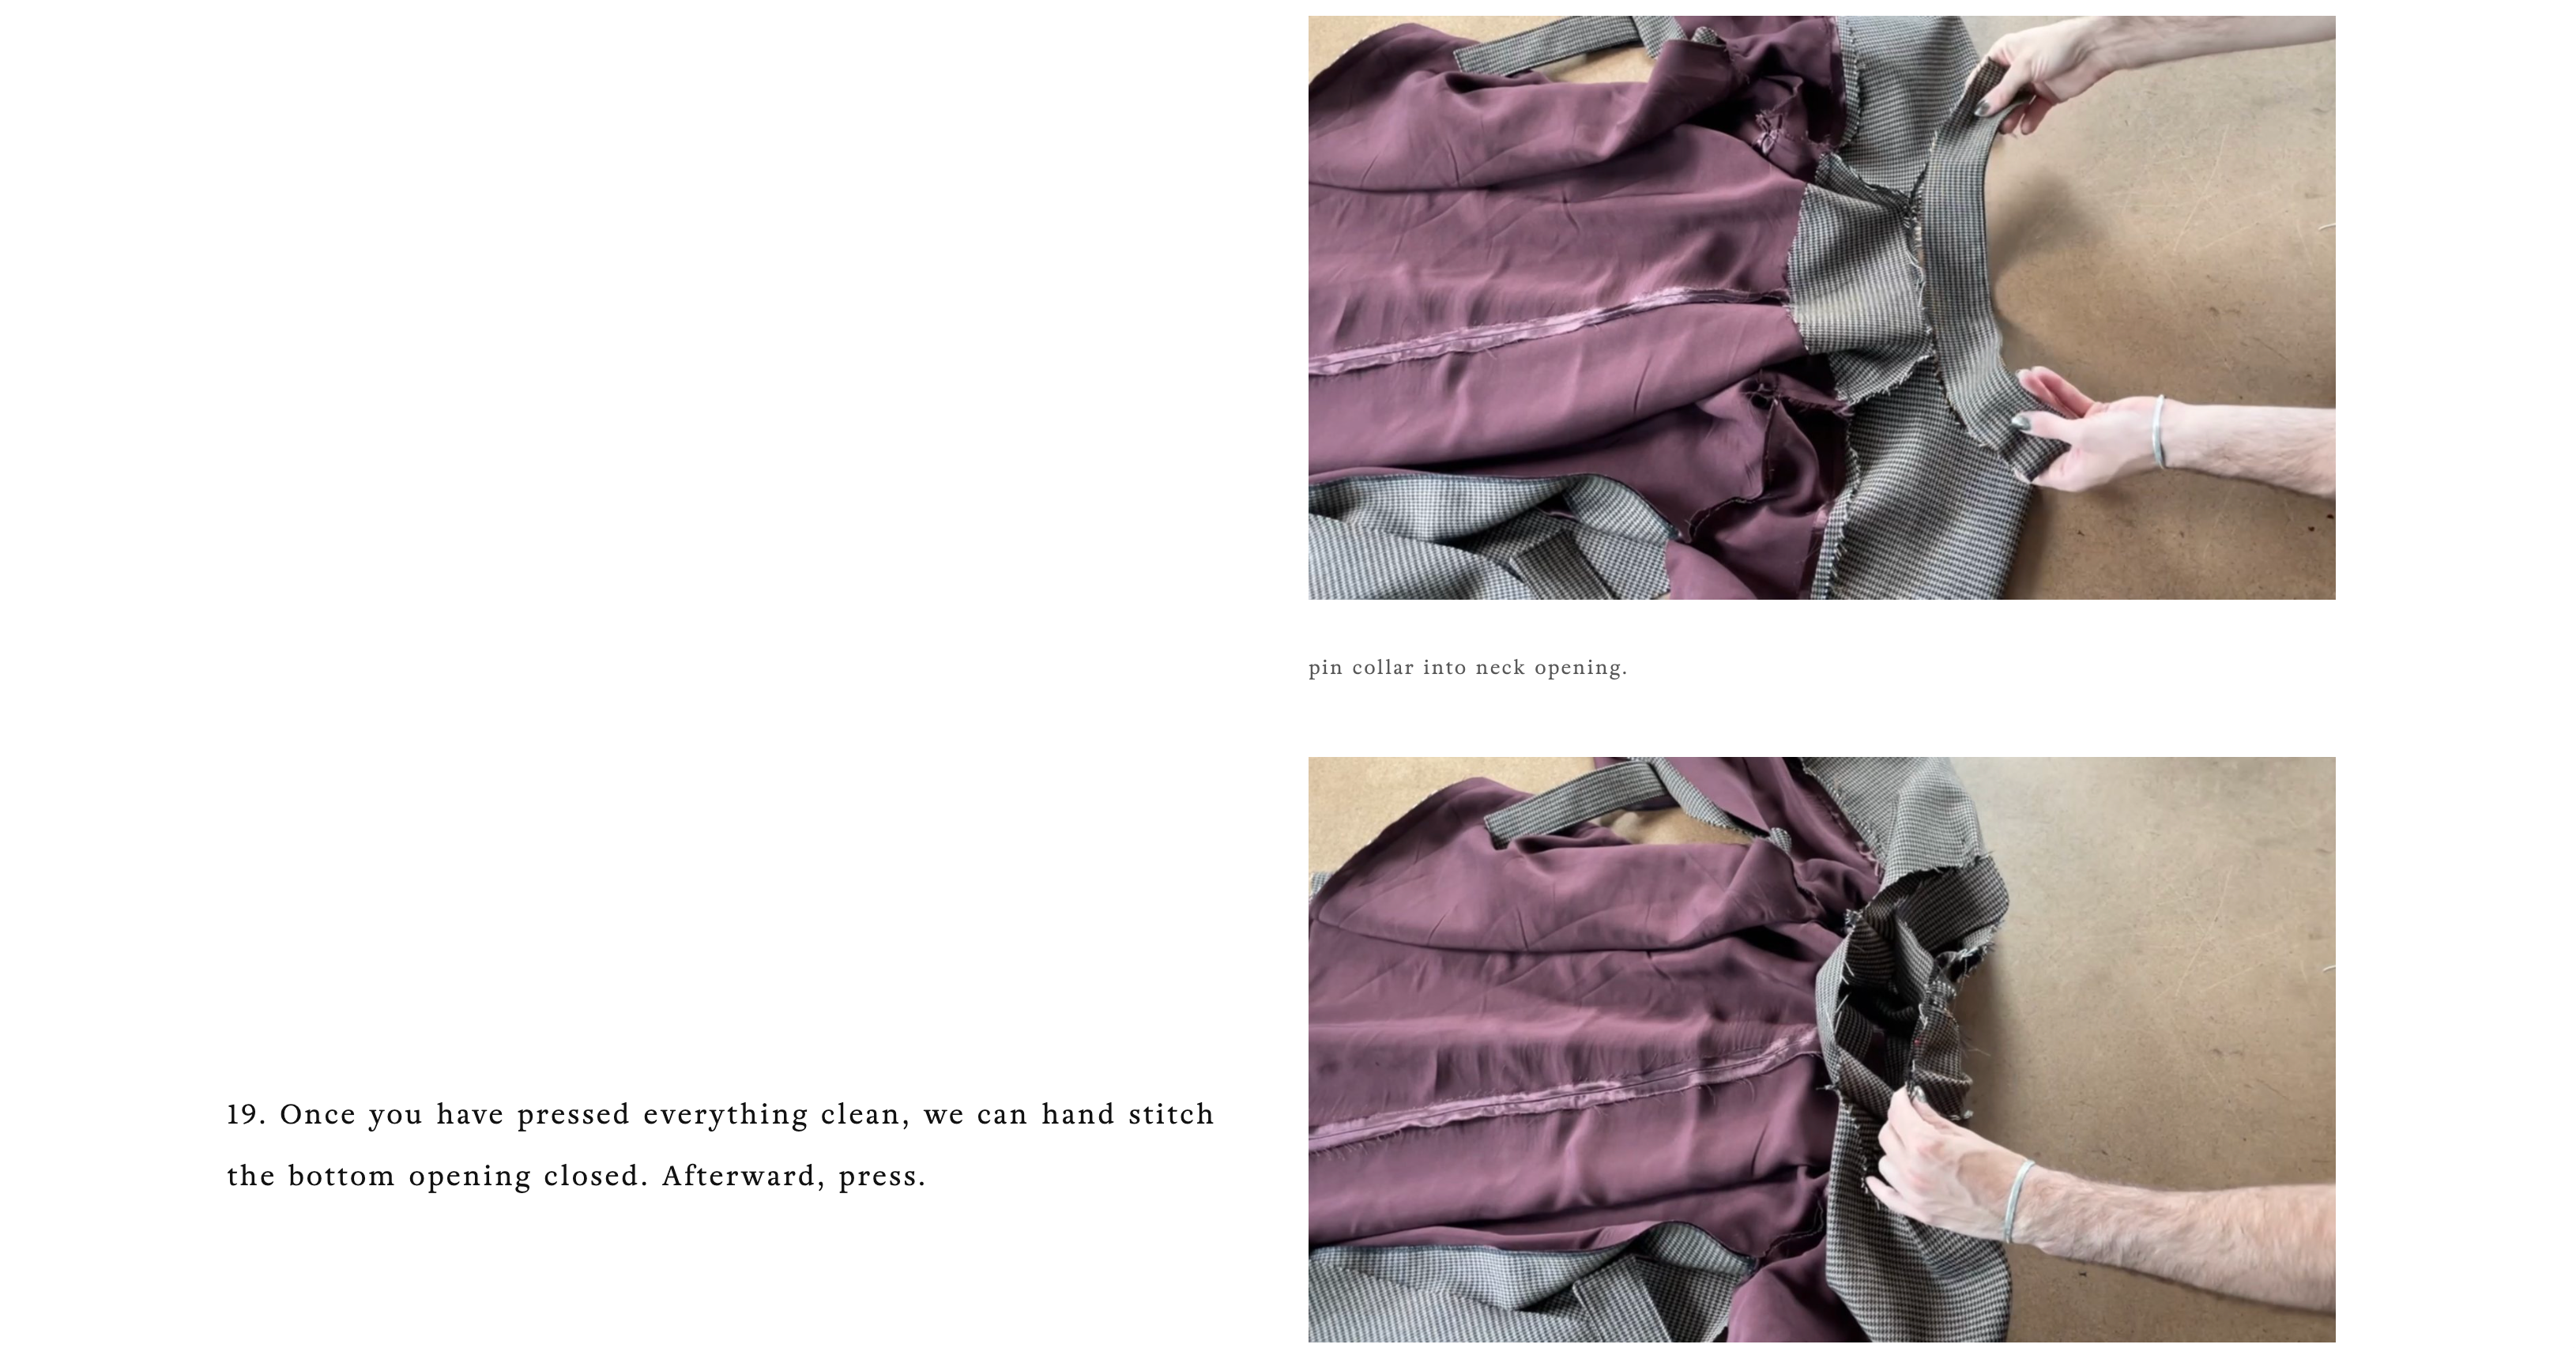
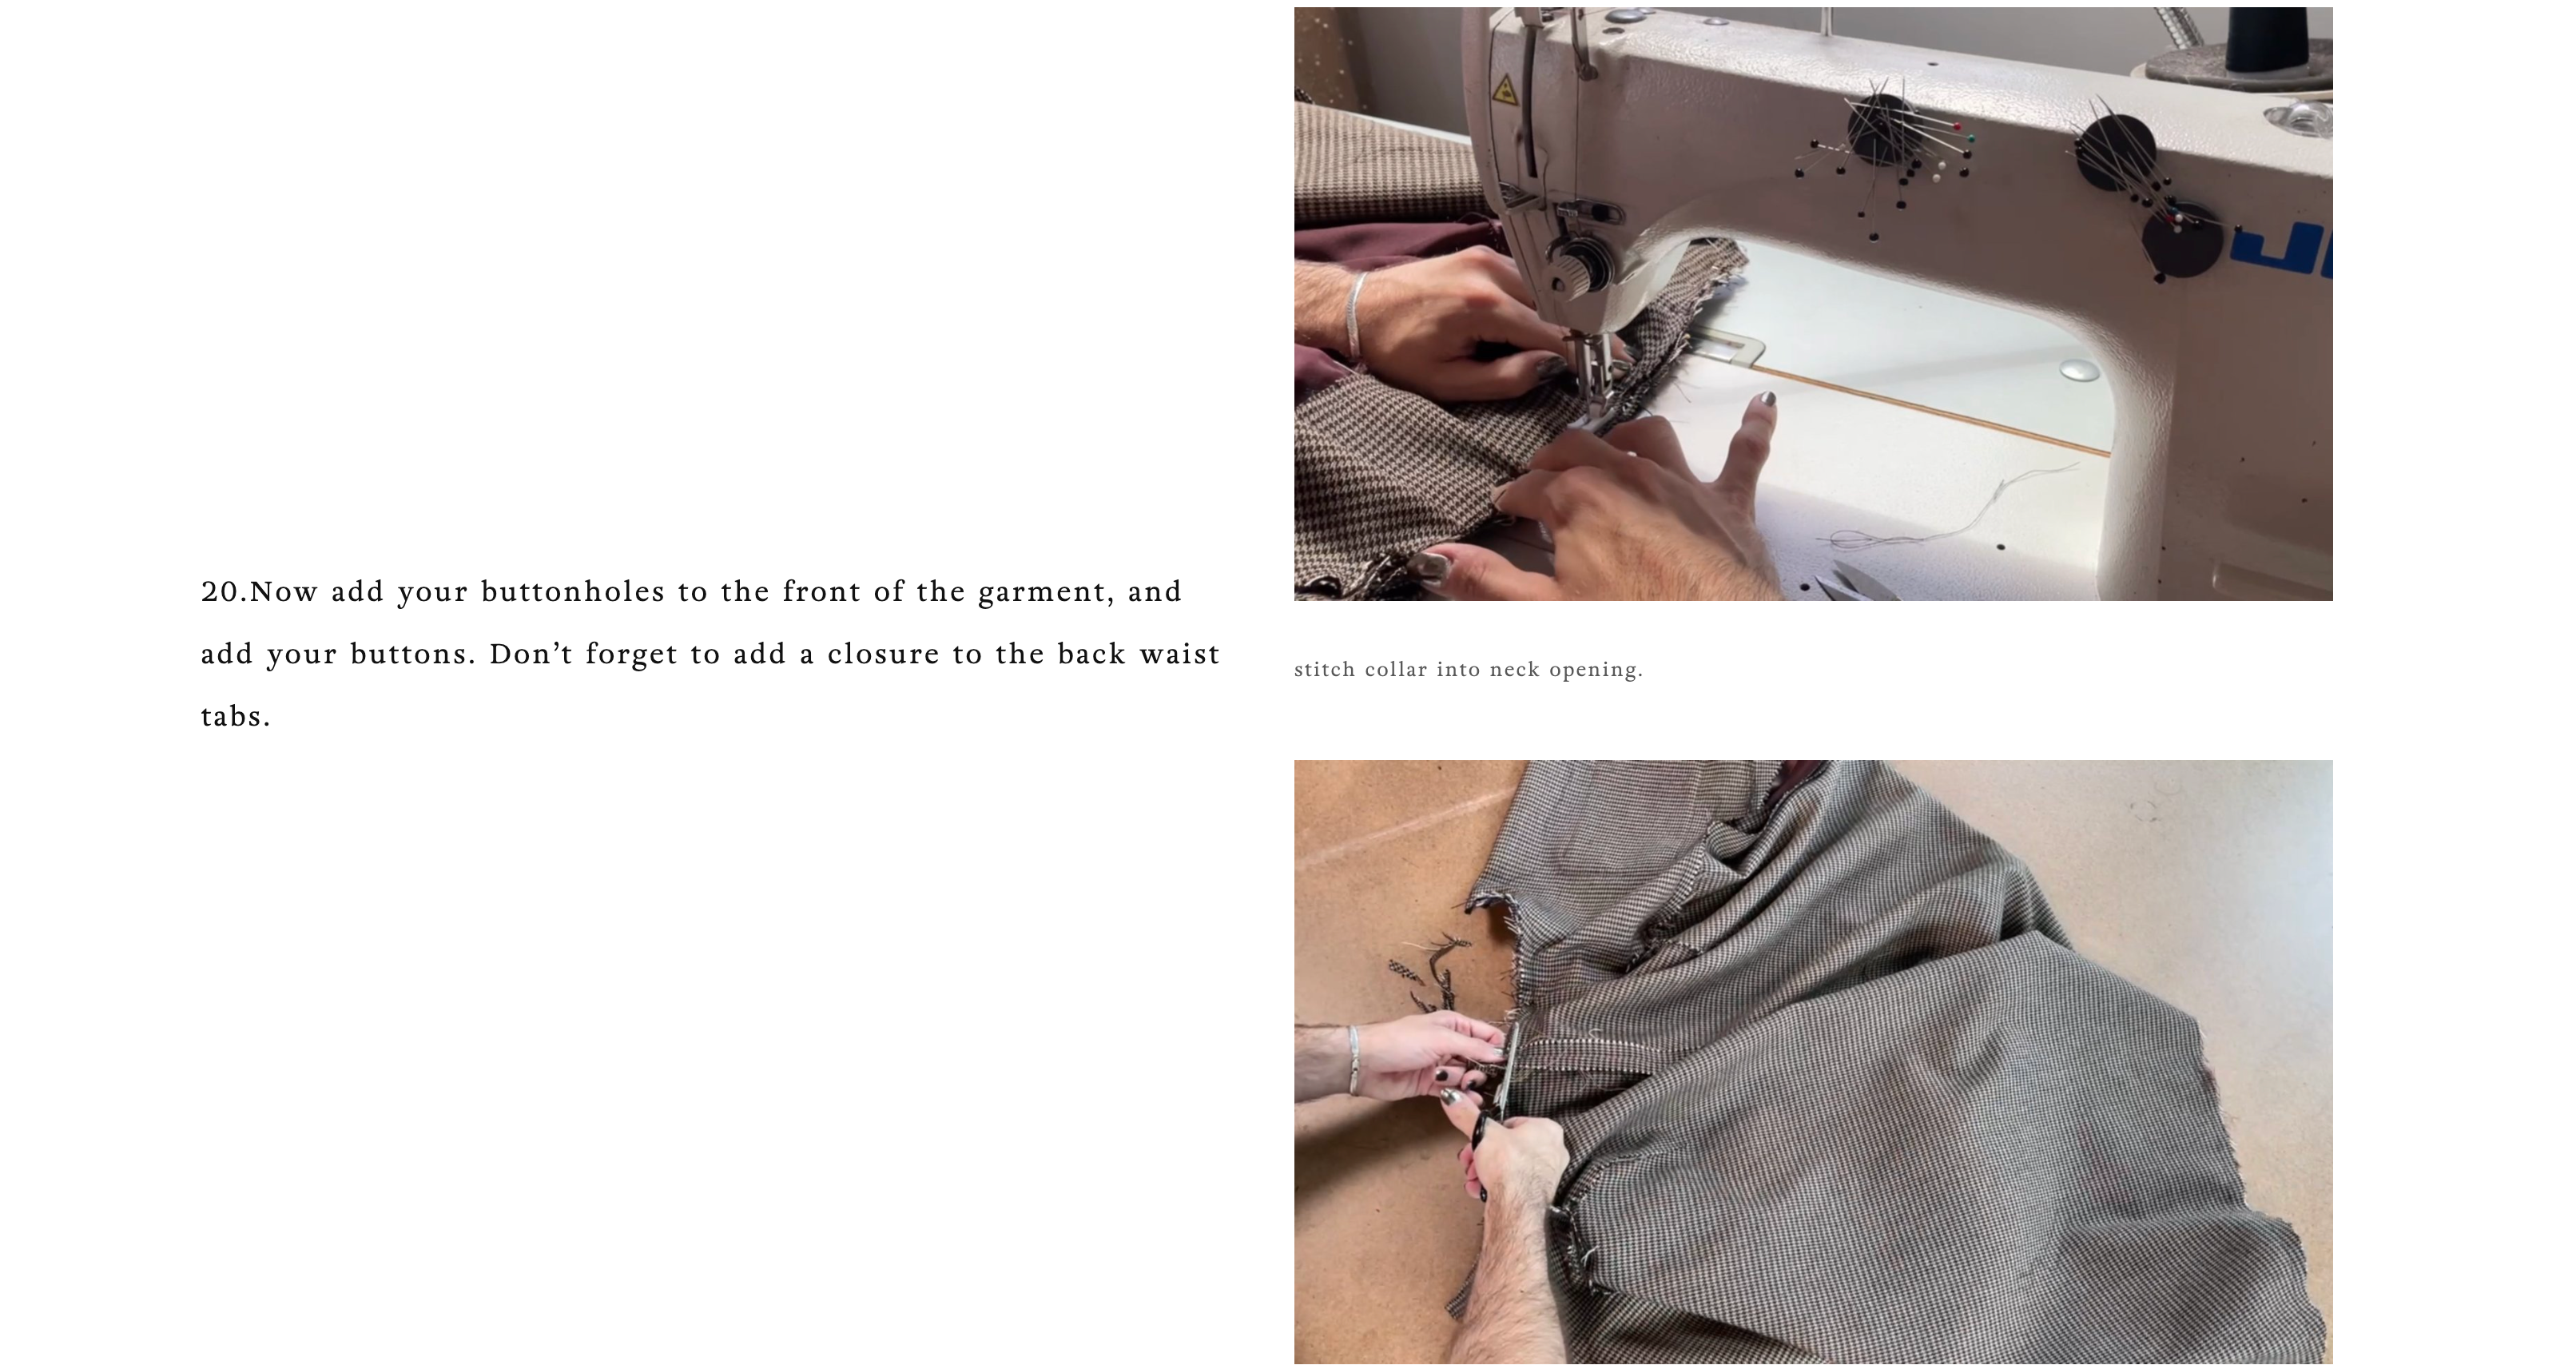
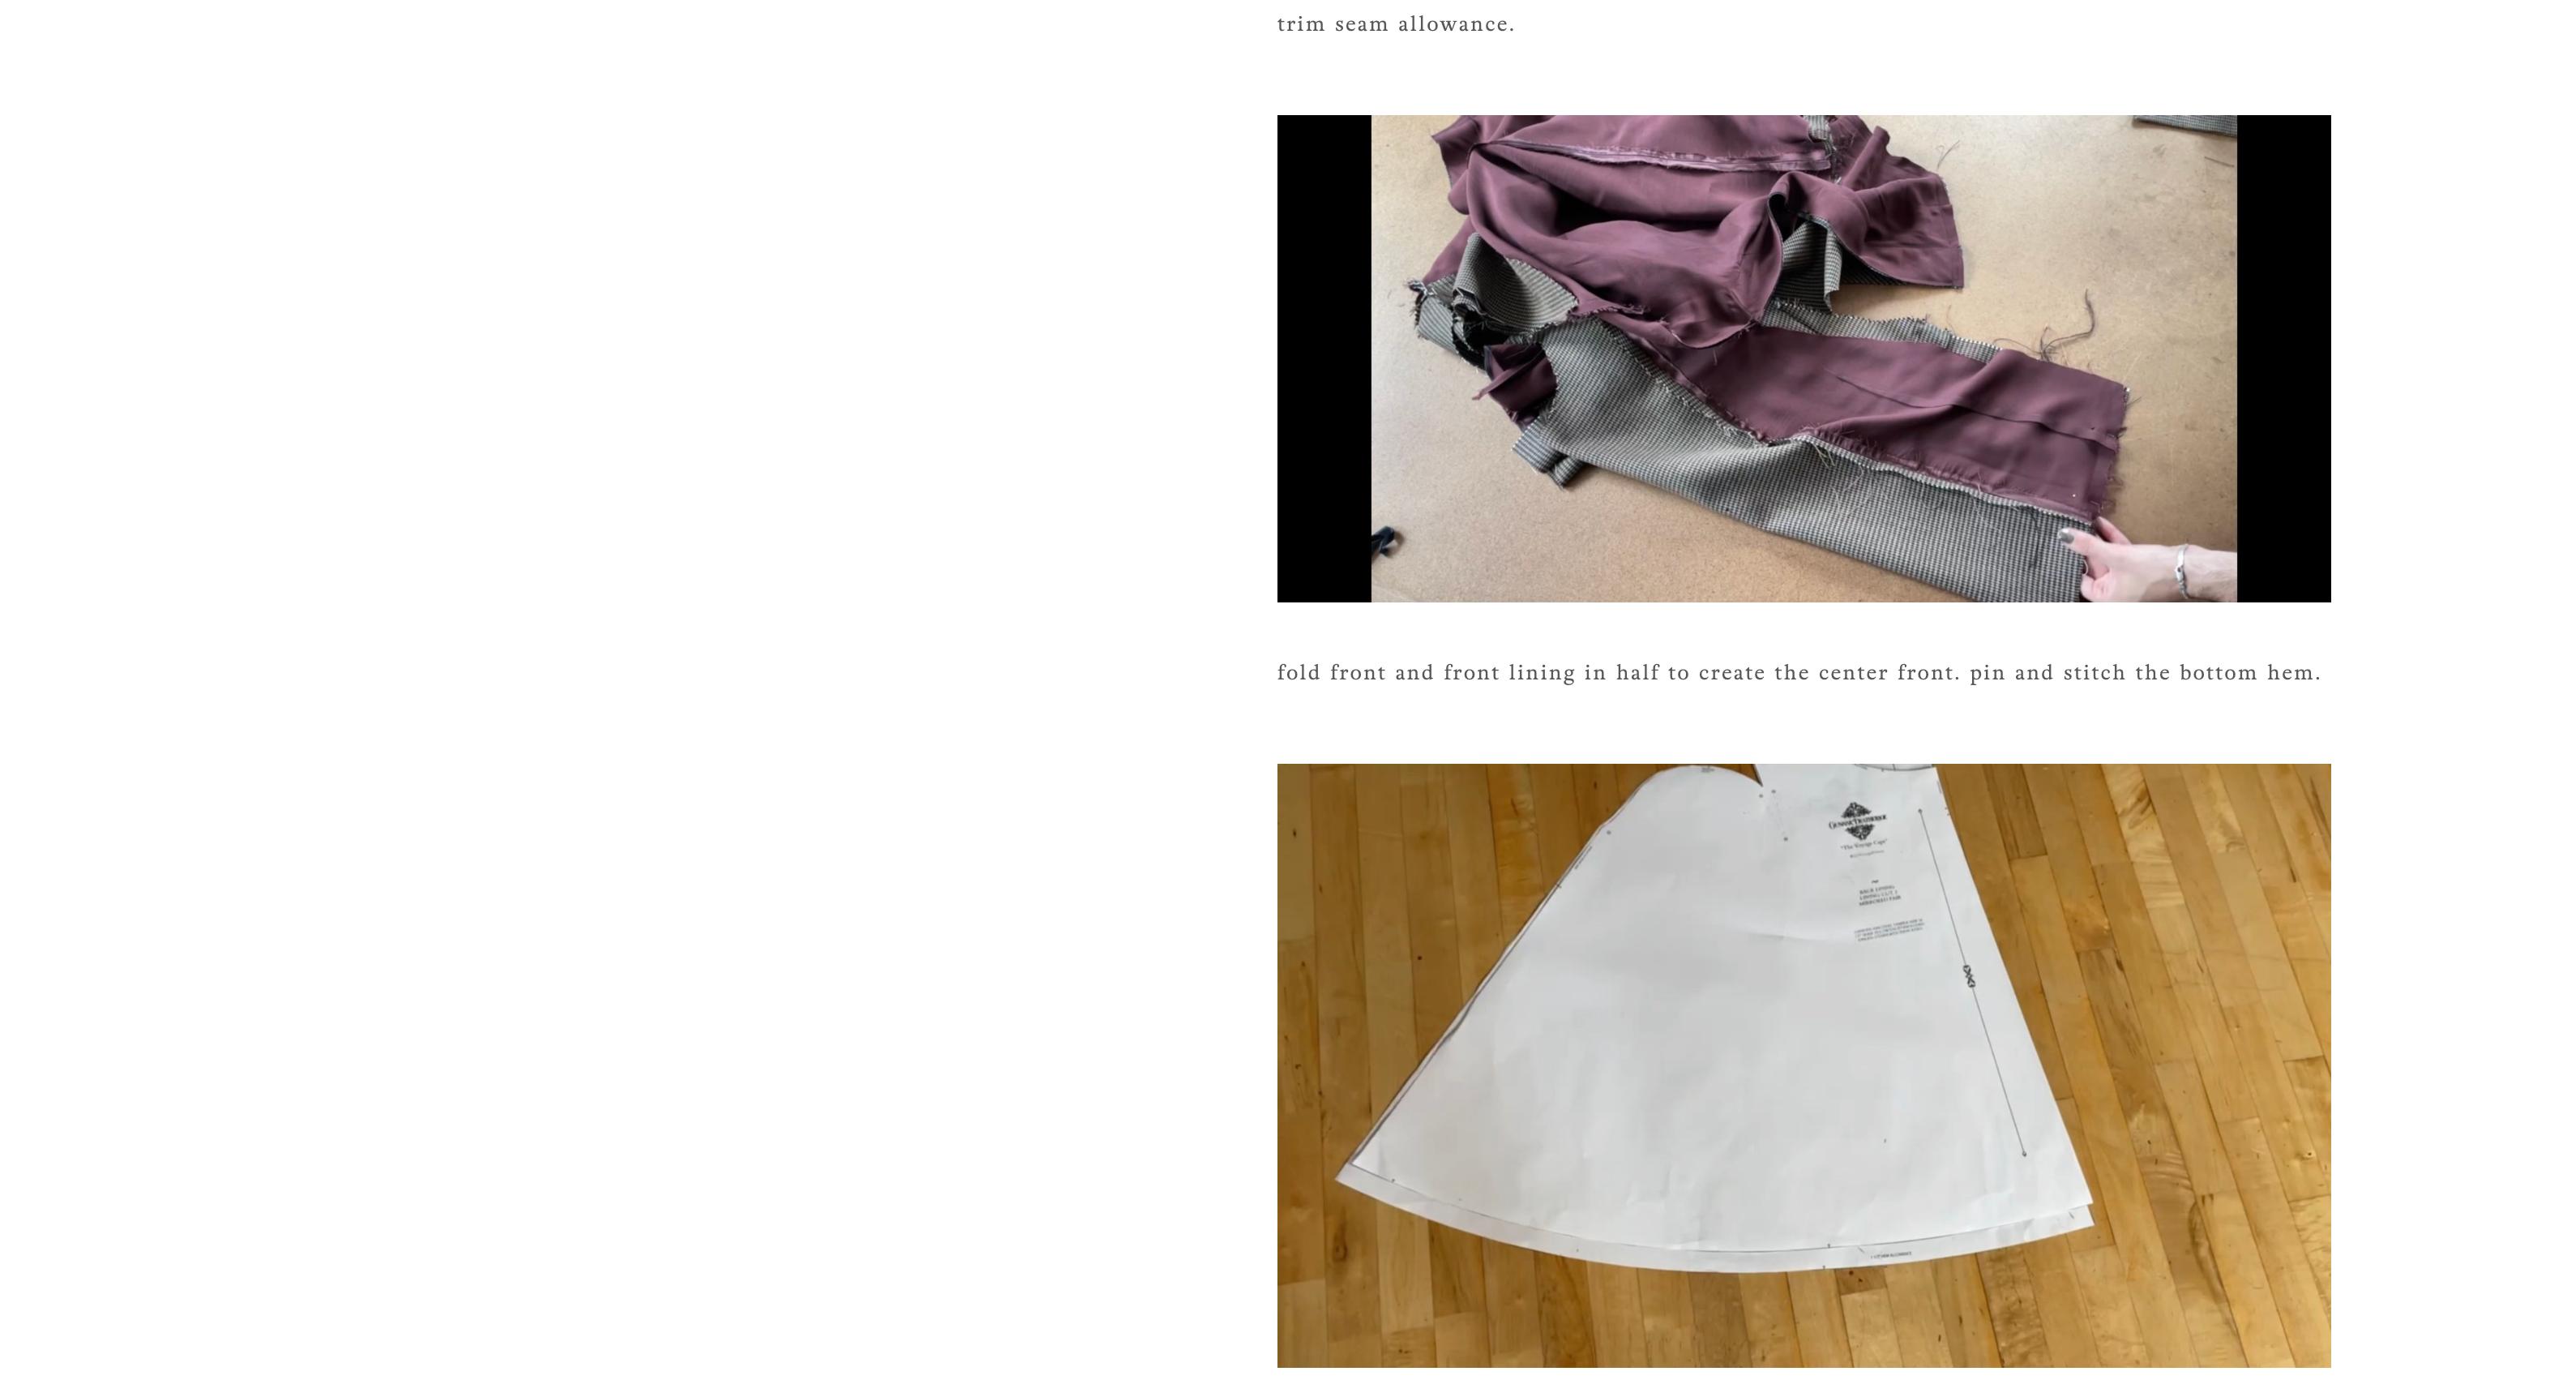
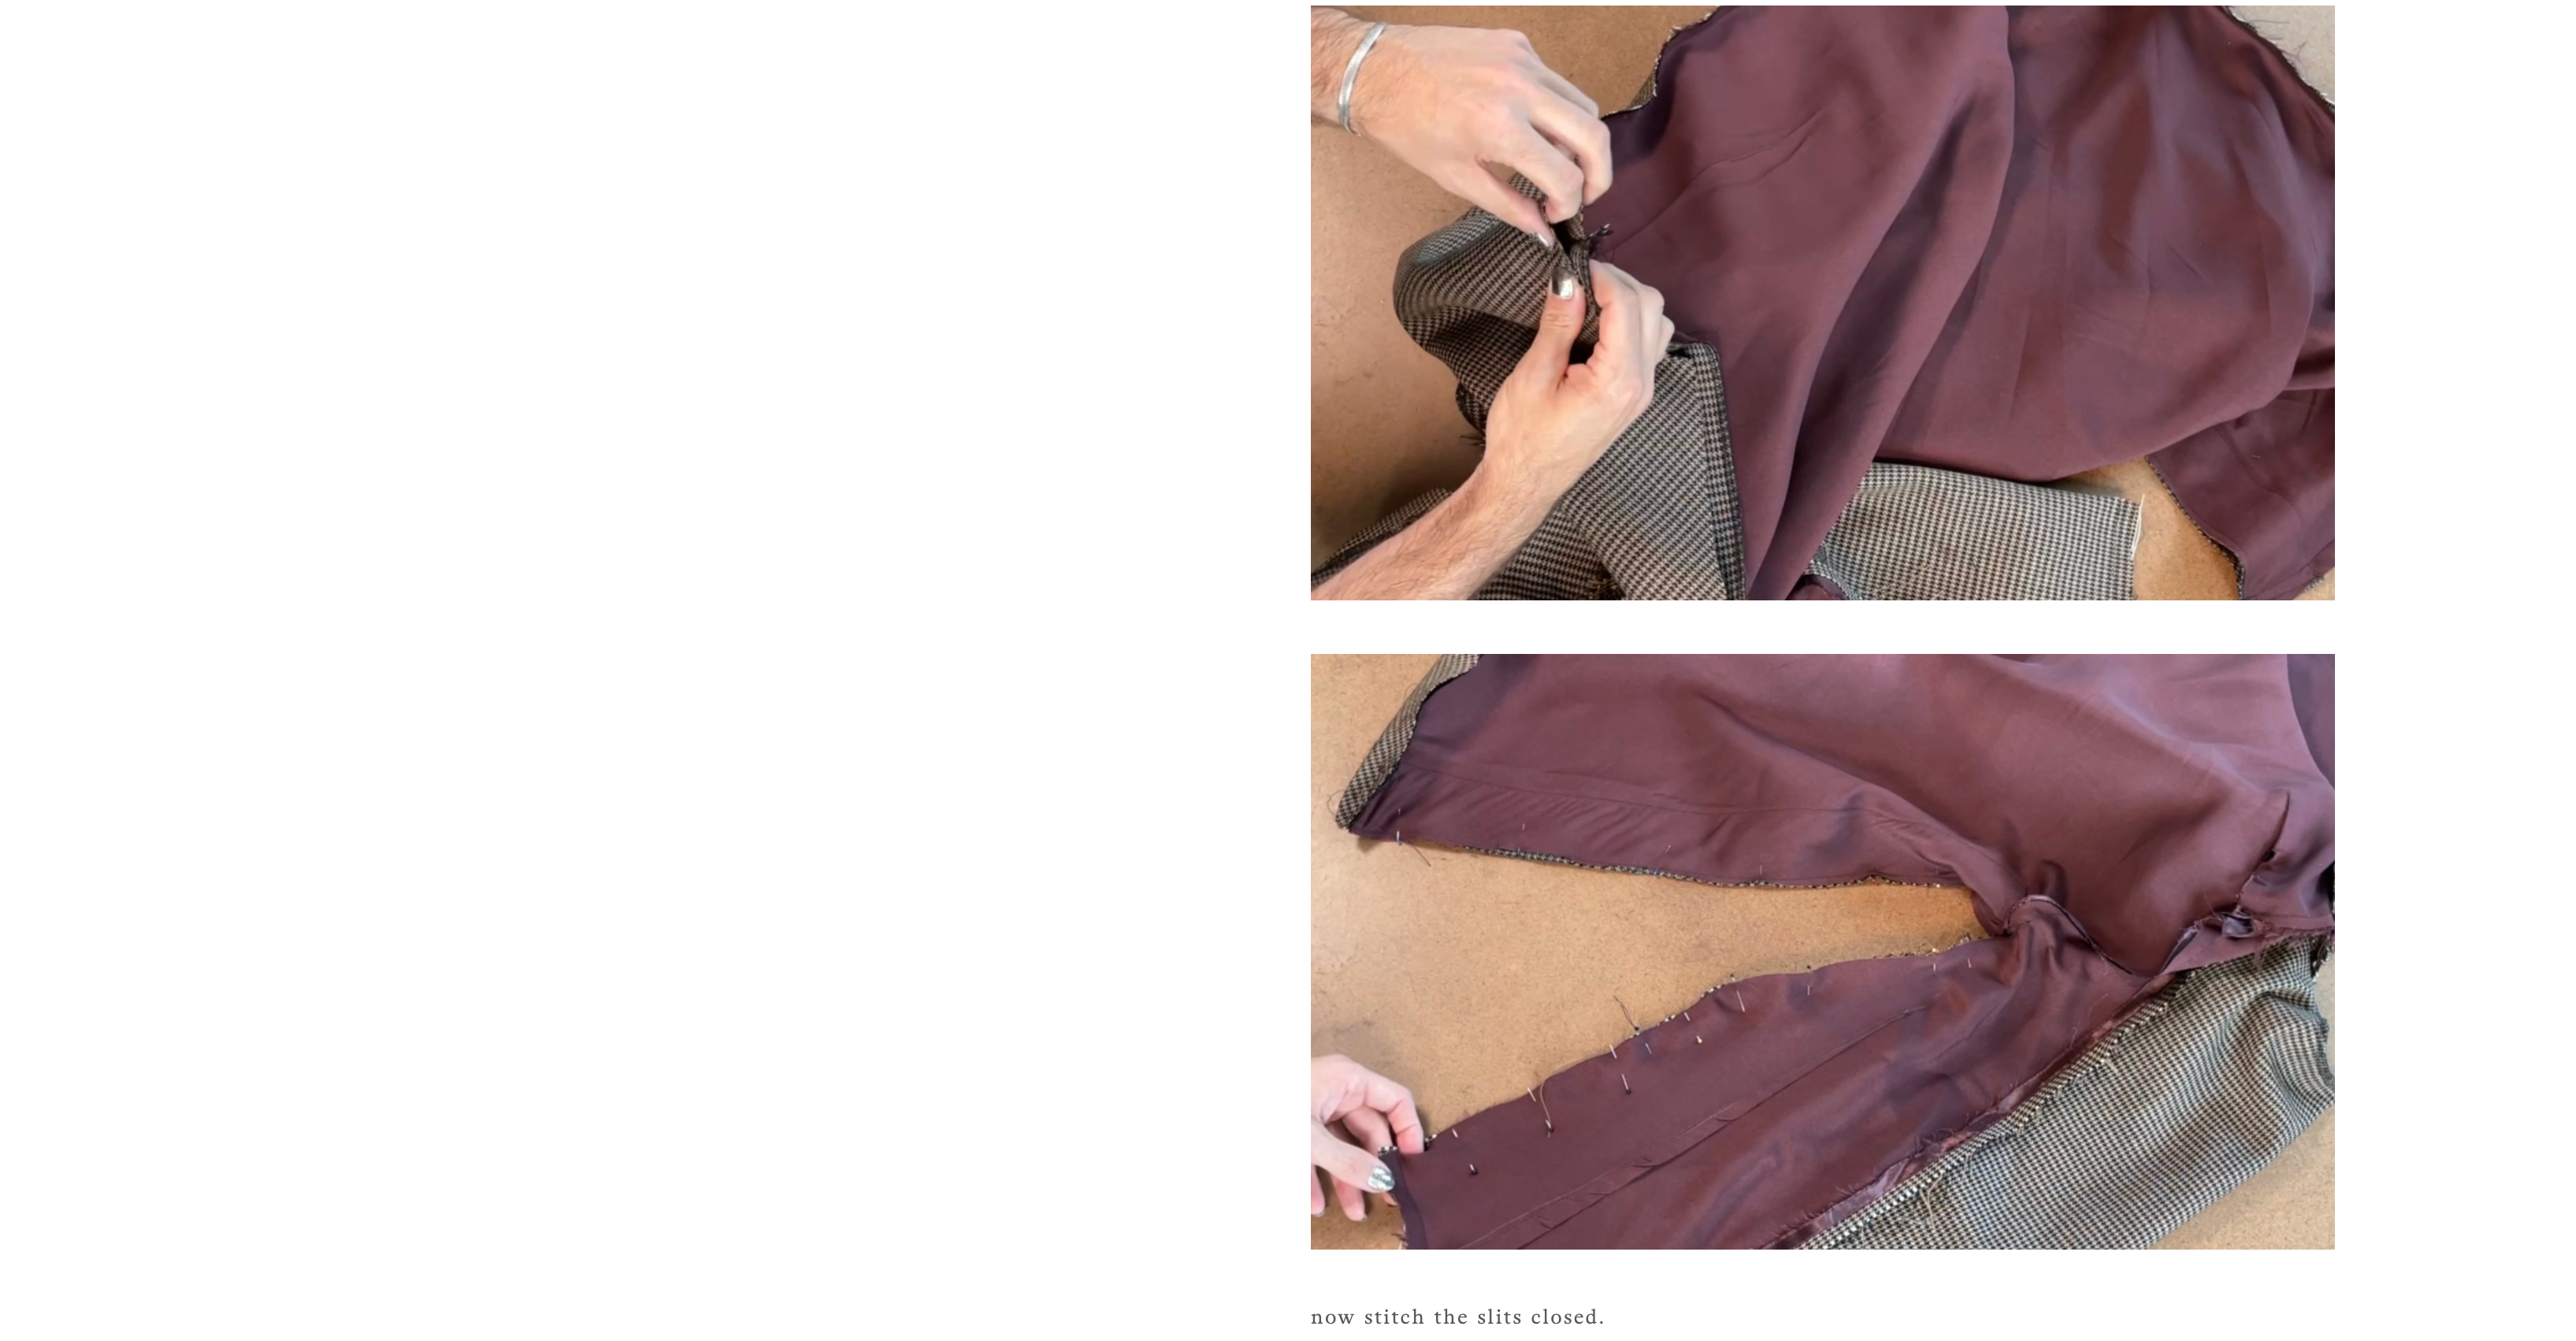
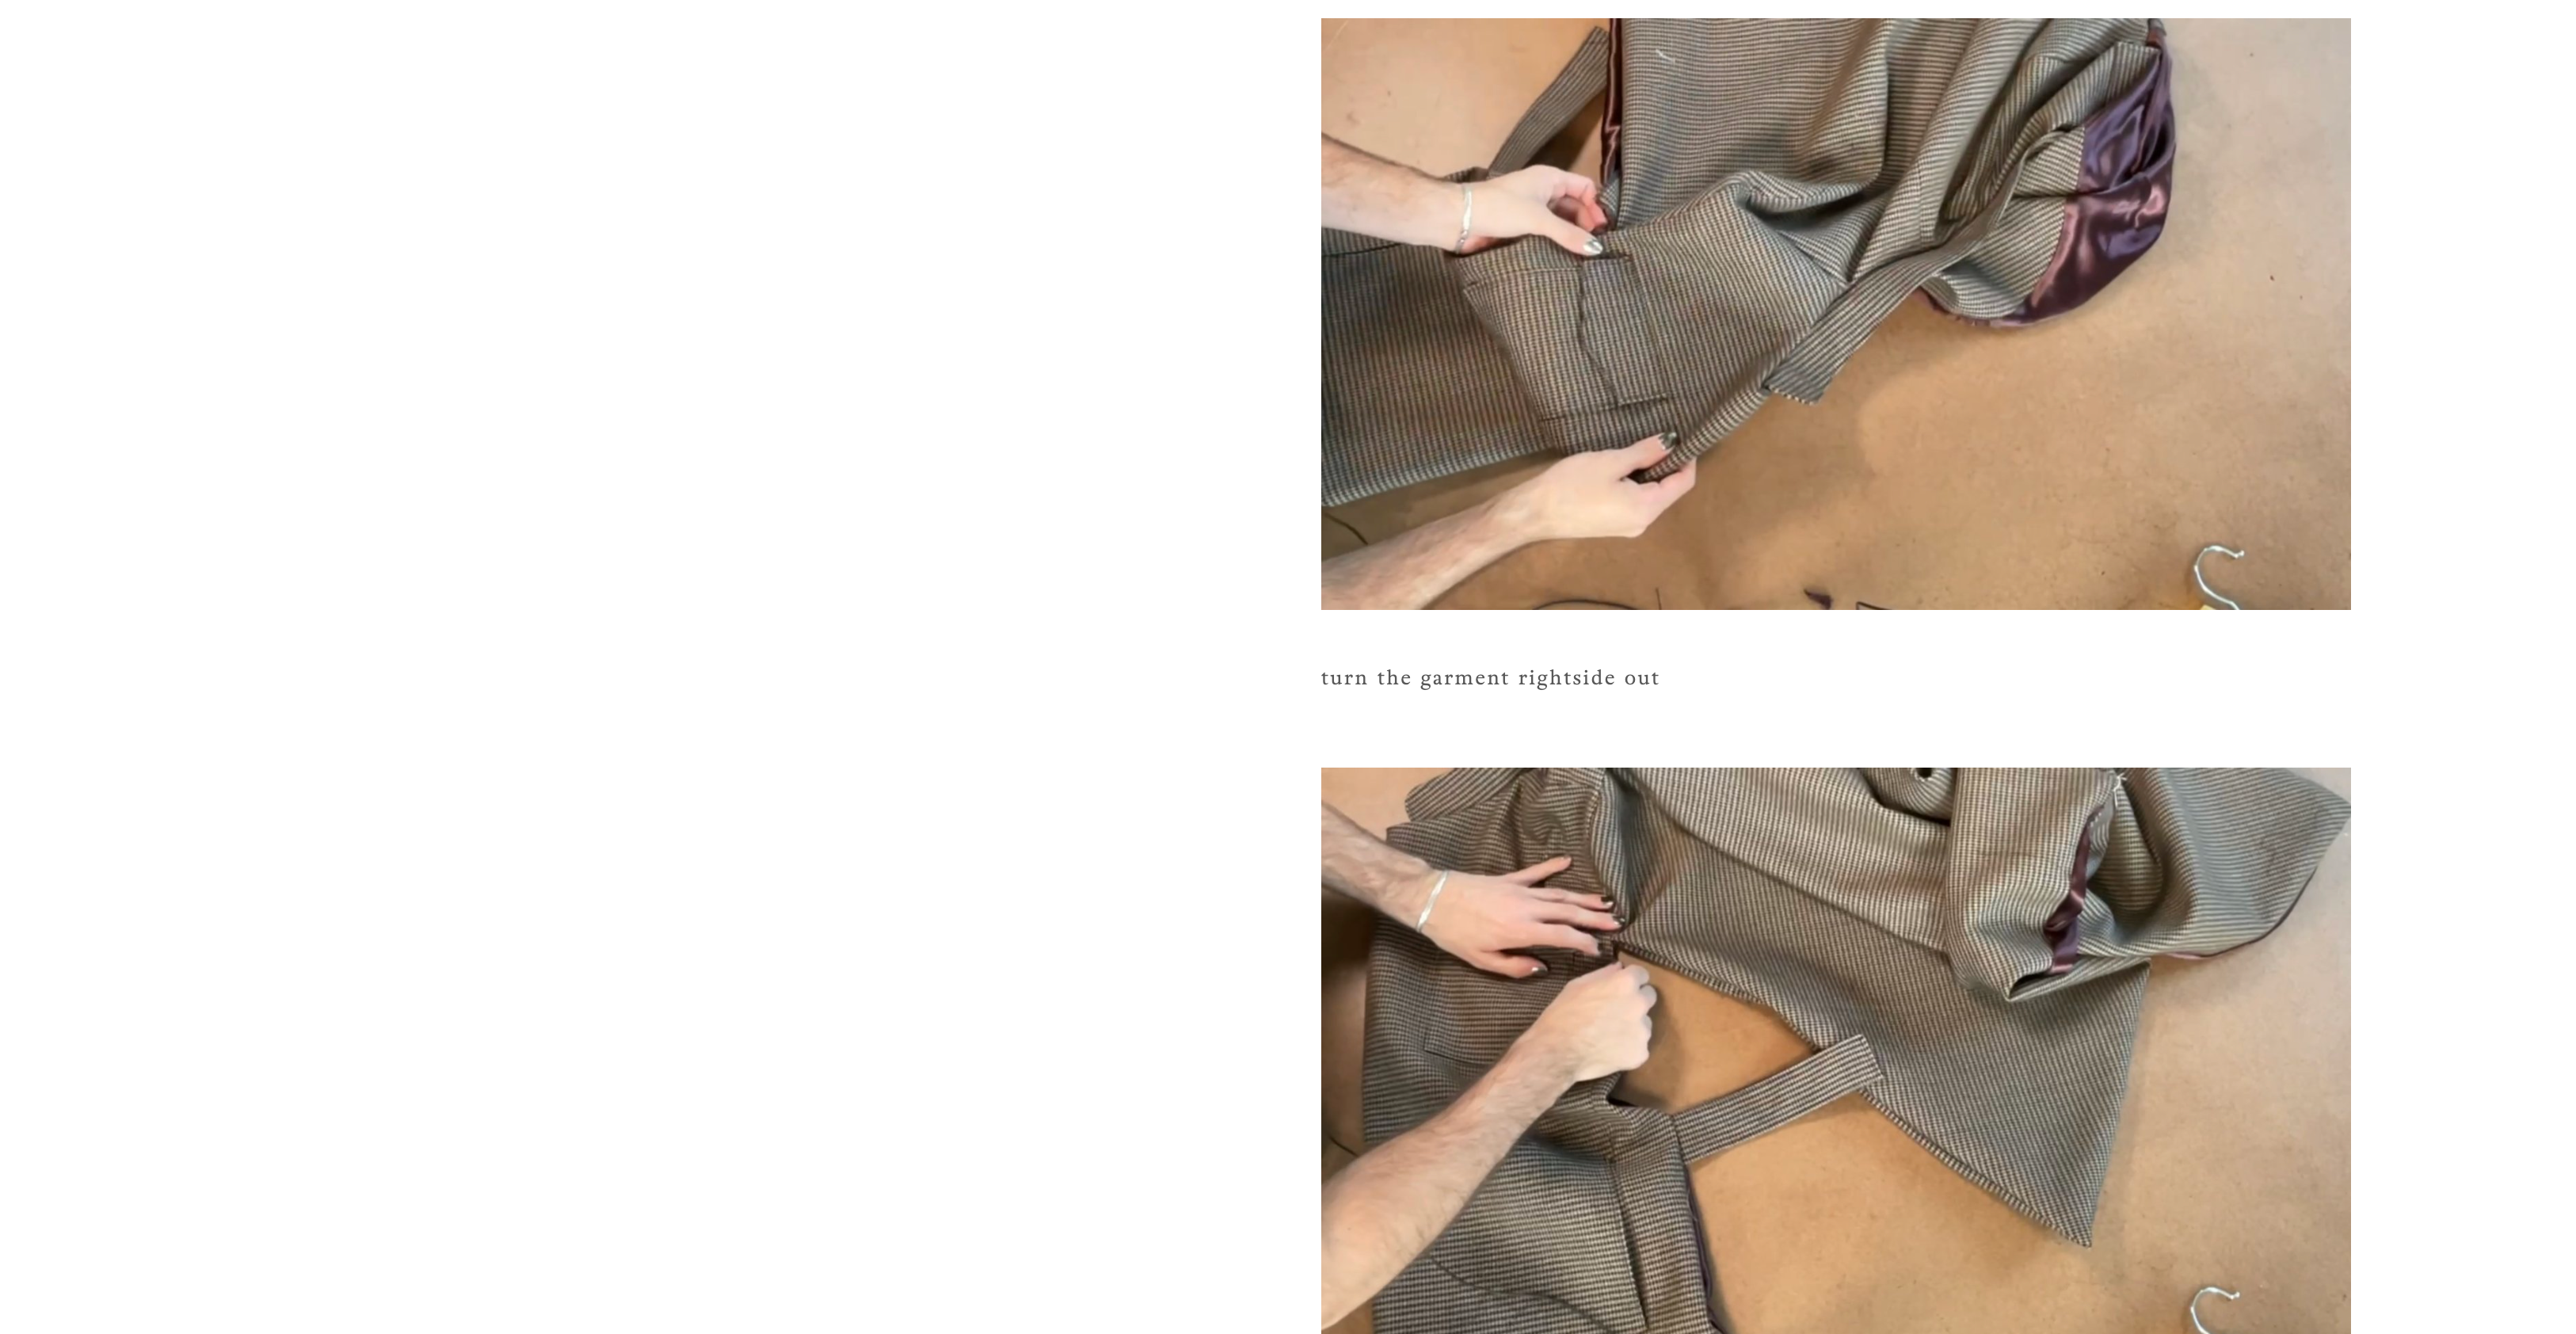
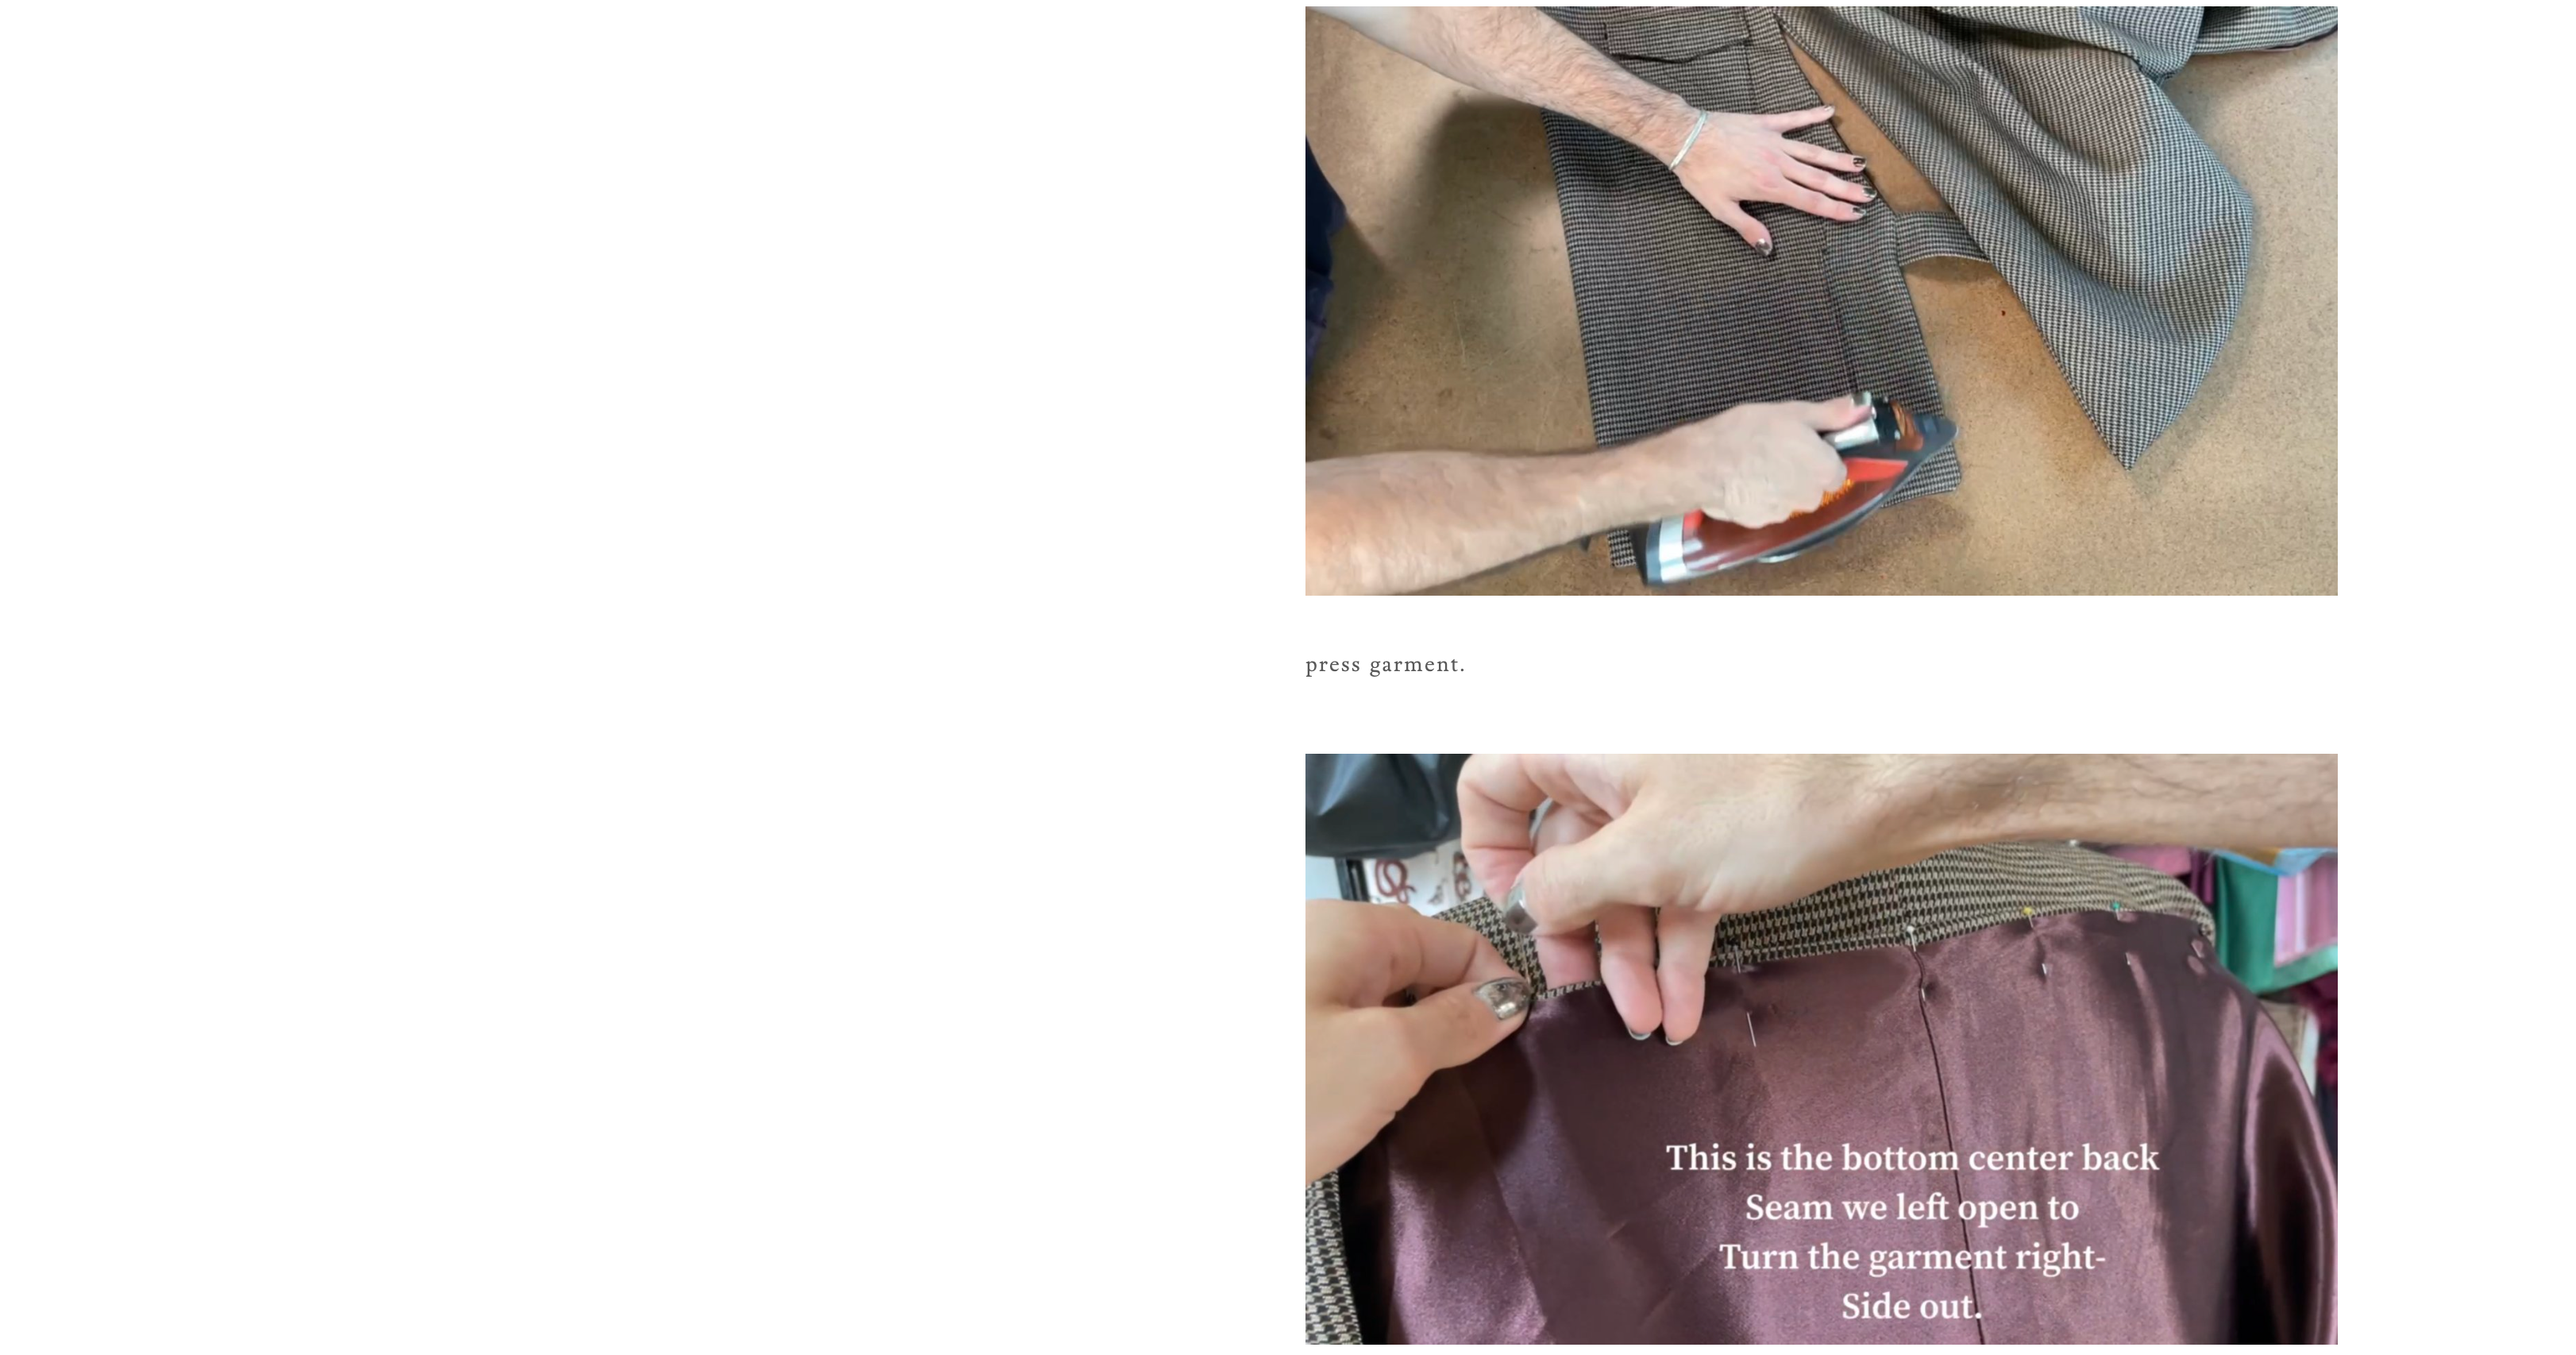
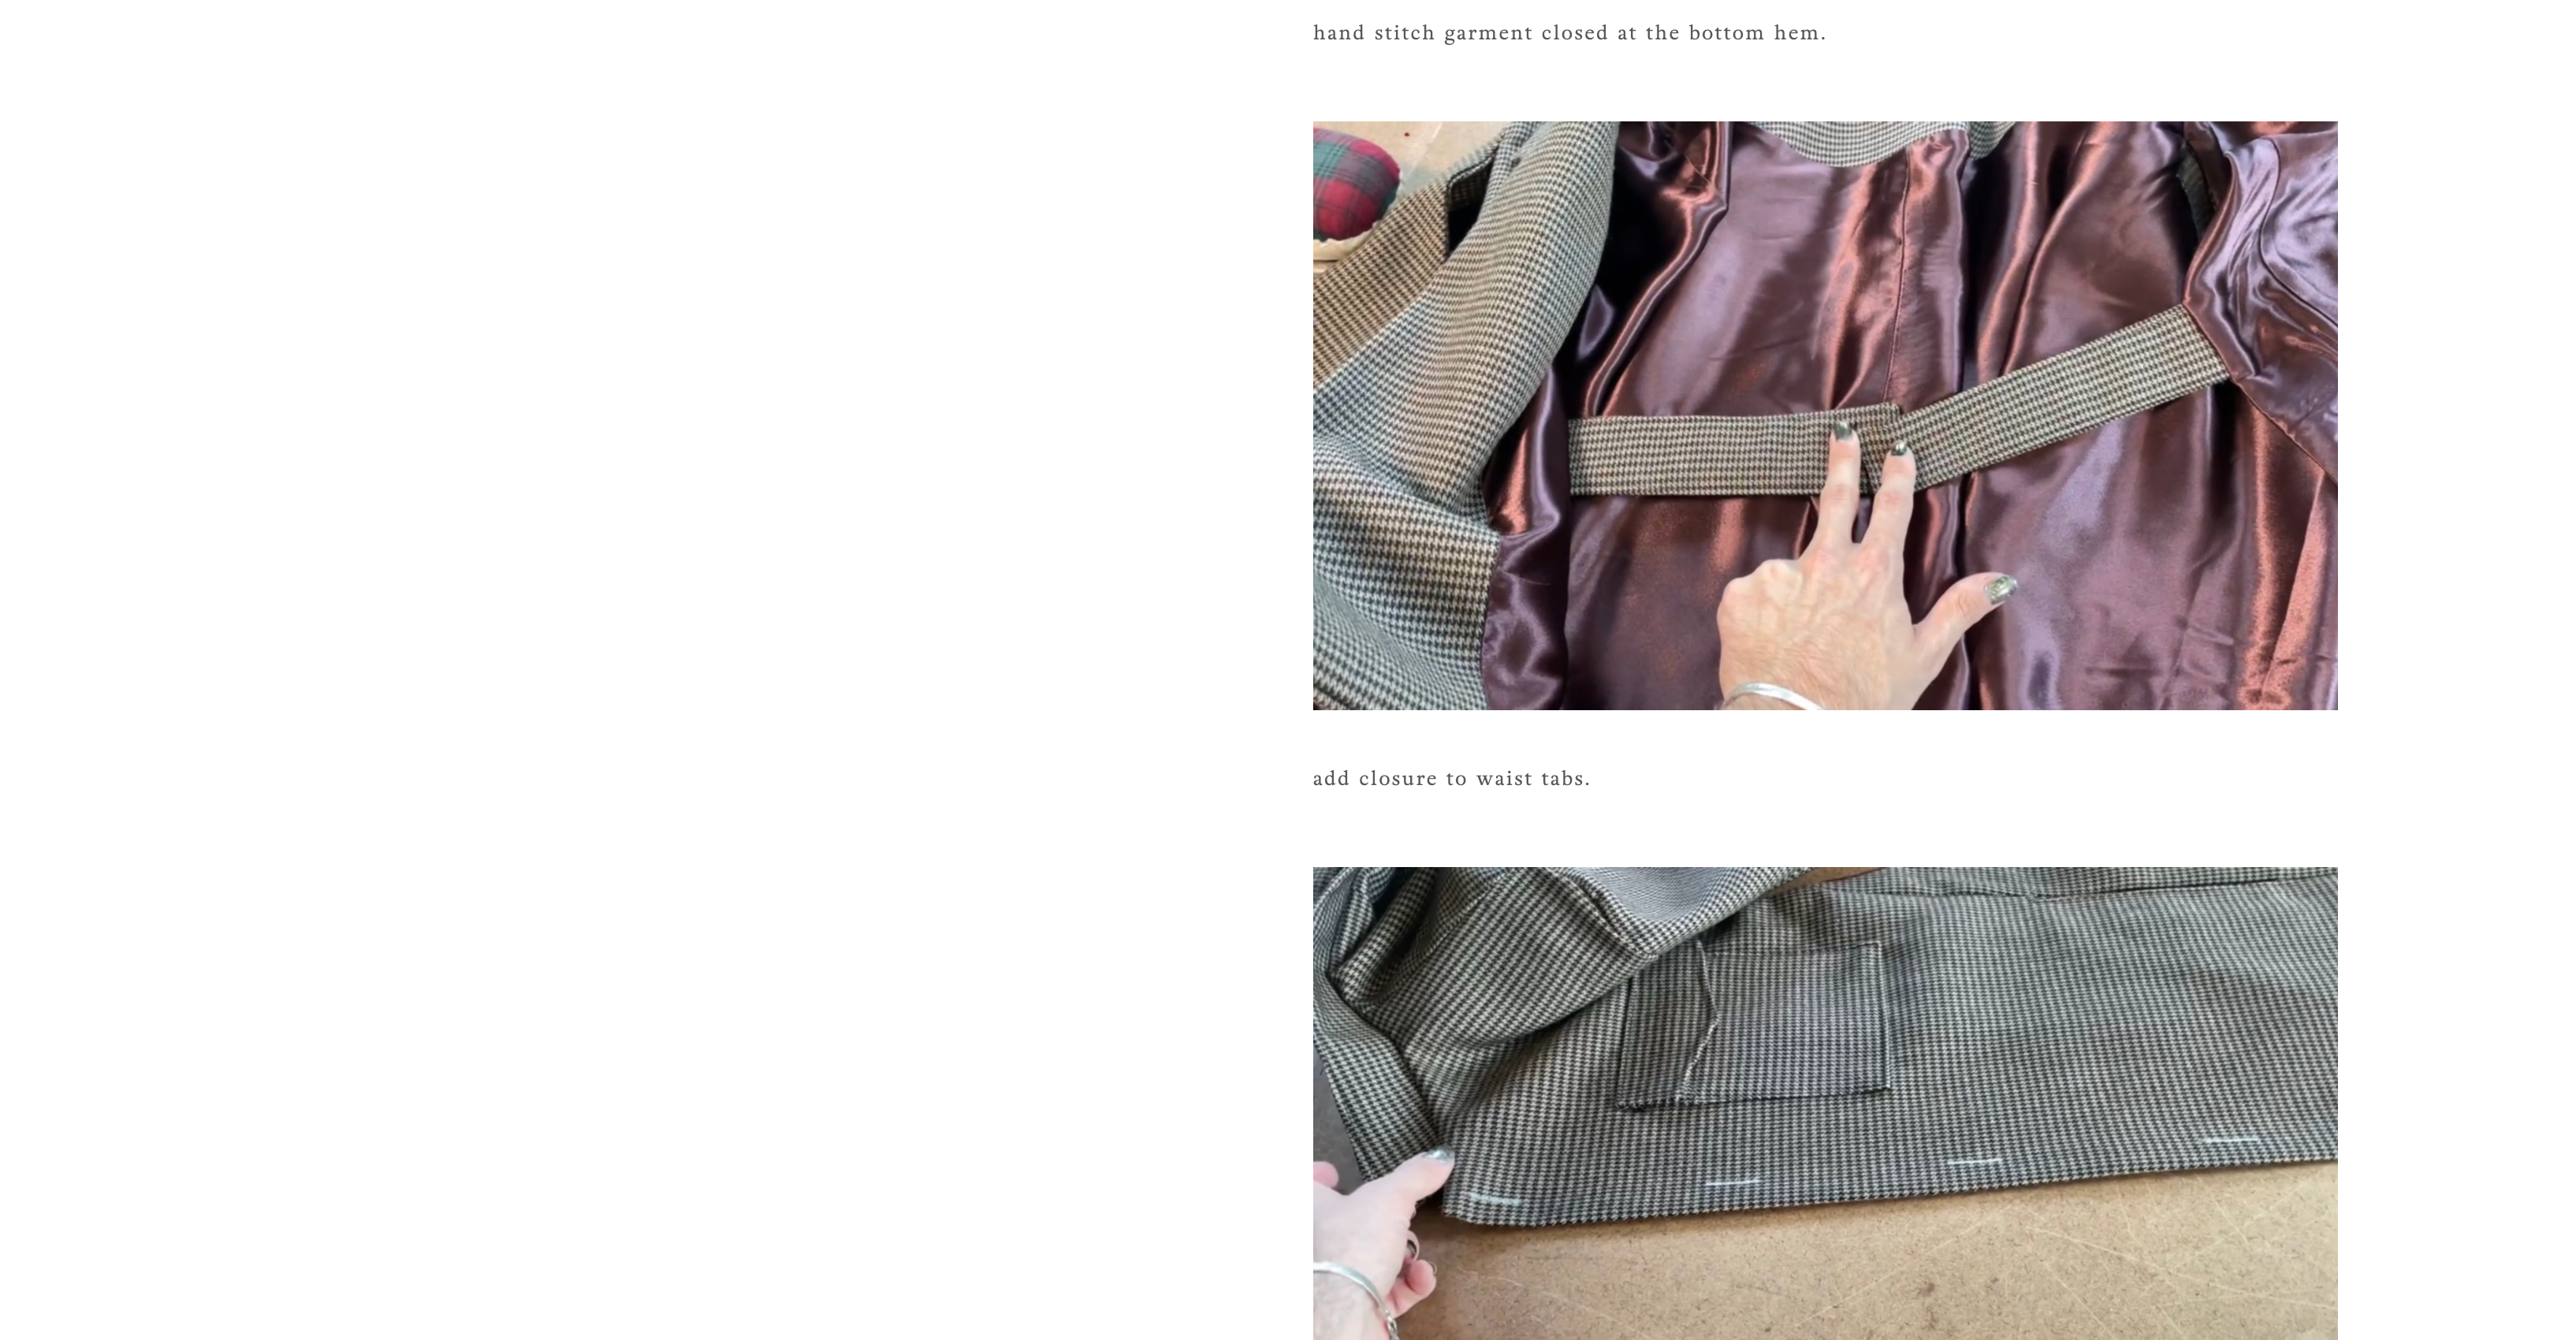
The Instructions