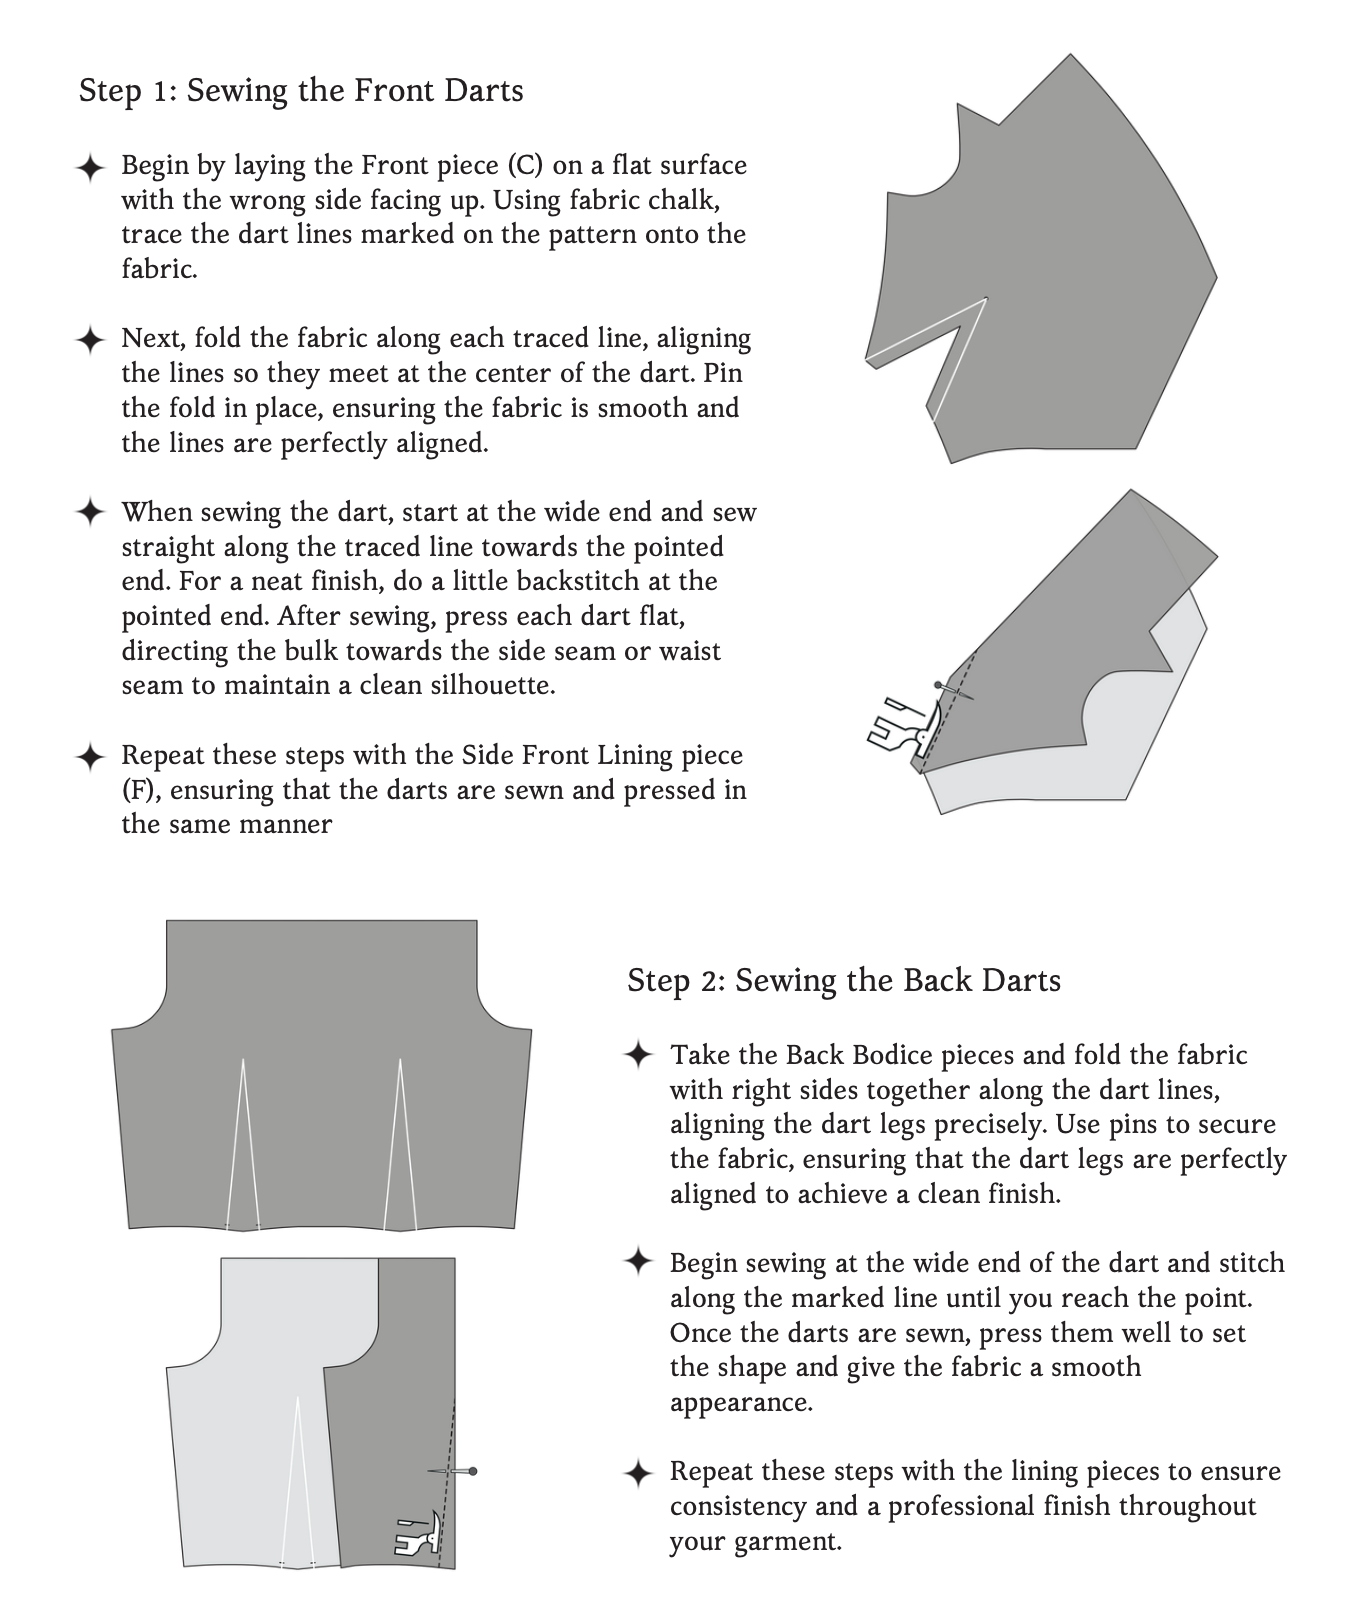
The Vespertine Jacket Sewing Pattern Guide
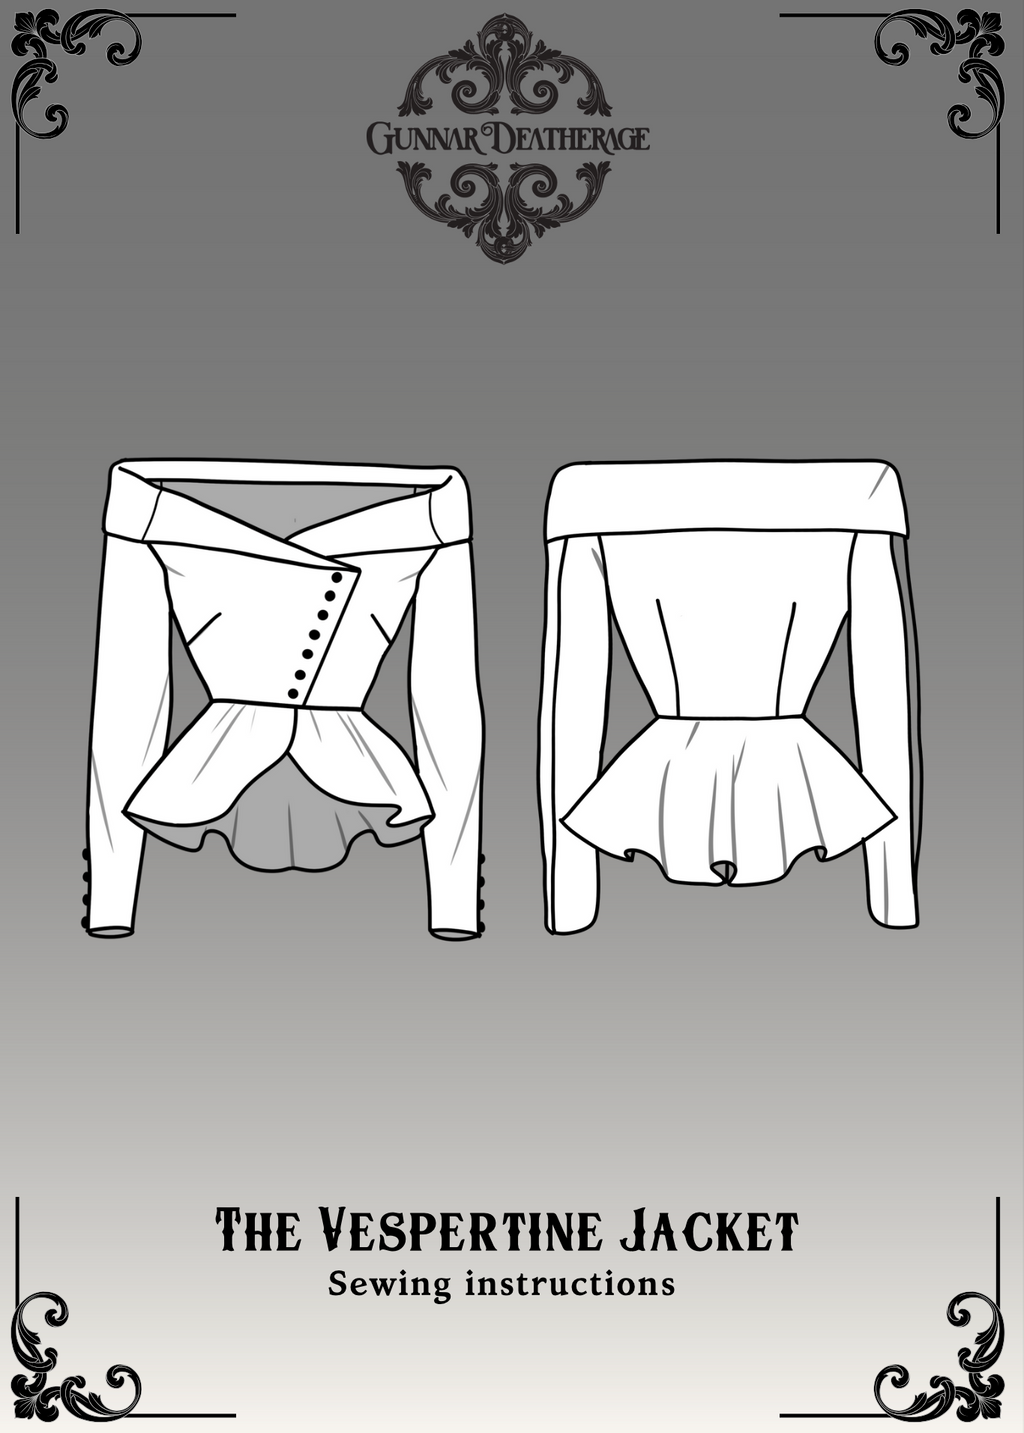
Step into a world of dark romance and timeless allure with the Vespertine Jacket, a garment that commands attention with every movement. Designed for those who embrace the art of statement dressing, this fully lined masterpiece fuses structured tailoring with fluid, sculptural details, evoking an air of mystery and sophistication.
The draped, off-the-shoulder collar sweeps across the neckline like a whisper of moonlight, creating an effortlessly regal silhouette. An asymmetrical front closure, adorned with delicate buttons, adds intrigue, while princess seams carve a strikingly tailored fit. The full-length fitted sleeves extend with poised elegance, balancing the bold drama of the jacket’s lower half.
At the hem, the high-low peplum flares into elegant, sculpted waves, creating movement and dimension. The contrast lining peeks through subtly, adding depth and sophistication to the design. Whether styled for an evening ensemble, a bold layering piece, or a refined addition to a special occasion look, the Vespertine Jacket is sure to turn heads.
Before You Get Started
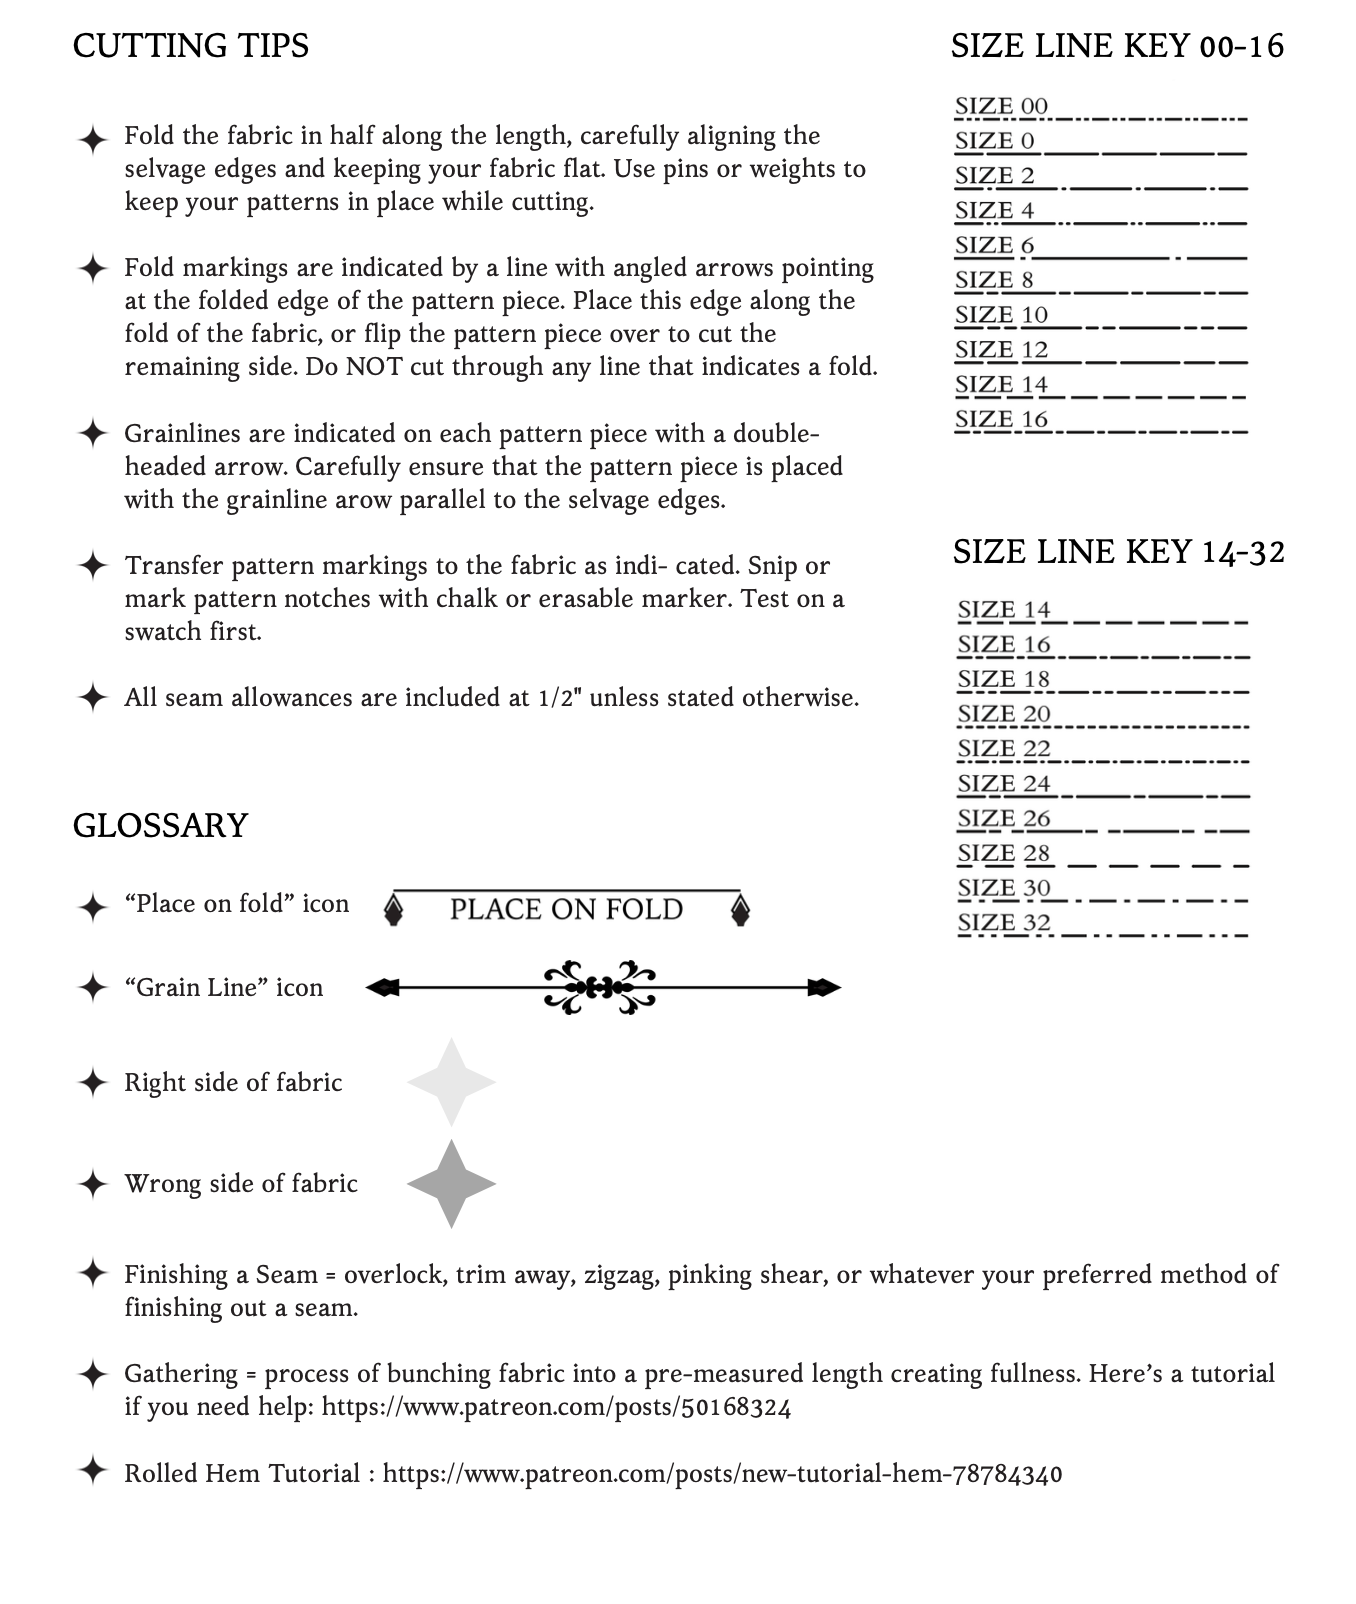
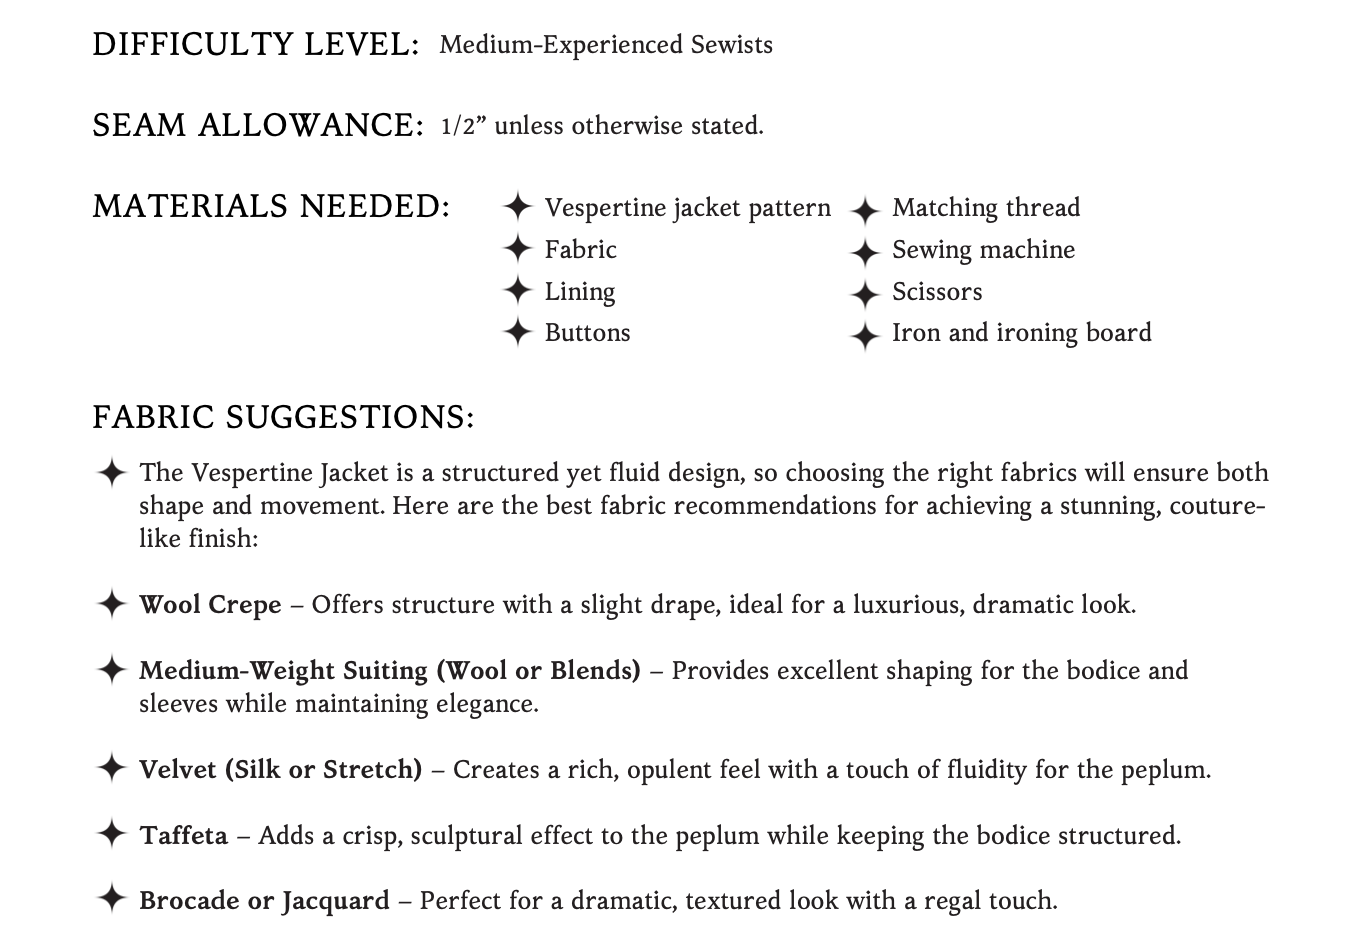
Please take note that the seam allowances on this pattern are 1/2” unless otherwise stated.
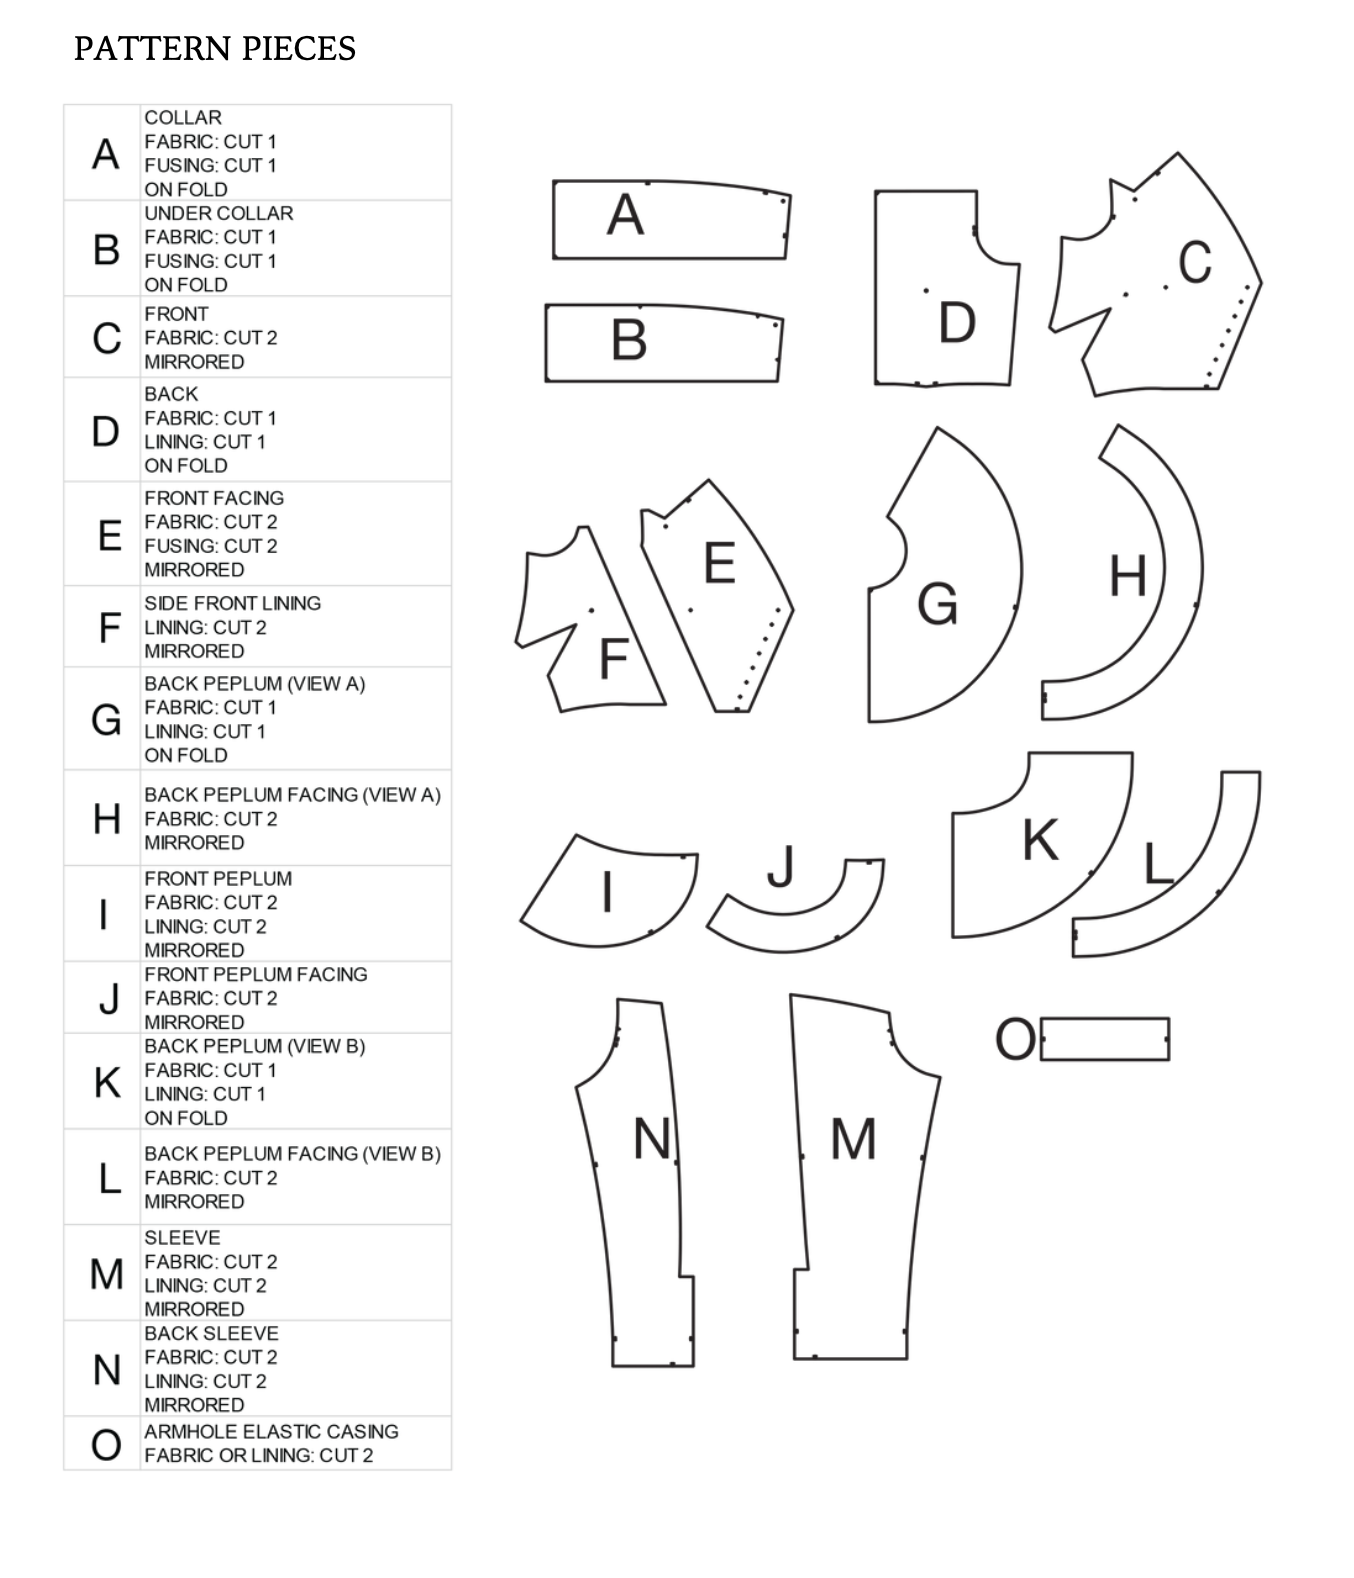
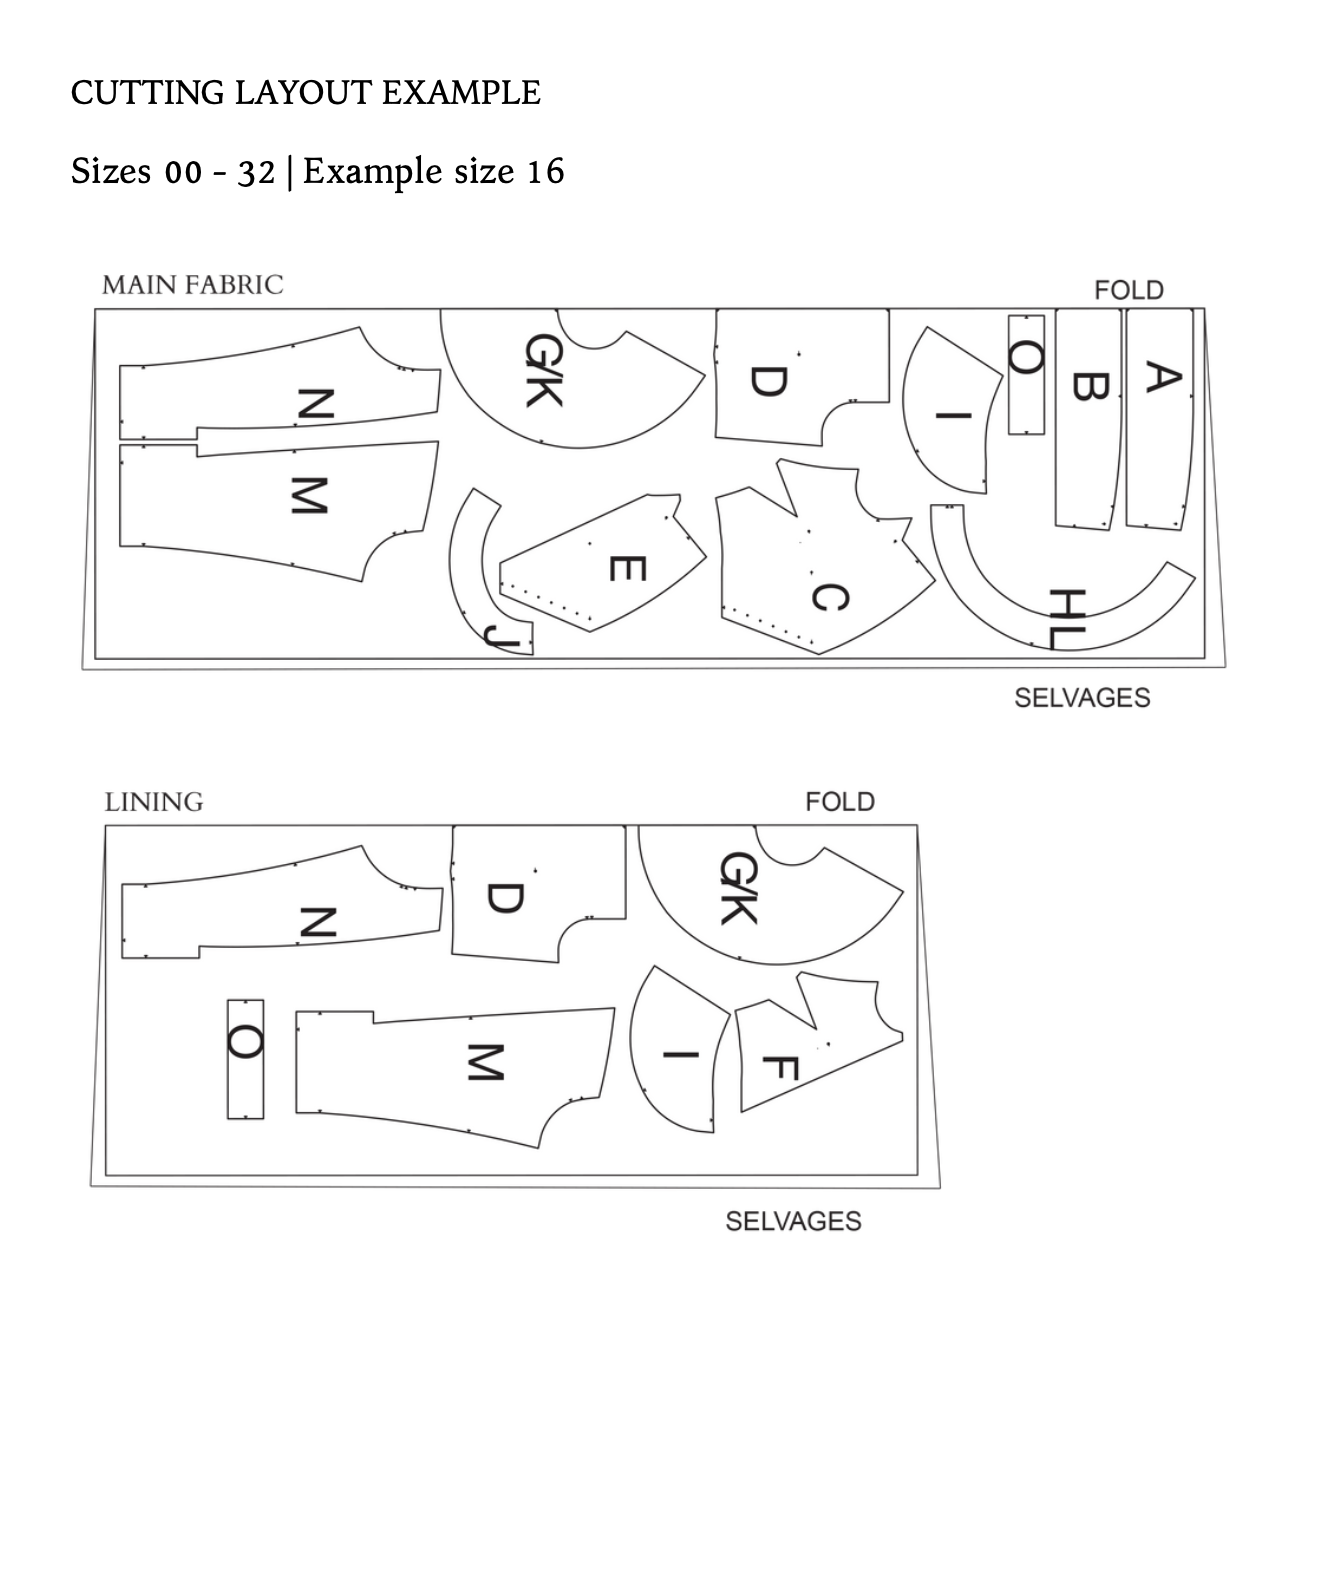
The Pattern will have all the notions and cutting layout you will need in the provided PDF files.
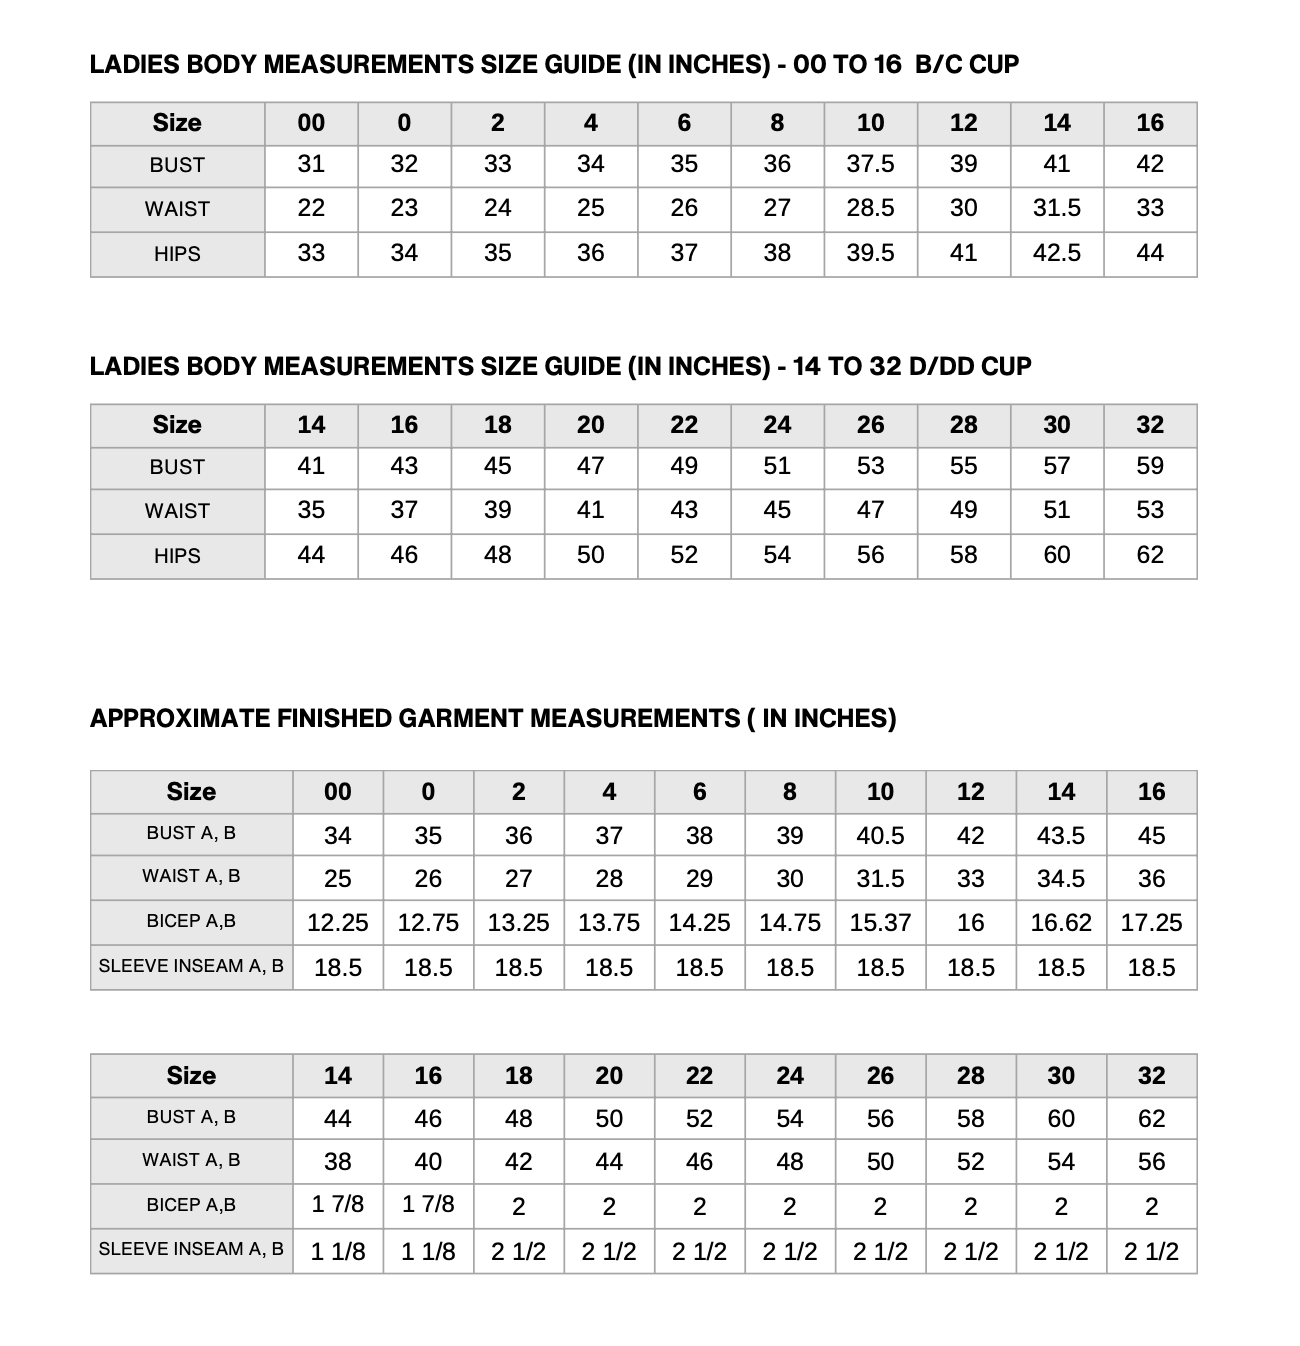
Size Charts, and Finished Garment Measurements
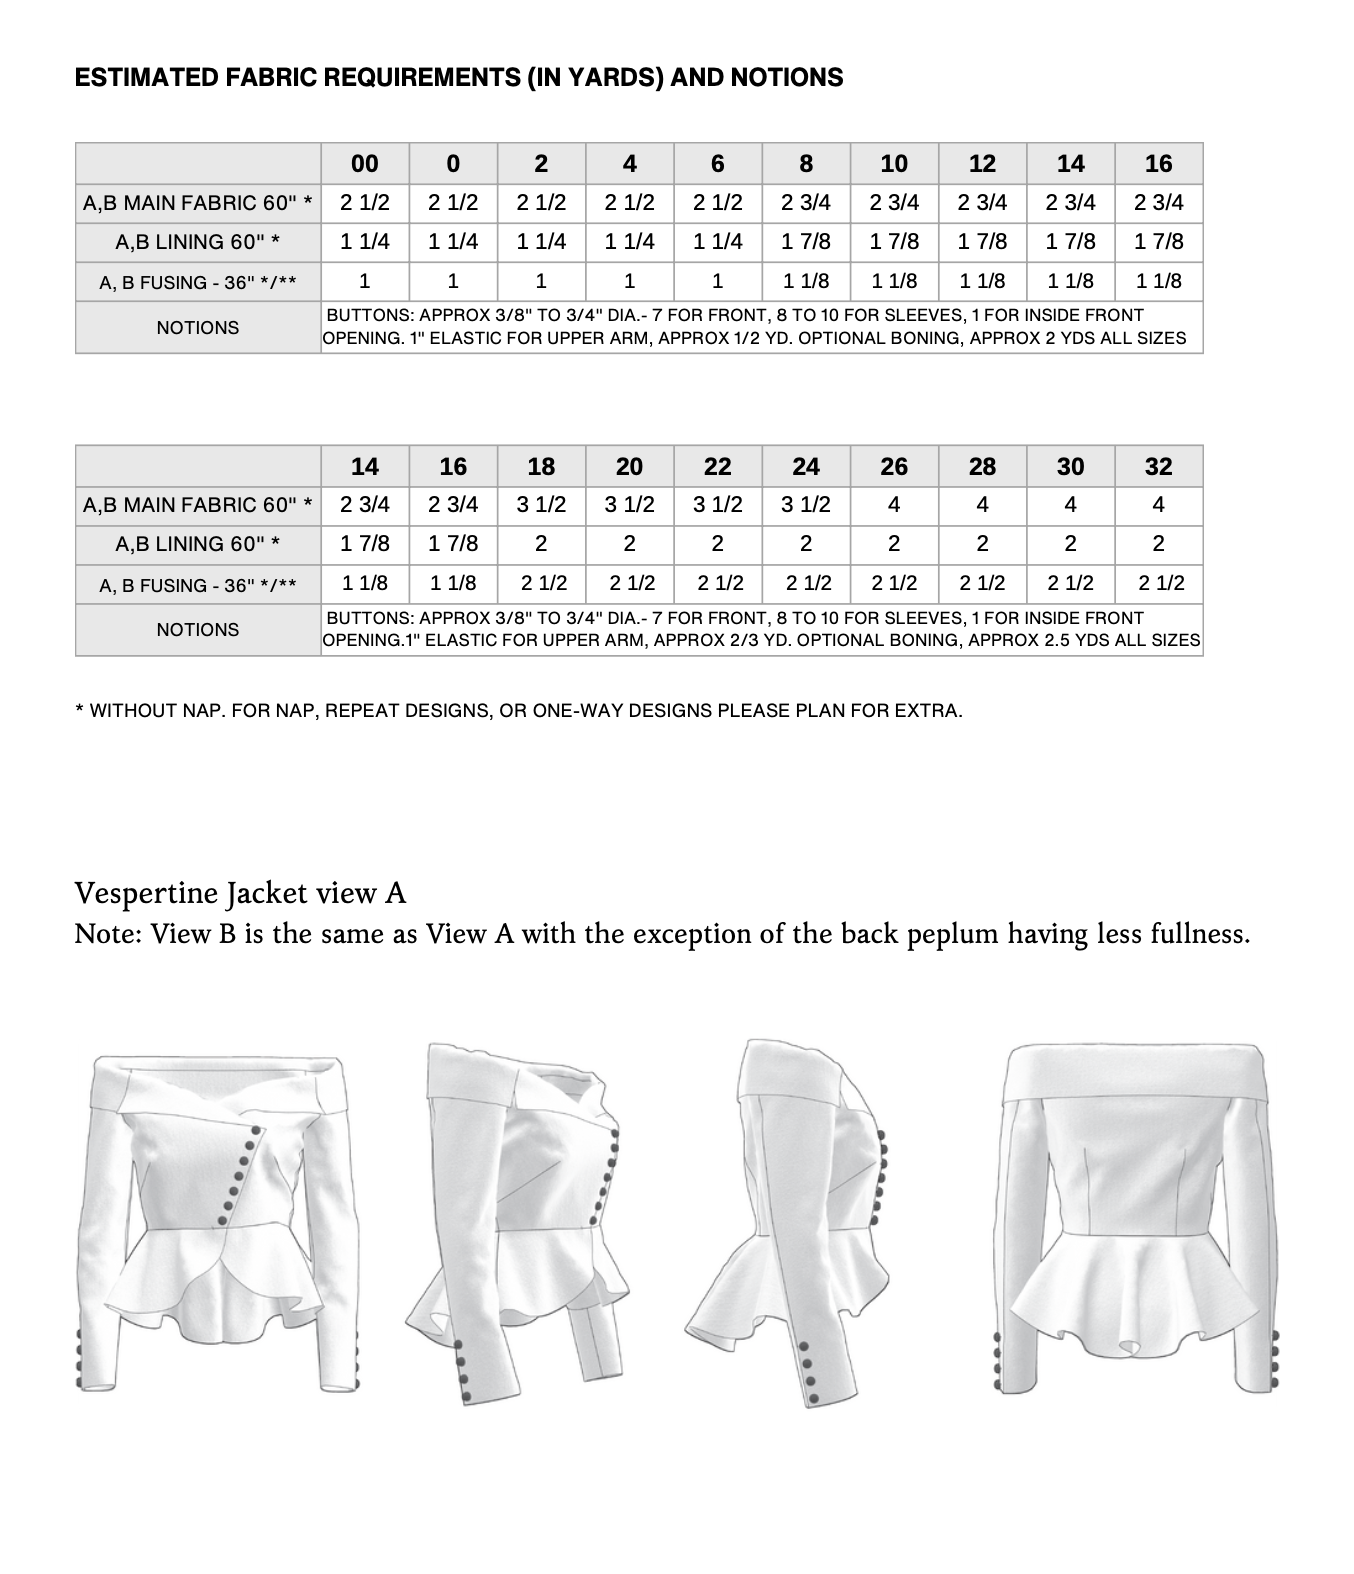
Yardage/ Fabric Consumption